The first furrow on his homestead plot was made by resident of Pavlovo-on-Neva village, Kirovsky district, Leningrad region V. I. Morozov using an electric winch in the spring of 1980. Having confirmed the reliable operation of the unit, Vasily Ivanovich sent its description to the editorial office, which was published accompanied by a comment from a specialist of the All-Union Institute of Agricultural Engineering named after V. P. Goryachkin (see “M-K”, No. 9, 1981).
The design attracted great attention from technical creativity enthusiasts engaged in creating small mechanization tools for homestead plots.
Even greater interest in the electric winch was generated after it was shown on Central Television in one of the “You Can Do It” programs. Fulfilling numerous requests from our readers and TV viewers, we are publishing today detailed drawings of the modernized electric winch.

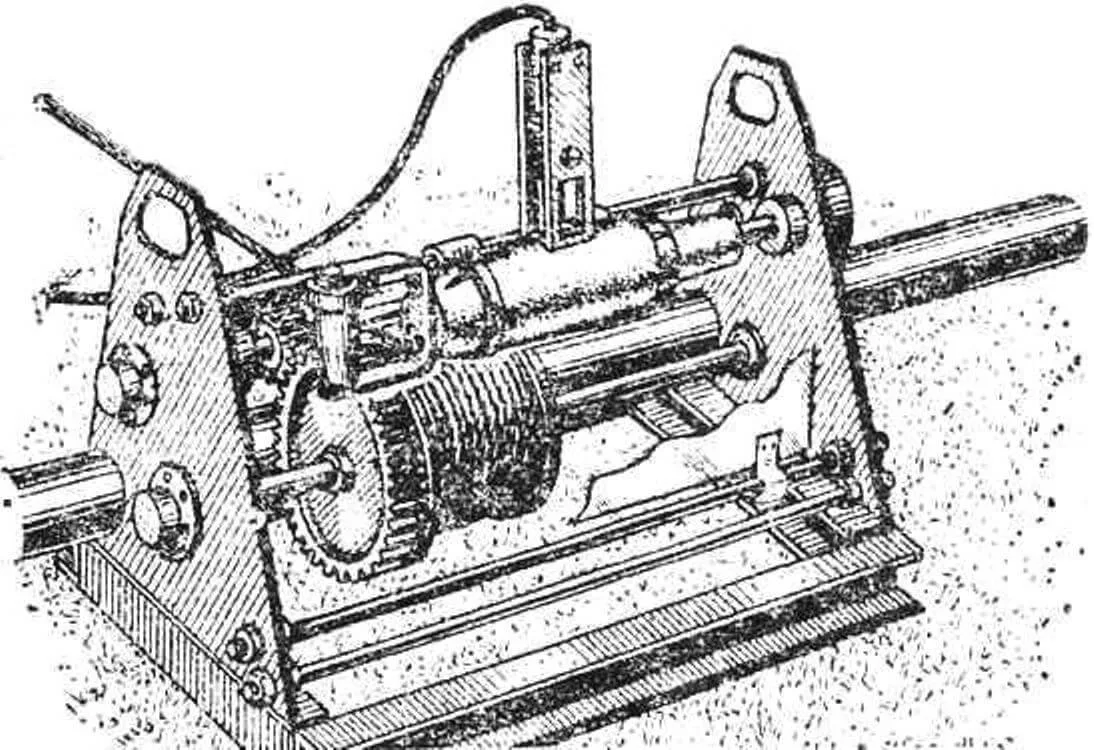
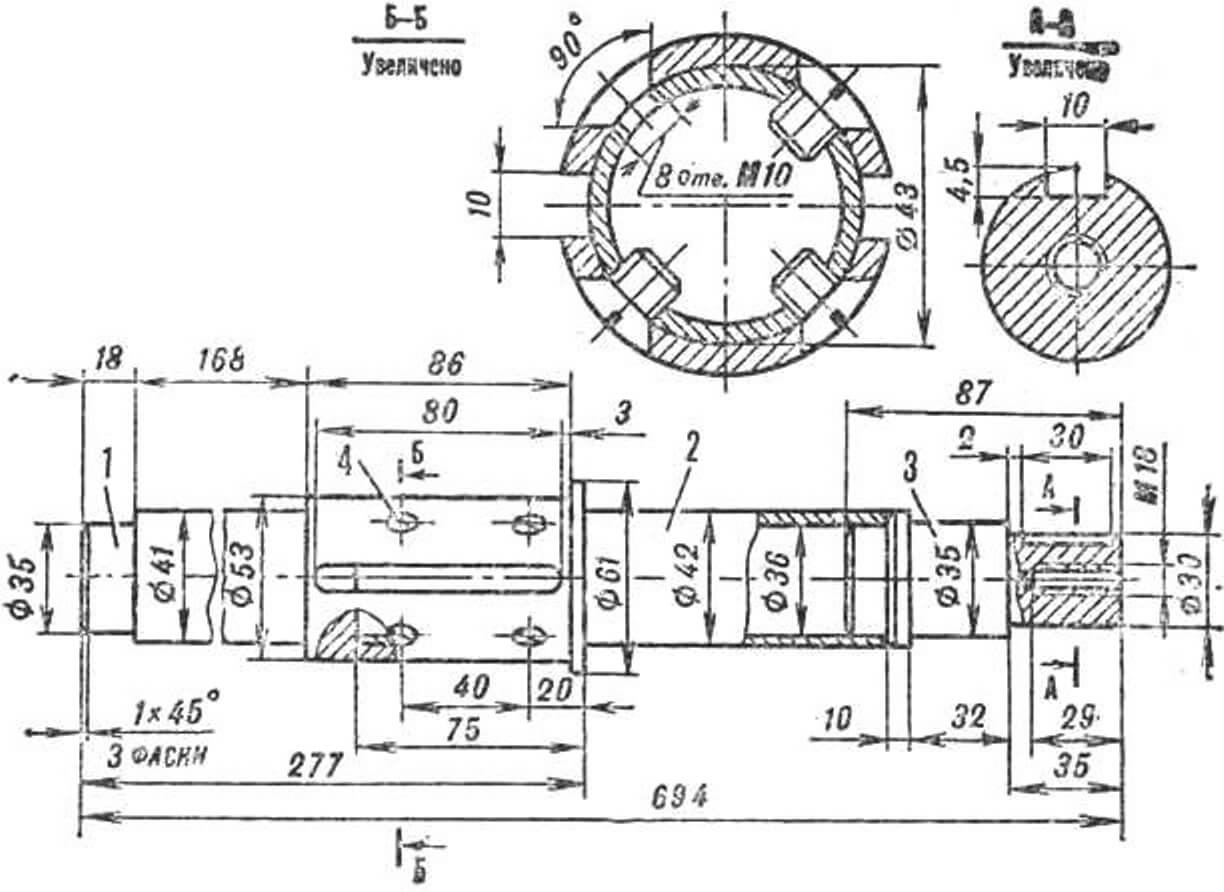
1 — left cheek, 2 — clutch lever, 3 — transverse bars, 4 — clutch shaft bearing housings (St3), 5 — bearing No. 207, 6 — clutch shaft, 7 — clutch bushing, 8 — clutch gear (St45), 9 — cable drum gear, 10 — cable drum pipe-shaft, 11 — cable drum bearing housings (St3), 12 — support pipe, 13 — cable travel limiters, 14 — cable drum, 15 — housings (St3) with bearings No. 206, 16 — reducer housing, 17 — drive gear (St45), 18 — driven gear (St45), 19 — bearing No. 207, 20 — spacer ring, 21 — cable travel limiter couplings, 22 — electric drill mounting bracket (St3), 23 — electric drill, 24 — guard shield, 25 — shield brackets, 26 — right cheek, 27 — drive shank (St45).
I really wanted to make the processing of my homestead plot easier and mechanize it. What kind of equipment do we, amateur gardeners, need? Of course, simple and reliable. This is what I based my decision on when I decided to make an electric winch. That’s how it turned out. Years of operation have confirmed its reliability, and more than that, its productivity: the work that was once difficult on the plot is now a pleasure for me.
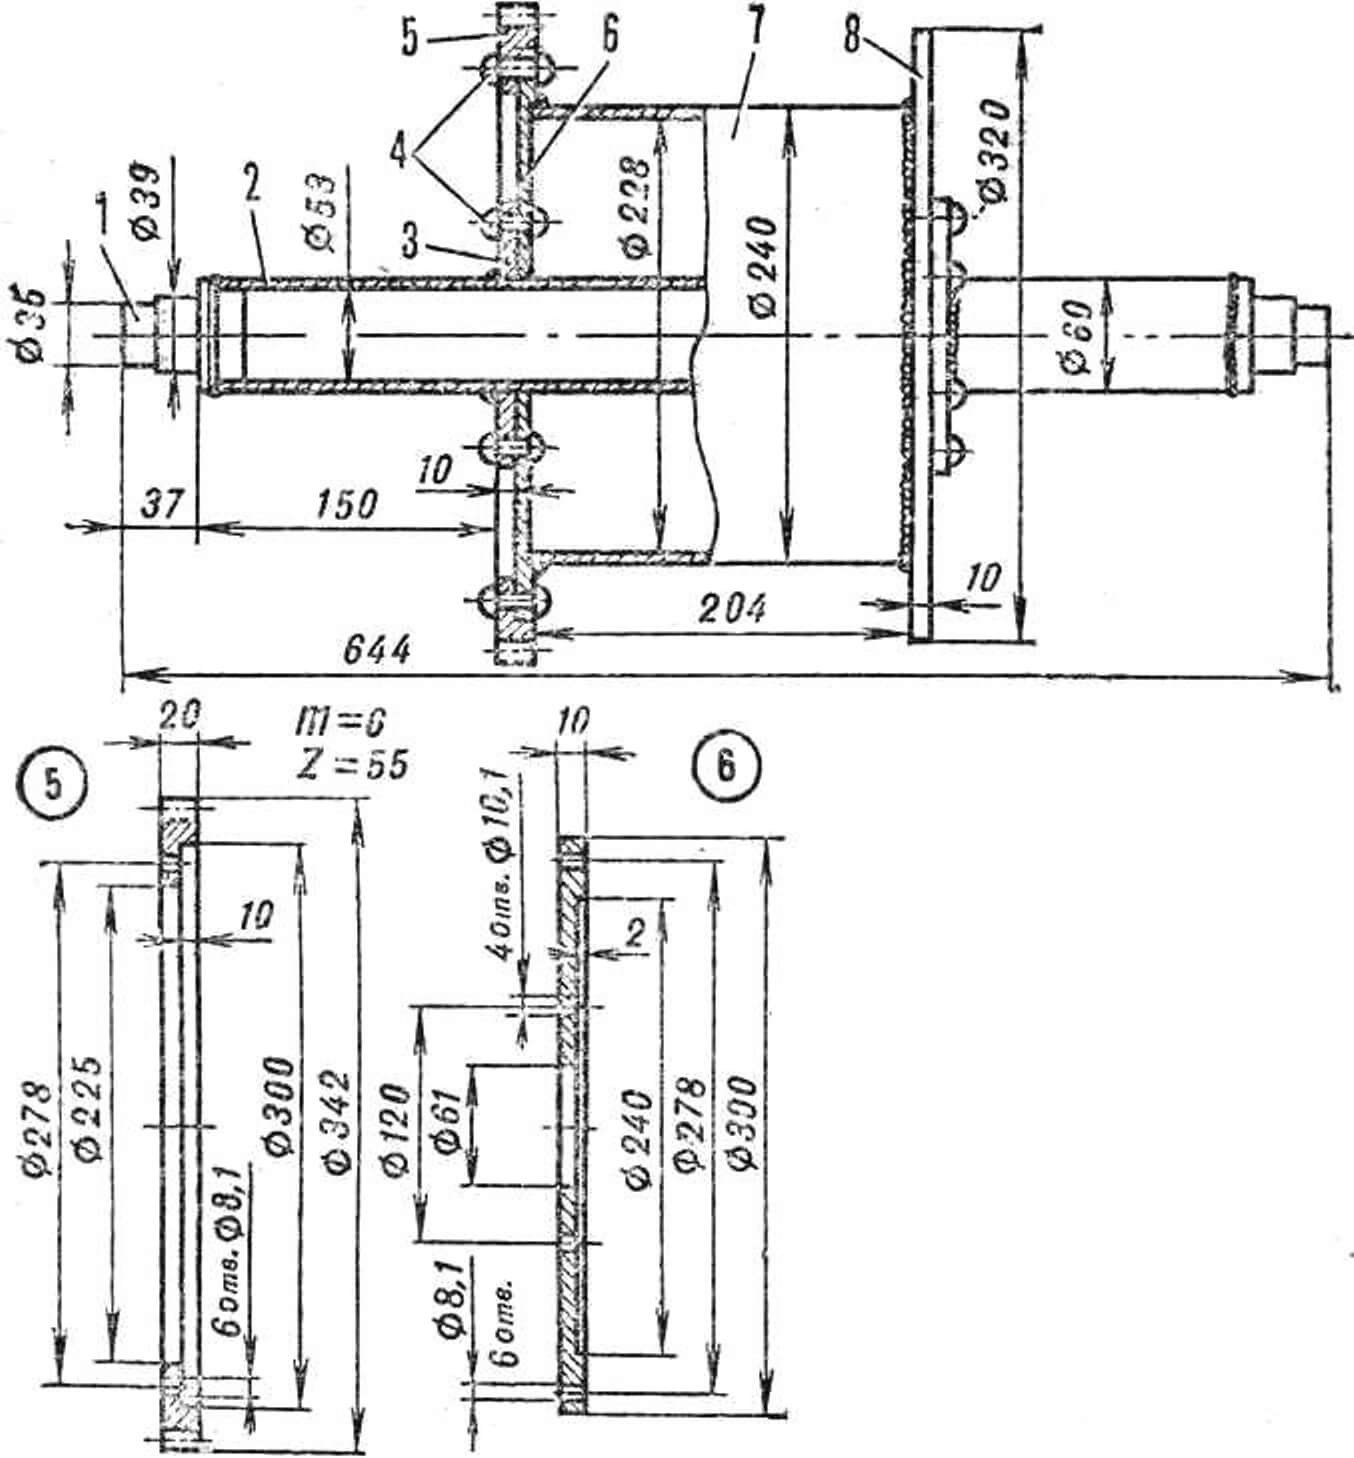
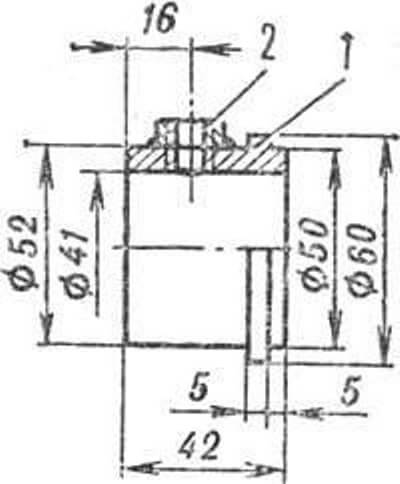
1 — trunnion (St3, 2 pcs.), 2 — pipe-shaft, 3 — drum flange (St3, 2 pcs.), 4 — rivets, 5 — gear (St45), 6 — small cheek (D16), 7 — drum (D16), 8 — large cheek (D16)
We plow together with my son: I’m behind the plow, he’s at the winch. And we don’t just plow, but also plant potatoes, hill the plantings, and dig up the harvest.
I made the plow based on a horse-drawn one, only shortened the handle and shifted it toward the plowshare, equipped it with two rollers: the front one for adjusting plowing depth, the rear one — for rolling the plow back to a new furrow.
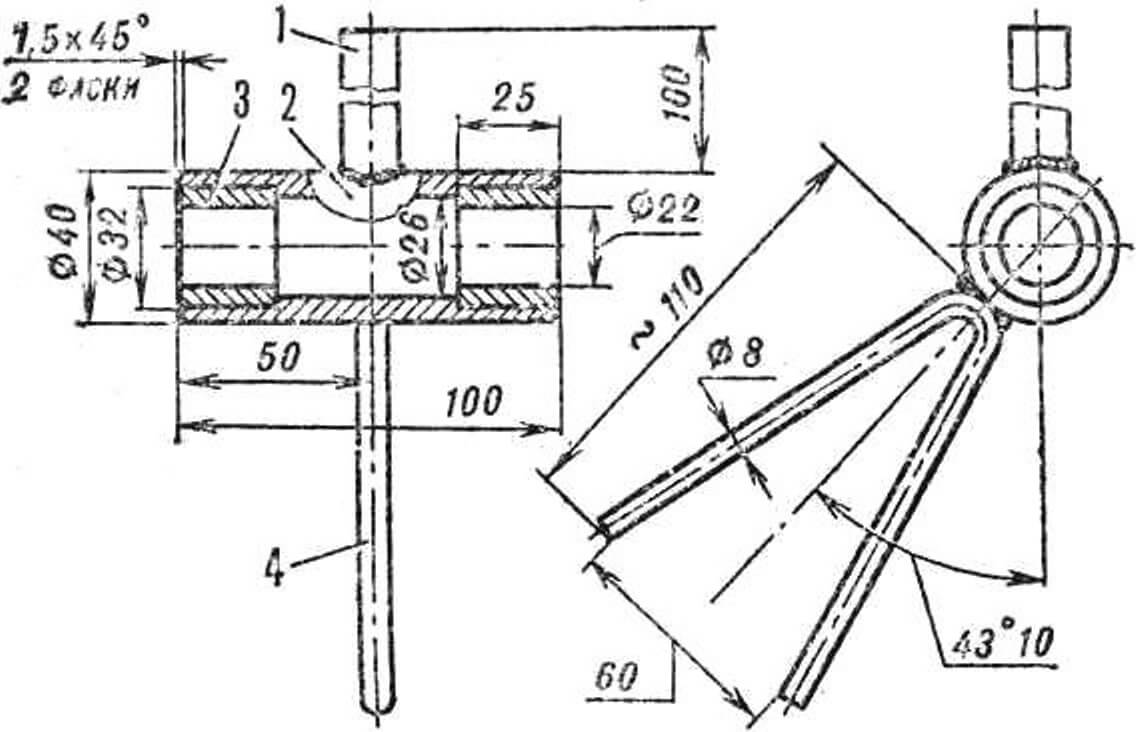
1 — lever, 2 — pipe section, 3 — insert (2 pcs.), 4 — fork.
These modifications are not so complex, so I won’t present them here. I’ll only tell you how the unit is arranged.
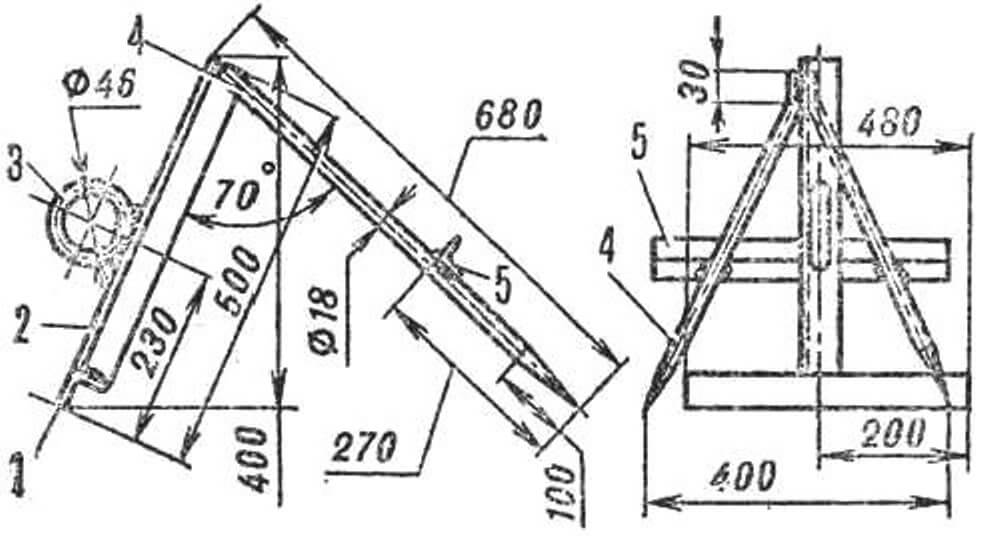
1 — support angle 50X50 mm, 2 — load-bearing angle 50X50 mm, 3 — ring (St3), 4 — stakes (St3, 2 pcs.), 5 — spacer angle 50X50X400 mm.
The improved model shown in the “You Can Do It” TV program is, in principle, no different from the original version, the description of which was published in “Modelist-Konstruktor”.
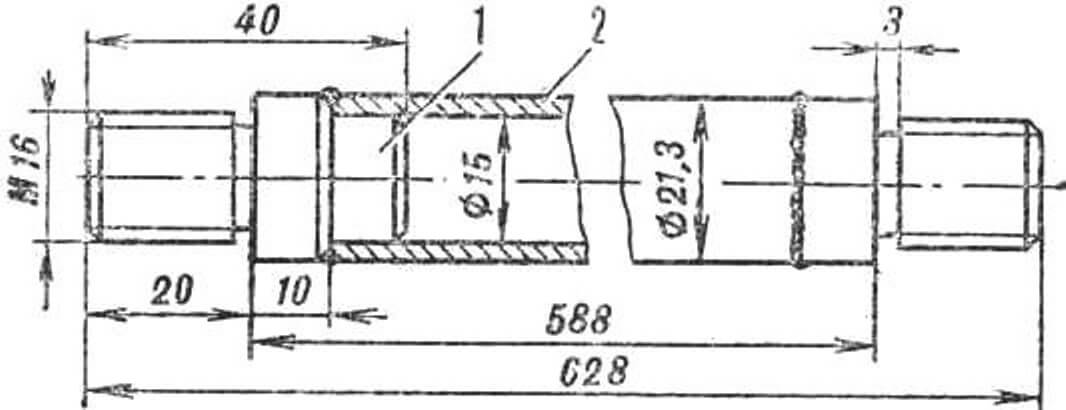
1 — tip (St45), 2 — pipe-shaft, 3 — trunnion (St45), 4 — M10 screw (8 pcs.).
Between two, now duralumin, cheeks with bearings, several horizontal axes are mounted. At the rear top, a single-phase electric drill with a power of 600 W and 250 rpm is installed. Its rear handle is still secured to an L-shaped steel bracket, but now not welded, but screwed to the duralumin cheek.
1 — bushing (St3), 2 — M10 nut.
D16 alloy is also used in the cable drum construction, and the most massive parts are made from it.

1 — flange (2 pcs.), 2 — pipe.
The need to reduce the winch weight became clear during operation. Plot processing goes quite quickly, so the unit has to be moved along the support pipe frequently. Before modernization, it weighed approximately a centner. Now, with the introduction of duralumin parts, the weight has noticeably decreased. And we also abandoned the support pipe itself, instead using a wooden pole of appropriate thickness. And to prevent it from wearing out at contact points with the cheeks, we applied a support pipe in the winch — between the cheeks. We also simplified the support posts and made them lighter.
1 — boss (St3, 2 pcs.), 2 — pipe.
This, however, is not all. The possibility of reducing the unit weight is seen in replacing steel gears and bearing housings… with nylon ones. But that’s in the future.

1 — horizontal pipe, 2 — vertical pipe, 3 — M8 nut, 4 — M10 nut.
Some winch units also underwent design changes. I mean the appearance of couplings for cable travel limiters instead of rigid welded “gates”, then guard shield brackets and the shield itself.
V. MOROZOV
Recommend to read
 VACUUM CLEANER FOR OIL
As you know, in order to drain the automotive engine waste oil, have to drive the car on the rack, or to use the repair pit. However, if the garage has quite a powerful vacuum cleaner, a...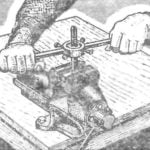 SAWING — DIE
Fans decorative fretwork jigsaw know: saws, fragile, broken — will not save enough! However, why not stock up? Not only by the saws, and a simple fixture to make them. The originality...
