MOWS KNIFE

MOWING KNIFE...If you have a “no” trimmer, it will not break the neighbor… So, to paraphrase a famous song, you can start the story about the problems with manual lawn electromobility. Most of the models imported electrochimprom (from the English word trim — cutting, trimming) is clearly not designed for the Russian kolodong mowing lawns or weeds around fences.


First in the grass, a foreign object causes damage to the important working of the trimmer — spools of fishing line. Such a thing has happened, my friend Nicholas.
 
You can, of course, to shop and to buy the Chinese analog spare parts (because the original brand is expensive). But what’s the point to spend money and time to the next Armaturen in the grass!
 
There is another way out of this situation — to think and find, so to speak, a “bypass” option.
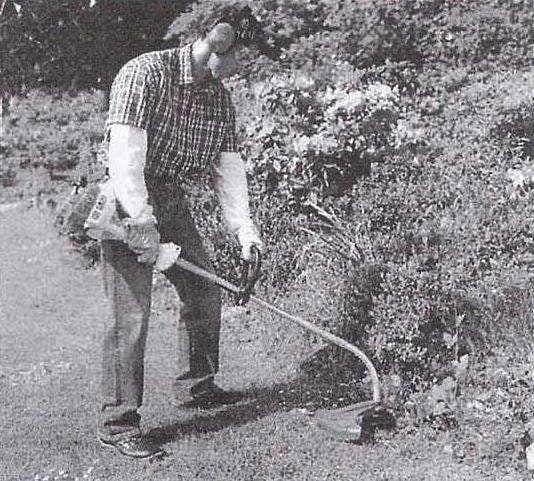
“My neighbor somehow screwed “native” coil washer with the petals-blades of thin steel, and now cuts them all in a row!” — suggested the man.
 
All clear! I have the tube and washer, and stainless steel sheet… That’s just going to look rough.
 
The position of the knives in the free state
 
The position of the knives in the free state
 
Upgraded working attachment manual elektrogeneratory with metal knives instead of the line
 
Upgraded working attachment manual elektrogeneratory with metal knives instead of the line:
 
1 —shaft; 2—working nozzle; 3—a protective casing; 4—copper split cotter pin

 
“Not to aesthetics! Importantly, the technique worked!” — in the hearts, passionate, explained to me Nicholas.
 
To start we turned on the trimmer and substituting to the remains of the side walls of the coil with a hacksaw, cut off all unnecessary. Now, there is a plastic shaft, which must have something to adapt.
 
Worked discorus, drank file, powercal welding, pogudeli drill, pollepel hammer. At the end of the pliers I unbent antennae copper pin.
Tips and tricks:
 
suitable tubes for sleeves, the same as the puck, not just to find, so to fit the tube on the shaft makes sense to cut from it a longitudinal strip 2 is 4 mm, and then upset with a hammer to the desired diameter;
 
the puck can be done using chisels and a round file of sheet steel;
 
the puck to the tube sufficient to tack weld in 3 to 4 connecting points on a circle;
 
instead of steel rivets to use ordinary screws type M4;
 
the holes for the cotter pin is easier to drill at the site, after installation novodel tool tips on the shaft of the trimmer.
 
The simplicity of the design allowed us to do everything in 30 minutes and to successfully test it first on a domestic lawn, and then releasing the line of the Bay and its taken from neighbor elektrodvigatelei, and on the street, destroying the weeds.
 
The position of the knives in working condition
 
Position of blades in working condition
 
The working part of elektrogeneratory
 
The working part of elektrogeneratory:
 
1—Bush-the basis; 2—a washer (steel, sheet s3); 3 — knife (stainless steel, sheet s1, 2); 4—steel studs (M4 screw, 2 PCs.)

 
Steel chiseled sleeve-basis (more practical option) elektrogeneratory
 
Steel chiseled sleeve-basis (more practical option) elektrogeneratory
 
“Excellent! What you need! Do not mow, and shave! Take a picture of the design “history” and it’s time to go home, and tomorrow — mowing!” — concluded our meeting Nicholas.
 
This design, of course, is much more effective than the regular version with the cutting element of the line, however, and more dangerous. With this trimmer, you should stay away from people, to work in boots, and most importantly — to prevent the wear limit of petals and studs.
 
A. MATVEICHUK, Zavodoukovsk, Tyumen region.

Recommend to read

  • EACH HOLE – ON THE SPOTEACH HOLE – ON THE SPOT
    Starting to manufacture handmade furniture, a home master, most do not have the skills of carpenters professionals are faced with two main problems (not counting, of course, of the...
  • “MOUSE” IS THE YOUNGER BROTHER OF “CHEBURASHKA”“MOUSE” IS THE YOUNGER BROTHER OF “CHEBURASHKA”
    Flipping through the 1975 edition of Modelist, I noticed an article in No. 3 about the Cheburashka car, built by young technicians from Tbilisi. I liked the car and decided to make one for...