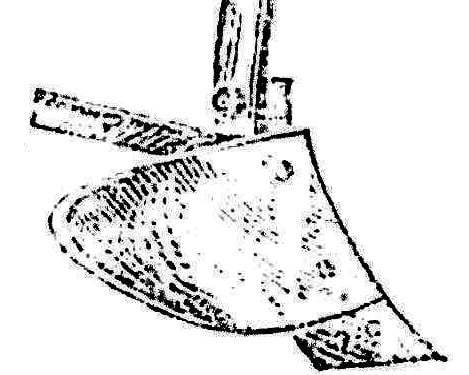
 Paradoxically, for many Amateur designers to make a good plow harder than a mini-tractor! And only due to the fact that the tool consists of parts having a curved shape, which can only be wrought or special rolling machine. Of course, this technology is hardly accessible to a wide range of fans.
 However, there is a solution. The manufacturer of the plow will be added to any master, if the blanks for the most complex configuration parts to use… cut enough pipe of larger diameter.

Fig. 1. A plow Assembly (blade removed):
1 — shield 2 — field Board, 3 — strut, 4 — slide fifth, 5 — pole blade, 6 — blade. The holes for the bolts on the blade parts 5 conventionally not shown (drilled on site). Asterisks indicate dimensions to the centers of the radii R277 and R404.
First manufacture of cardboard templates with radii of 300, 305 and 250 mm, and from a dense paper — the pattern scans the blade, the blade and support the blade. Take a section of pipe d 530X5 mm length 410 mm, cut along a generatrix of the cylinder into four equal parts. Then, putting on RunUO the surface with a hammer or sledge straighten two of them up to radii of 300 and 305 mm, and the third, on the contrary, fold to 250 mm, controlling the curvature of the templates. Blanks for the manufacture of the blade, the support blade and the blade is ready!

R and S. 2. Cutting blanks for the manufacture of the blade.
The Assembly of the plow it is best to start with the connection of the plow blade and supports took a pair of below M10. Then similarly fasten the slide and field Board. Install both nodes ka flat surface and tack weld the prop blade and field Board. The shingles can be left removable, and can be welded.
The holes in the blade and the support blade are best drilled with one pass. Instead of bolts it is preferable to use a welded to support studs.
A crawler is smarter to do compound — for more convenient replacement of worn shank. And the design and dimensions of the stand are device-dependent tillers.
L. Todorov, Belgorod


