The magazine “Modelist-Konstruktor” has published many thematic selections about simple but effective homemade devices that no smallholding can do without (see, for example, issues 7’92, 5’95, 6’97, 6’99). However, interest in such designs has not faded even today, as shown by the editorial mail.
V. Solonin — inventor and rationalizer, one of our magazine’s active authors — presents his versions of technical devices intended for the use of everyday materials and “home” technology accessible to any beginner.
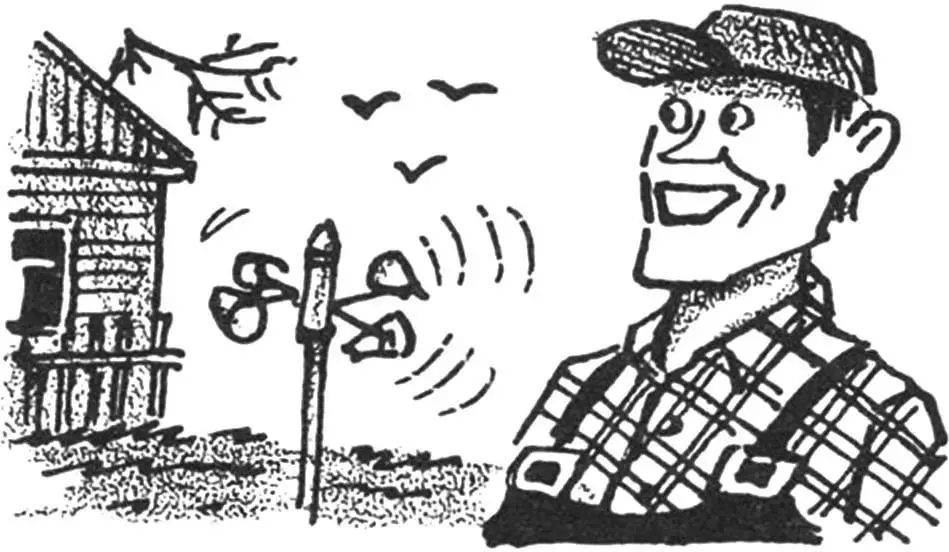
SCARECROW WINDMILL
As long as something is growing in the vegetable garden, people get no peace from crows trying to pull up seedlings. Sparrows cause plenty of trouble too. They descend in whole flocks and can strip plantings bare — sunflower, for example — without fearing scarecrows or fences made of light objects fluttering in the wind. These winged rascals would not give way even to “the scariest ghost in the world” — cartoon Karlsson — if he existed in real life. You need not a buzzing propeller but a full windmill here!
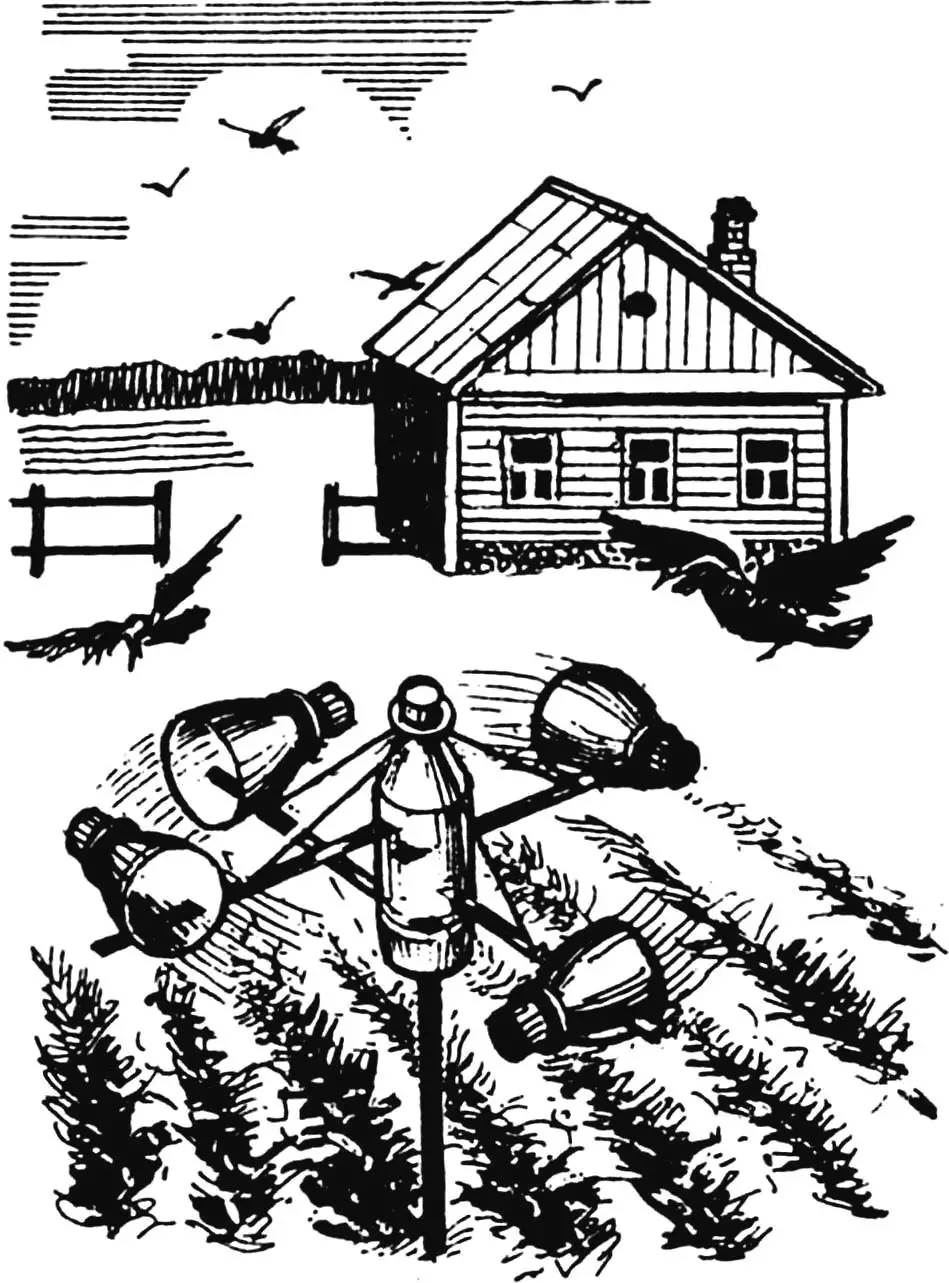
And indeed: large blades of unusual shape, slowly (preferably unevenly) turned by the wind in a horizontal plane, will make birds remember self-preservation. A real analogue of such a bird scarer may rightly be considered an instrument for measuring wind speed — an anemometer that, as I recall, used to equip even school weather stations. For all the simplicity of its design, it has high enough autonomy and reliable operation in any conditions. The anemometer’s rotor is driven by the interaction of wind and cup-blades, convex and streamlined on one side and concave on the other, creating resistance to the oncoming airflow.
A home workshop is not a factory for meteorological instruments; and most amateur builders cannot afford not to worry about maximum simplification and low cost of DIY projects. So when making a dynamic scarer it is practical to replace the wind cups with the upper parts of thin-walled plastic soft-drink bottles, and to use a larger bottle — whole and thick-walled — as the hub and central bearing (preferably PTFE or polyethylene so friction losses in this critical joint are minimal).
Much also depends on the wind wheel spokes. They must be long enough, strong, light, and made of a material available to DIY builders. Plastering lath (preferably sawn) meets these requirements. Elementary guy wires — tight nylon or lavsan strings — can add resilience to such spokes and distribute mechanical and dynamic loads evenly.
A few remarks and tips on assembling a dynamic rotor-type scarer. Blanks (the neck parts of plastic bottles) are slipped onto the future spokes, which can even be 800 mm straight branches if plastering lath is unavailable. Diametral cuts made beforehand in the walls of the shaped blades help avoid cracking, chipping, and other complications when performing this fairly simple operation.
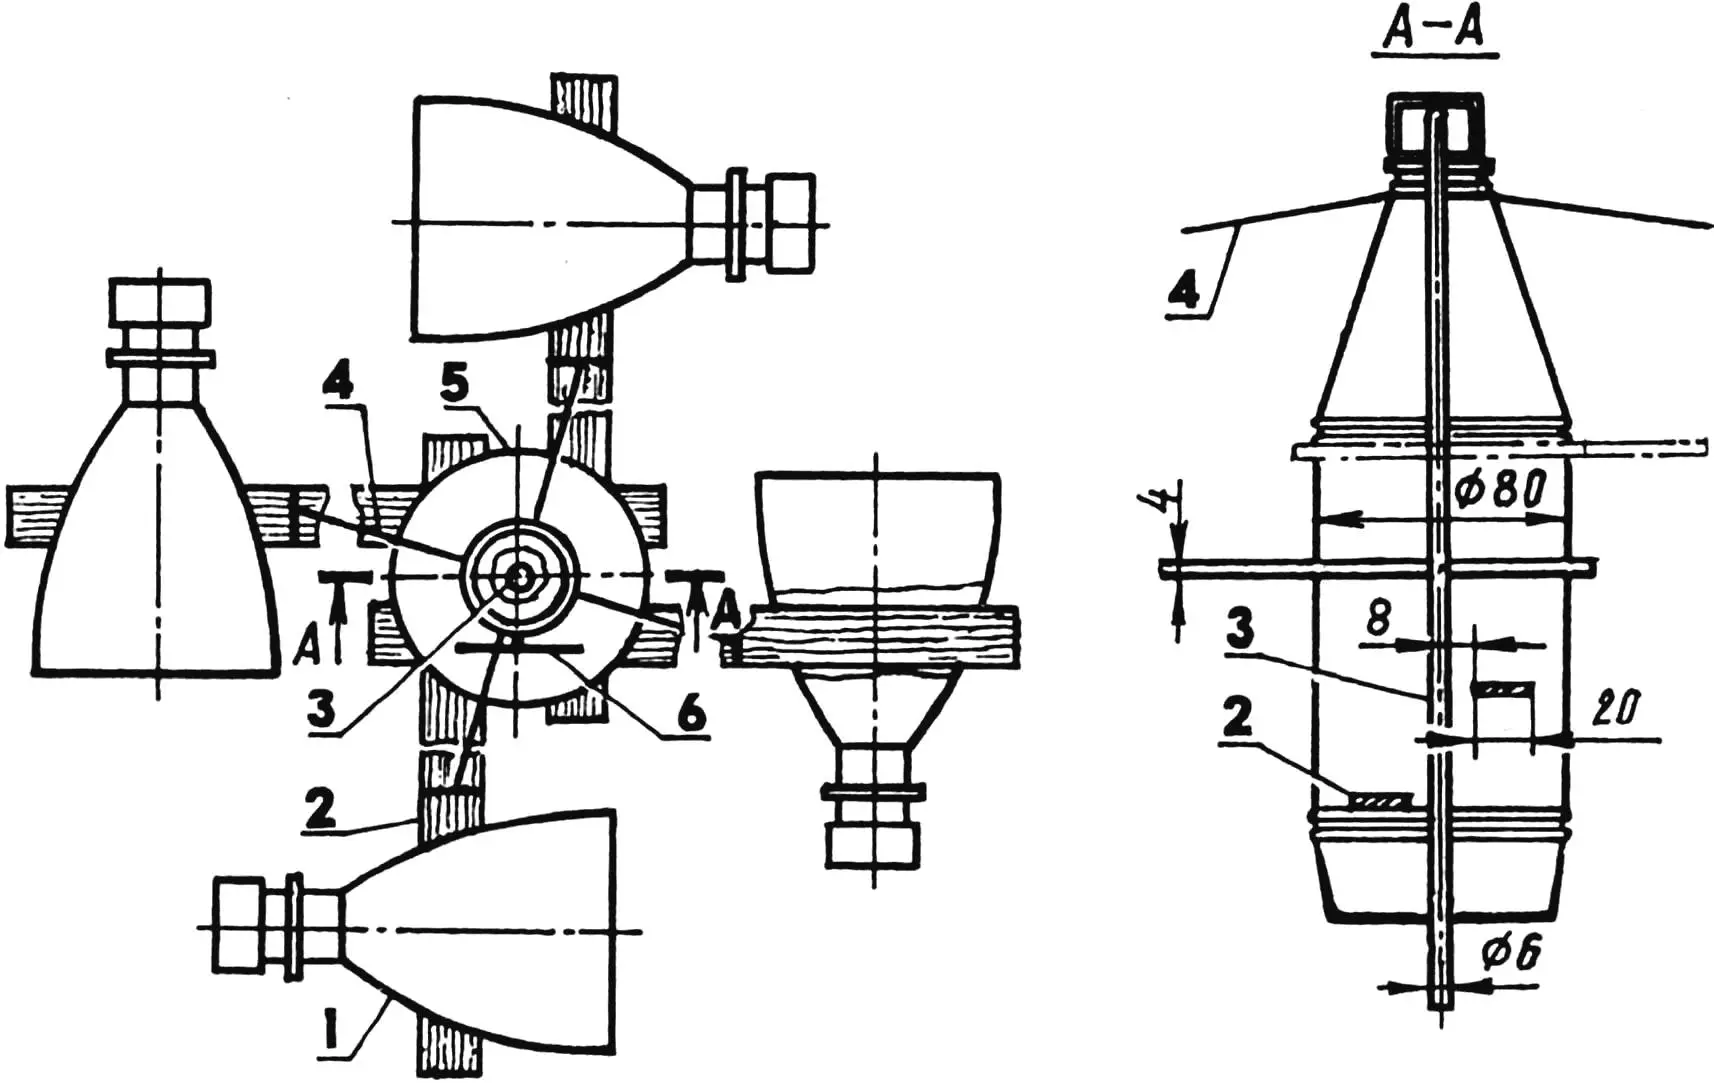
1 — cup blade; 2 — wind wheel spoke; 3 — rotation axis (steel pin); 4 — guy wire; 5 — bottle hub; 6 — suspension loop (aluminum wire)
Each spoke, passing through the cup blade slipped onto it, protrudes 10—15 mm at one end beyond the imaginary rim of the wind wheel. The other ends of the spokes are inserted through through “chord” holes in the bottle hub and project (again 10—15 mm) from the opposite side. The walls here are stronger than those of the cup blades — because the bottle is thick-walled (e.g. from “Oceanite” or “Belizna” bleach). It holds four spokes mounted cantilever-style, with one cup blade threaded on each spoke or even several pairs.
The holes for the spokes in the hub are made so that load is distributed evenly. They hardly weaken the plastic walls, thus avoiding cracks and tears from the pressure of the cantilever-mounted blades. A tight fit and the material’s elasticity ensure firm, reliable fastening of parts at all joints of the wind wheel.
The strip spokes do not pass through the sleeve’s axis of symmetry, since it is left clear for a steel pin on which the wind wheel rotates. The pin passes through a hole in the bottle bottom, follows the axis of symmetry exactly without touching the spokes, and rests its rounded end against the inner stopper.
Although the wind wheel is quick to install, turns easily, and can be removed freely when needed, it is prevented from accidentally slipping off the pin. The bottle hub, bearing against the side surface of the pin with the edges of the bottom hole, resists overturning in the vertical plane. Friction forces that arise additionally slow the wind wheel; the thicker the pin, the greater they are.
Friction can be reduced by balancing the design — placing the center of gravity on the axis of symmetry of the bottle hub by moving the cup blades along the spokes. Check visually by the position of the pin relative to the hole edges when the wind wheel coasts slowly. If the contact point between these surfaces keeps shifting, balancing has succeeded.
For greater strength, guy wires of wire, thin rope, fishing line, lavsan tape, strong thread, cassette tape, or a strong cord may be used. The wires are tied to the bottle neck and to the spokes (e.g. in front of the cup blades). Rotation intensity can be increased by adding more bottle necks, paired on opposite spokes. Extra blades may also sit on the other side of the spokes. In any case the wind wheel must remain balanced.
To increase the bird-scaring effect, opposite blades can be lengthened. Cut a spoke in half. Push the resulting narrow 800 mm strips with sharpened ends through the cup-blade holes and tie them in convenient places; hang pennants cut from the same plastic bottles on the guy wires to give the wind wheel extra, frightening properties — highly visible flicker and intermittent buzzing.
Bird-scaring pennants do not speed up rotation; they slow the wind wheel. So compensation is needed in the form of extra cup blades. But an optimum is still required: birds quickly get used to a wheel that spins continuously. If it has been still for a while and then suddenly starts turning in gusts…
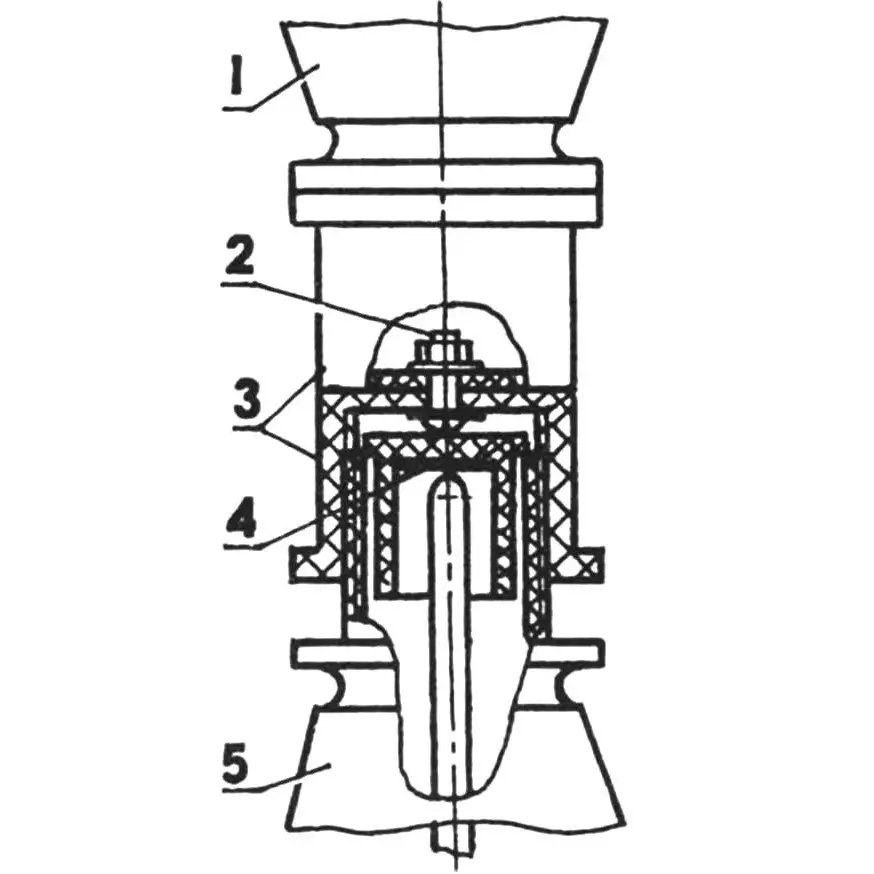
1,5 — bottles; 2 — M4 screw; 3 — bottle stoppers; 4 — thrust disc (coin)
Also: such a wind wheel should be placed above a vineyard only when the berries are ripening. At other times it is unacceptable because it will drive away bees pollinating the flowers and birds that eat harmful insects and caterpillars.
Serving as the axis of a removable dynamic scarer, the steel pin is fixed below the grape arbor so the wind wheel can be slipped easily onto its rounded end. A loop of aluminum wire screwed to the neck of the bottle hub and a rod with a hook on the end for putting the wheel on and taking it off make the job quicker and easier.
To scare birds on a large plot, the steel pin is driven into the ground and a larger wind wheel is slipped onto it. Long spokes are made from short strips (plastering lath), wired together and glued at the joints.
Longer spokes increase load on the guy wires. To keep them from breaking, several adjustments are made — in particular the hub is lengthened by joining another bottle and moving the common attachment point of the guy wires closer to the bottom.
The second ends of the guy wires distribute load evenly along the spokes. The longer the spokes, the more guy wires there should be.
The number of cup blades also depends on spoke length and is found by experiment. So that the rounded head of the steel pin does not cut into the inner stopper under heavier load, it is recommended to use a metal disc (a coin) pressed tightly into the stopper instead of PTFE.
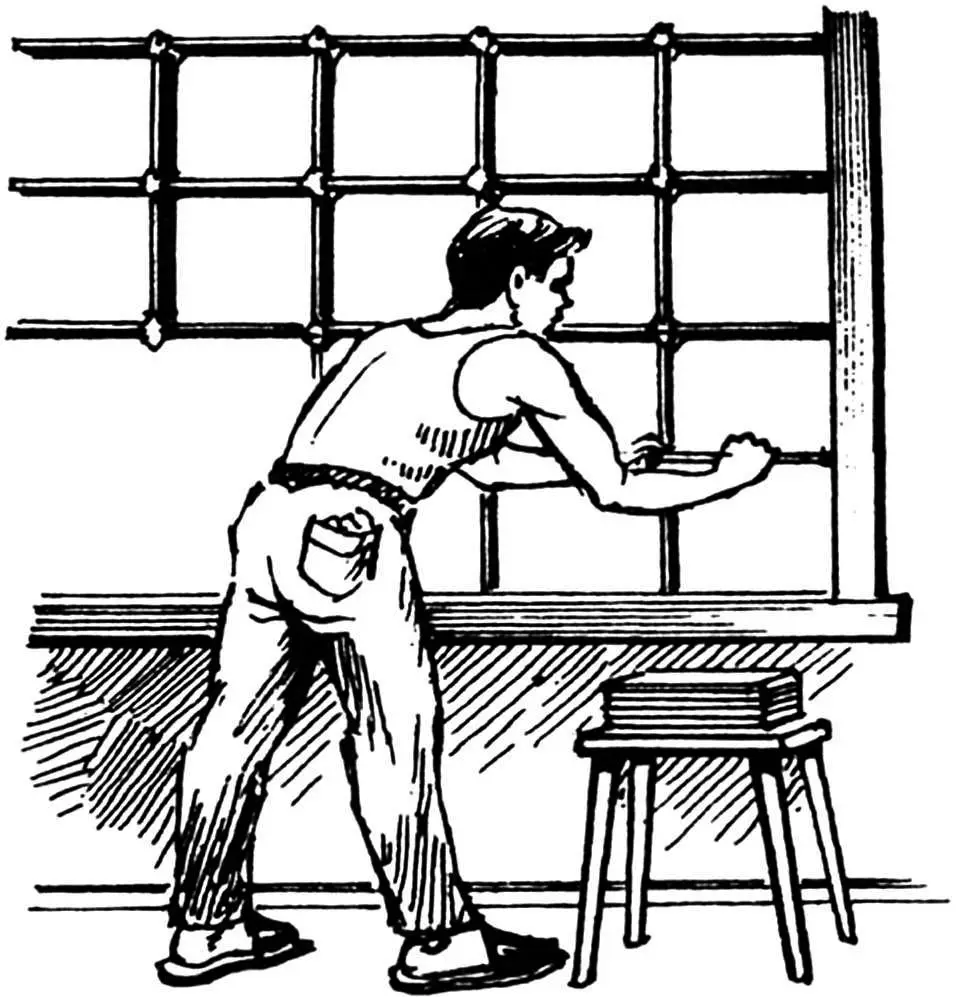
DISPLAY SHELF
Bolts, nuts, washers, cotter pins, and other small hardware are needed in every household. Or jars of spices, seeds, chemical reagents… It is good when all this is not in “working disorder” but at hand, in a homemade glass shelf whose square cells are roomy yet compact.
The design of such storage, which also works as an attractive display, is modular. It is based on glass facing tiles 150x150x3 mm. Ready-made tiles are preferable so as not to spend time and effort cutting more than fifty neat squares from tricky window glass.
Each group of four neighboring tiles (two vertical and two horizontal pairs) is fastened to the next with two crosses cut from scrap 3 mm dural sheet, with 10×3.5 mm notches at the corners. The result is 35 cells set into a common rectangular frame of birch or spruce bar 50×20 mm, with slots cut to about 17 mm depth. Fastening is with PVA glue, corners reinforced with screws.
Such a shelf hangs on two hooks of 20 mm steel strip fitted onto slightly bent brackets of 10 mm steel rod set into the wall. Each hook’s straight section has a pair of countersunk screw holes for firm attachment to the frame.
Other mounting options are possible — on a wall, on entry doors, or on furniture doors. Shelf dimensions (cells per row and column) can be anything and should suit the installation site.
It is convenient to assemble the shelf on the floor. The side touching the floor will be the face (tile edges lie in one plane, unlike the back if the glass squares were cut with large tolerance). Four tiles held perpendicular to the floor and to each other receive a fastening cross so the glass edges enter the intended slots.
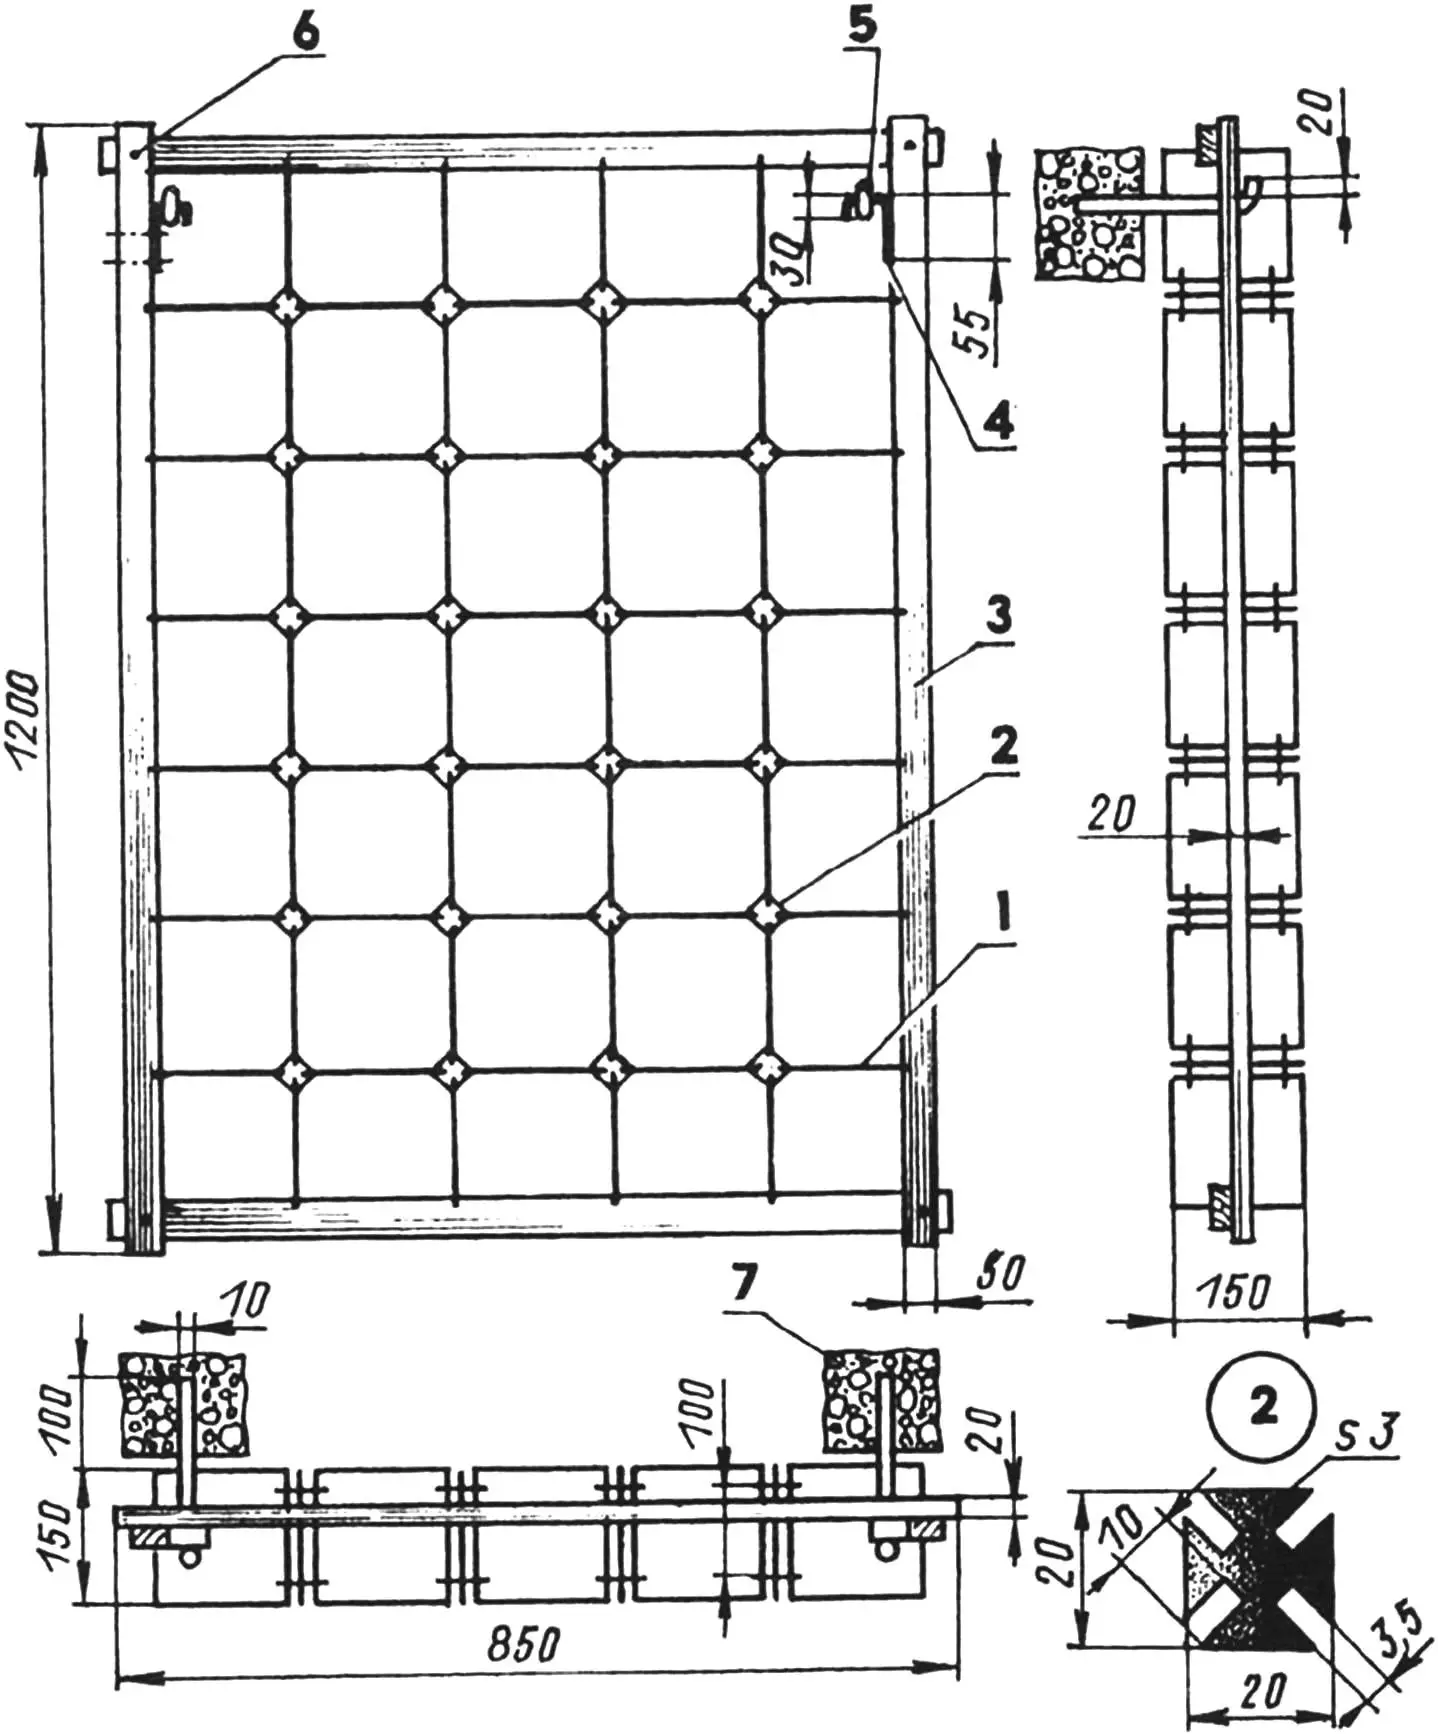
1 — tile (glass 150x150x3, 58 pcs.); 2 — cross (dural sheet 20x20x3, 48 pcs.); 3 — frame (wooden bars 50×20); 4 — hook (steel strip 20×2, 2 pcs.); 5 — bracket (steel rod Ø10, 2 pcs.); 6 — screw (8 pcs.); 7 — wall
To keep the crosses on the glass they must be fixed temporarily with plasticine. Plasticine is easier to use as fastening corners from pre-rolled balls that are flattened and then cut into four parts. Parts held by these corners do not fall apart even after you stop supporting them by hand — especially if the glass tiles are matched so the edges line up.
When the glass part is assembled, the tiles are aligned more carefully. Then epoxy is applied to the crosses; it fills the gaps but does not run on the glass because the plasticine blocks it. After the epoxy cures, the shelf is set into the frame, where holes for screws and slots for the glass tile ends are already prepared. PVA is spread on contact surfaces of the nearly finished piece and all visible gaps are filled.
Then comes another drying period; the shelf is turned over, the plasticine is removed, and epoxy is poured onto the crosses in its place. After the glue cures, the wooden frame should be painted and dried, and the hooks screwed on. The shelf is ready to mount on the wall.
Of course, similar shelves can be made without a wooden frame when placed in niches and cabinets. Their load capacity is somewhat lower, but they look original and attractive in their own way — especially if the back wall of the niche or cabinet is mirrored.
“Modelist-Konstruktor” No. 4’2001, V. SOLONIN, Konotop, Ukraine
Recommend to read
 Helicopter S-55 I. Sikorsky
Helicopter S-55 Sikorsky Aircraft company, part of United Aircraft Corporation, was designed and built in the late 1940-ies, during the period of rapid progress in the global helicopter... THE RADIATOR FOIL
Fast and simple — to manufacture heat sinks for transistors and microcircuits made of copper or aluminum foil with a thickness of 0.1—0.3 mm. Plates are cut with scissors, carefully...
