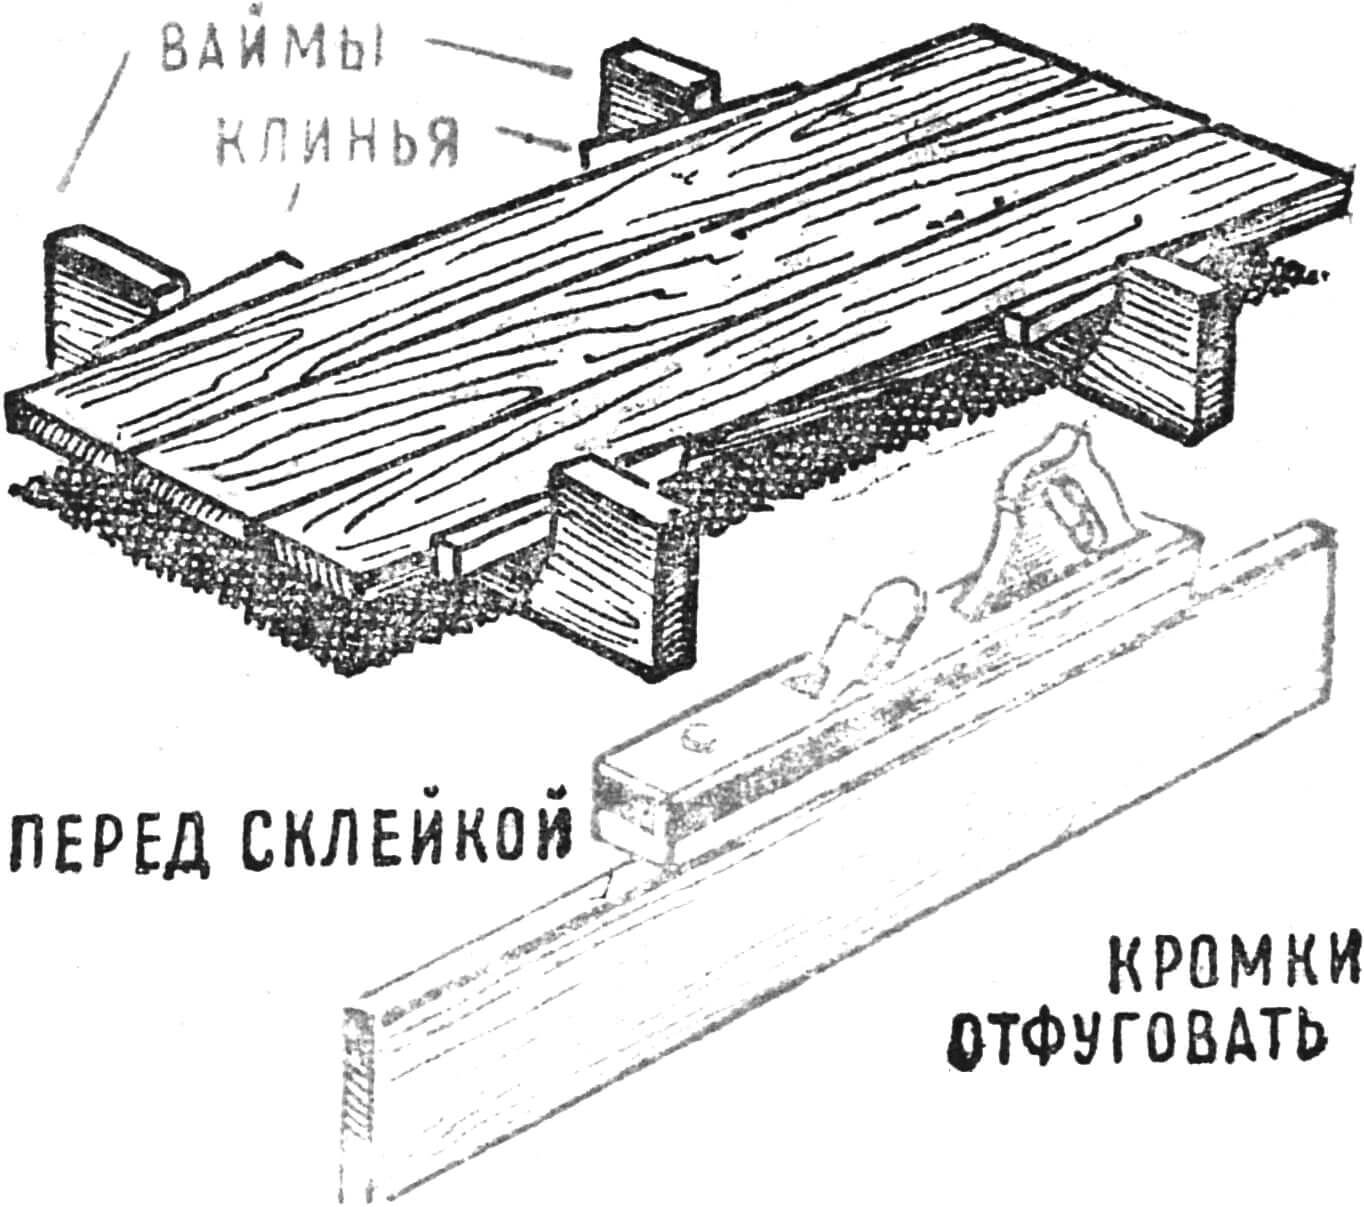
An aquaplane is a board on which one rides on water, tied with a long rope to a motorboat or boat. Just like water skis, an aquaplane keeps a person on the surface of the water due to the lift force generated during its movement. Mastering the technique of riding an aquaplane is much easier than on water skis. And the engine power required is less. Therefore, an aquaplane can be mastered even where there are only relatively slow boats. Making an aquaplane is very simple — it is enough to have several smooth boards 2—3 cm thick and connect them with crossbars, as shown in fig. 1. The contacting edges of the boards should be processed with a jointer so that they fit perfectly tightly to each other, and glued together with waterproof glue, clamped in a vise, as shown in fig. 2. The aquaplane will be strong and durable. The crossbars are installed with glue and nails “in a bend”. Two holes are drilled in the front crossbar, through which the towing rope and bridle will be passed, which the rider holds during the start and movement on the water.
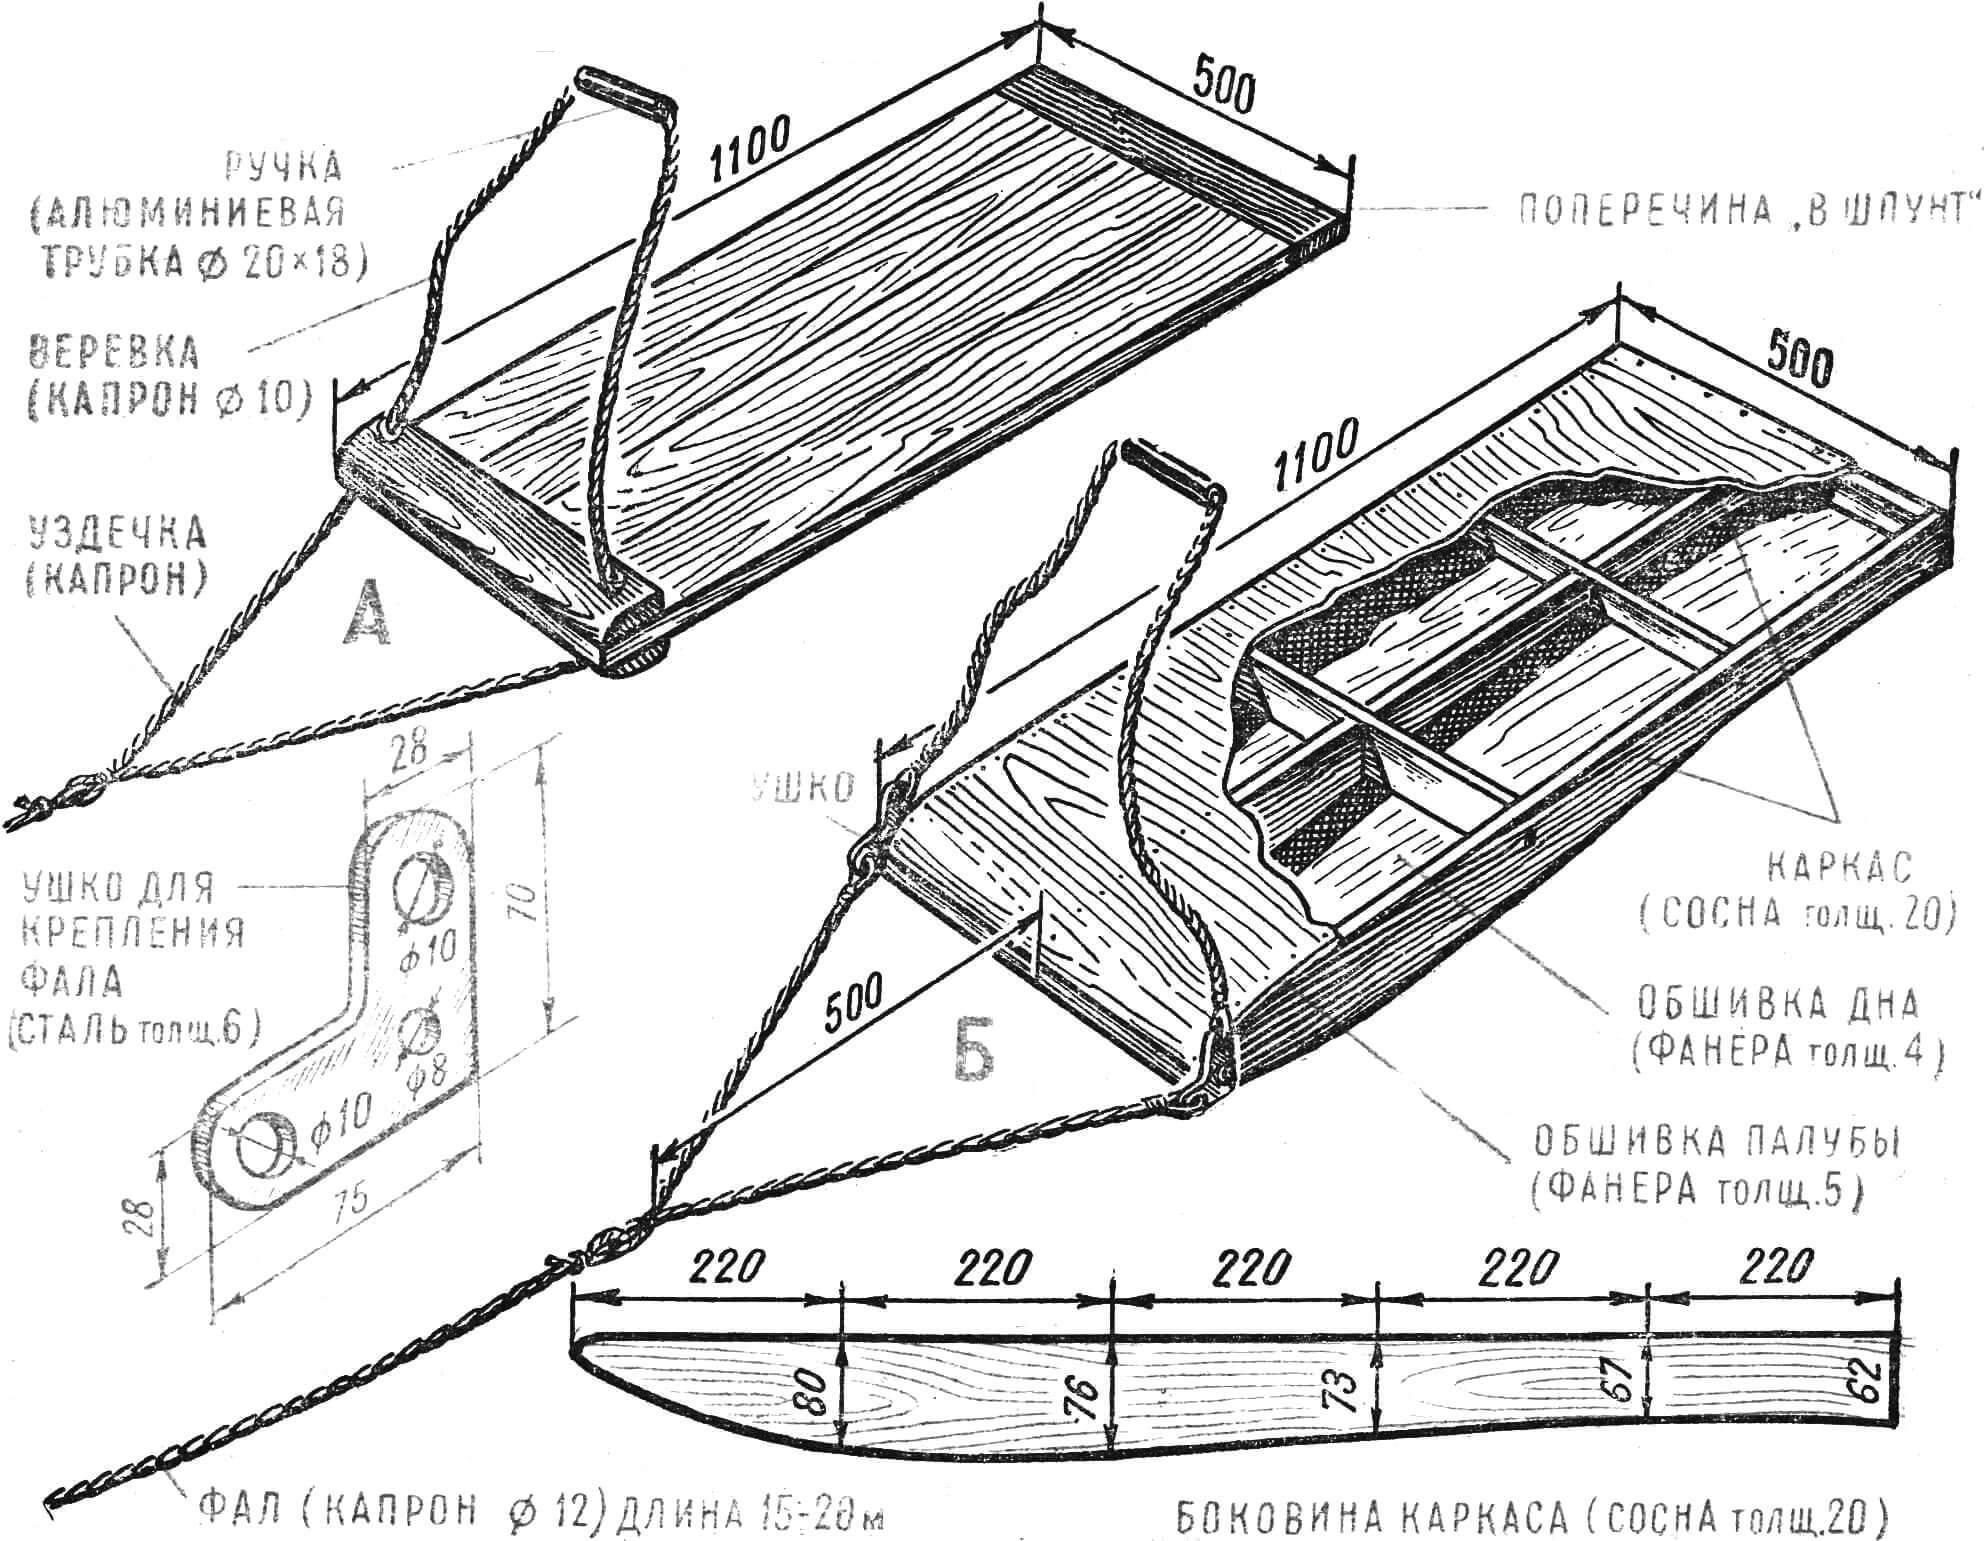
A — simplest aquaplane made of boards, B — built-up displacement-type aquaplane.
After finishing the assembly of the aquaplane, it must be carefully processed with sandpaper — first coarse, then finer, covered with hot linseed oil and painted with bright-colored oil paint. The lower, bottom surface is usually painted red, the upper one, on which the rider stands, — white.
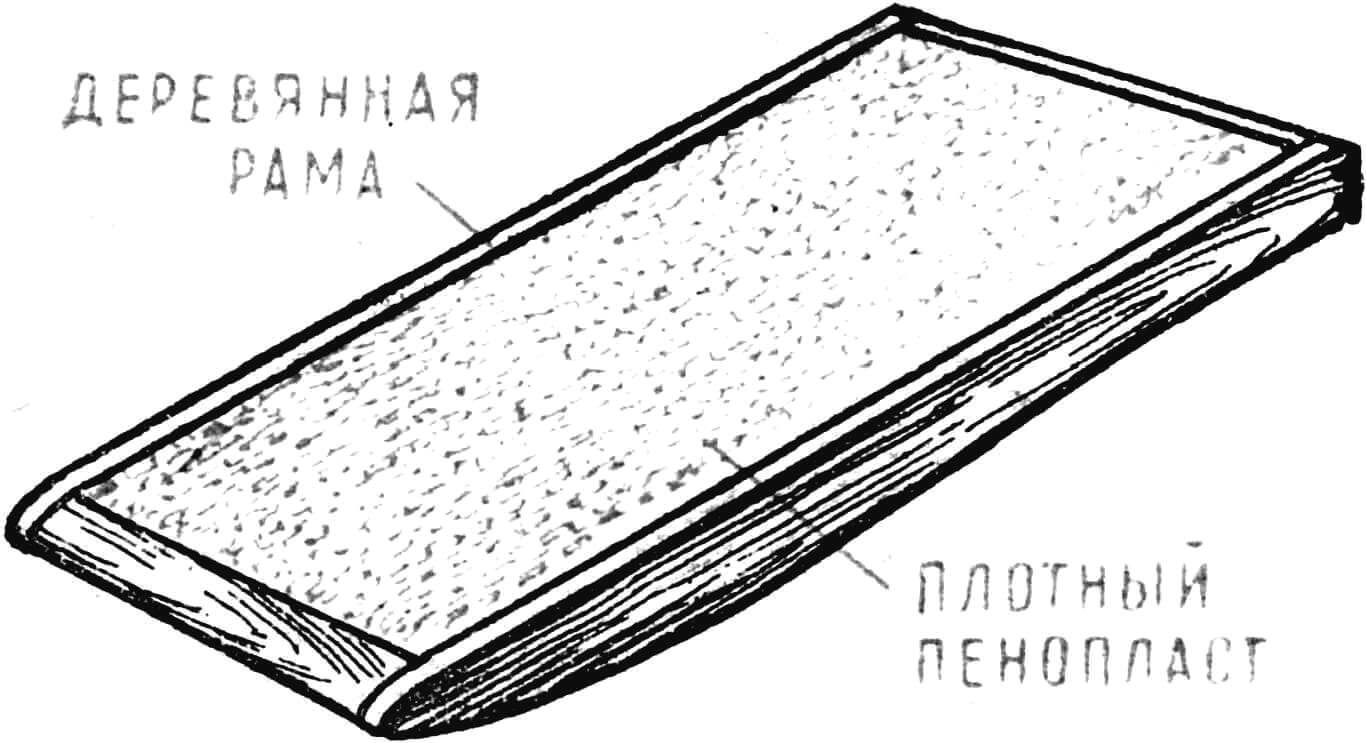
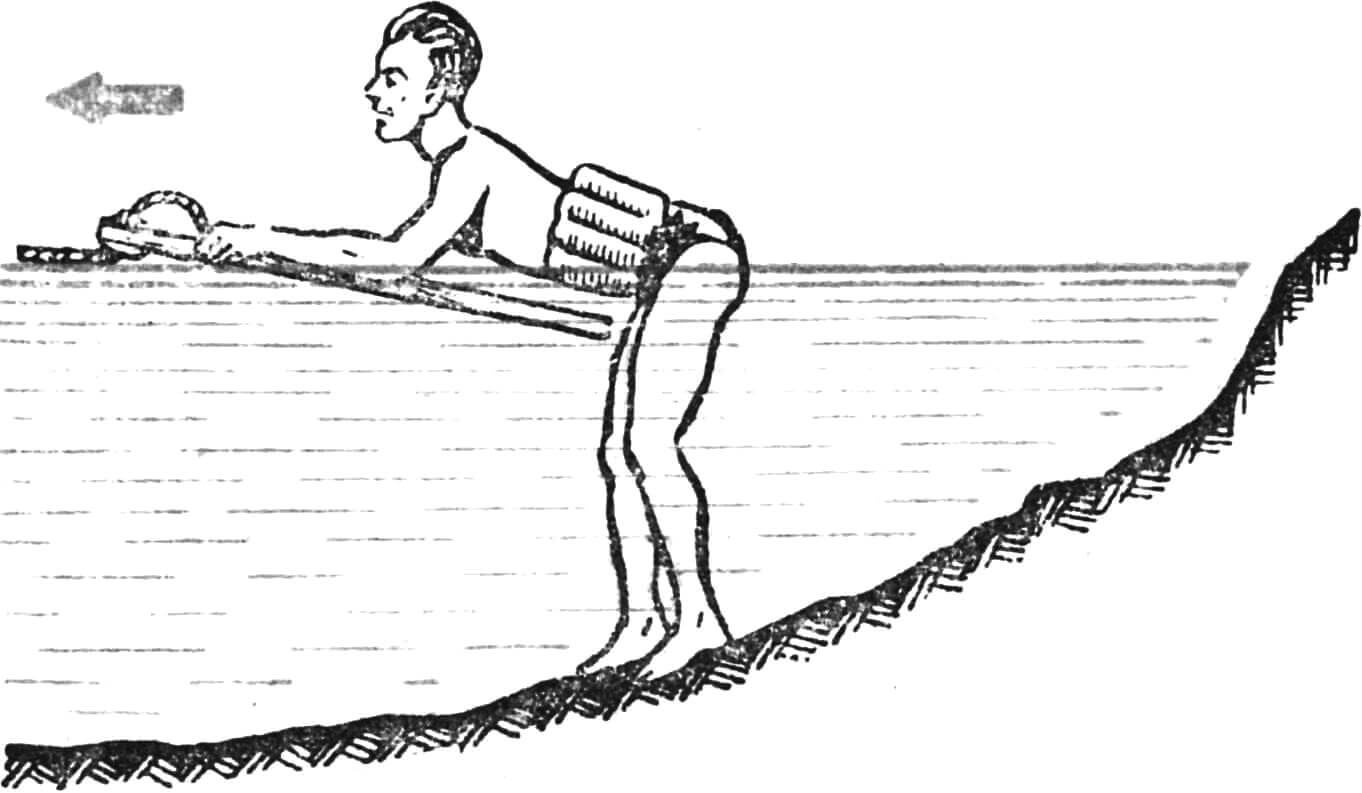
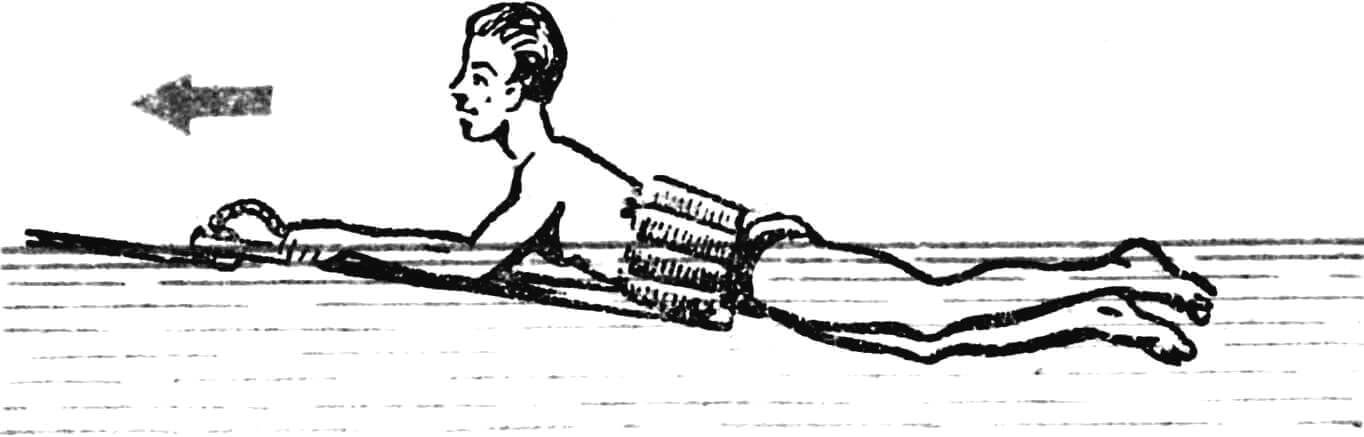
For making the bridle and towing end, you can use a good (definitely new!) clothesline rope, 8—10 mm thick. The way to tie it to the aquaplane and boat is shown in figure 3. Such an aquaplane is the simplest to make. But it has one drawback: low buoyancy. It can support a person on the surface of the water only during movement. This is not always convenient — especially when working with beginners. Therefore, another type of aquaplane was developed, which, in essence, is a small hermetically sealed planing boat (fig. 1 B), made according to the simplest scheme — a wooden frame with sheathing made of thin plywood. And after foam plastic appeared, such aquaplanes began to be made entirely from this material, without any voids inside (fig. 4). A foam aquaplane can be successfully used not only for its intended purpose, but also as a rescue device and as a board for teaching beginners to swim. Similar boards are widely used in swimming pools and at swimming stations. Since we started talking about swimming, attention should be drawn to all those who will be engaged in mastering the aquaplane: only those guys who have passed swimming standards and do not cause any doubts in the leader in this regard can be allowed to these classes. For classes, it is necessary to allocate a boat with duty officers from among the older guys who can swim well. When riding an aquaplane, the most difficult thing is to learn how to start. There are two ways to start: starting from a shallow place, when the rider stands chest-deep in the water, touching the bottom with his feet (fig. 5). Another way to start is from a deep place, when the starter swims, holding the aquaplane with his hands (fig. 6). The beginning of movement is performed in both cases the same way — the starter lies on his chest on the aquaplane and waits for the moment when the towing motorboat gains speed, and the lift force of the aquaplane will be sufficient to stand on it with your feet.
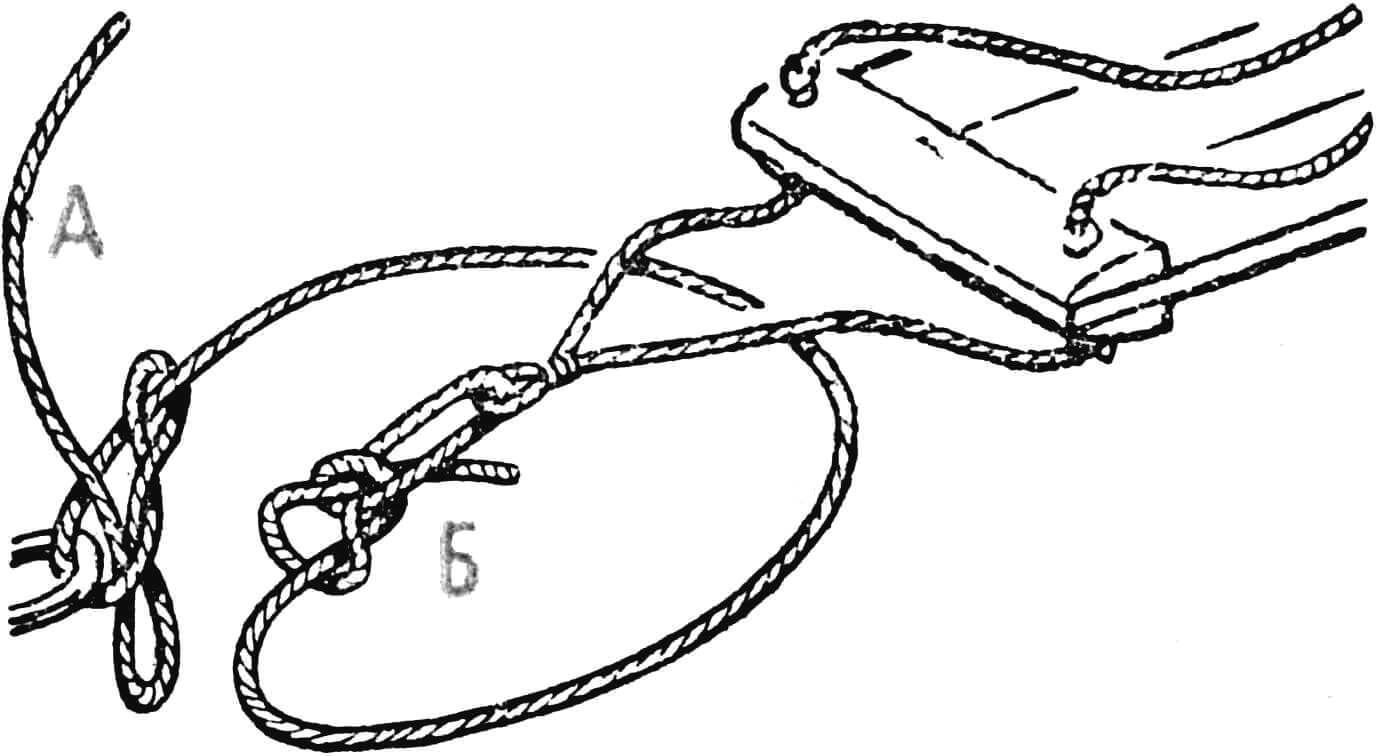
A — to the towing boat, B — to the aquaplane.
At the very beginning of movement, the angle of attack of the aquaplane should be slightly increased by moving your weight back so that it does not bury its front part in the water, and as the speed increases, the angle of attack should be reduced again. After that, you can pull yourself forward on your hands without changing the angle of attack of the aquaplane, and put one knee on it first, then the other. This phase of getting out of the water is the most difficult: when changing the centering, you can lose balance and fall into the water. Therefore, it is recommended to do several simulation exercises on land before classes on the water (fig. 6, 7, 8).
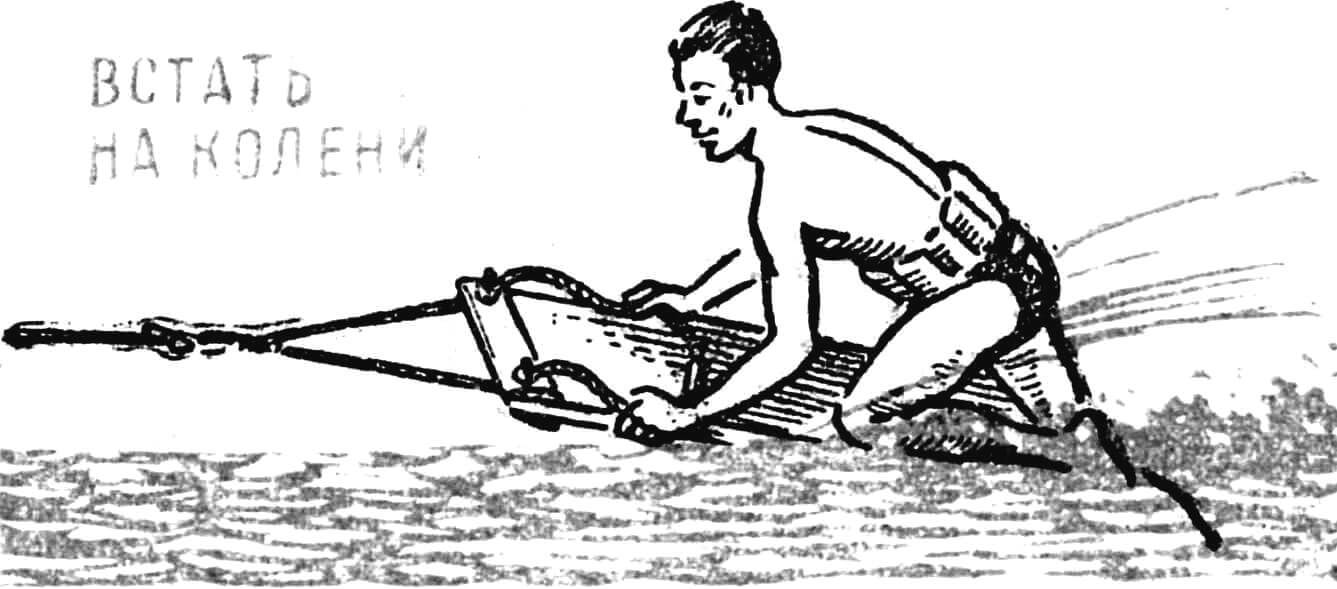
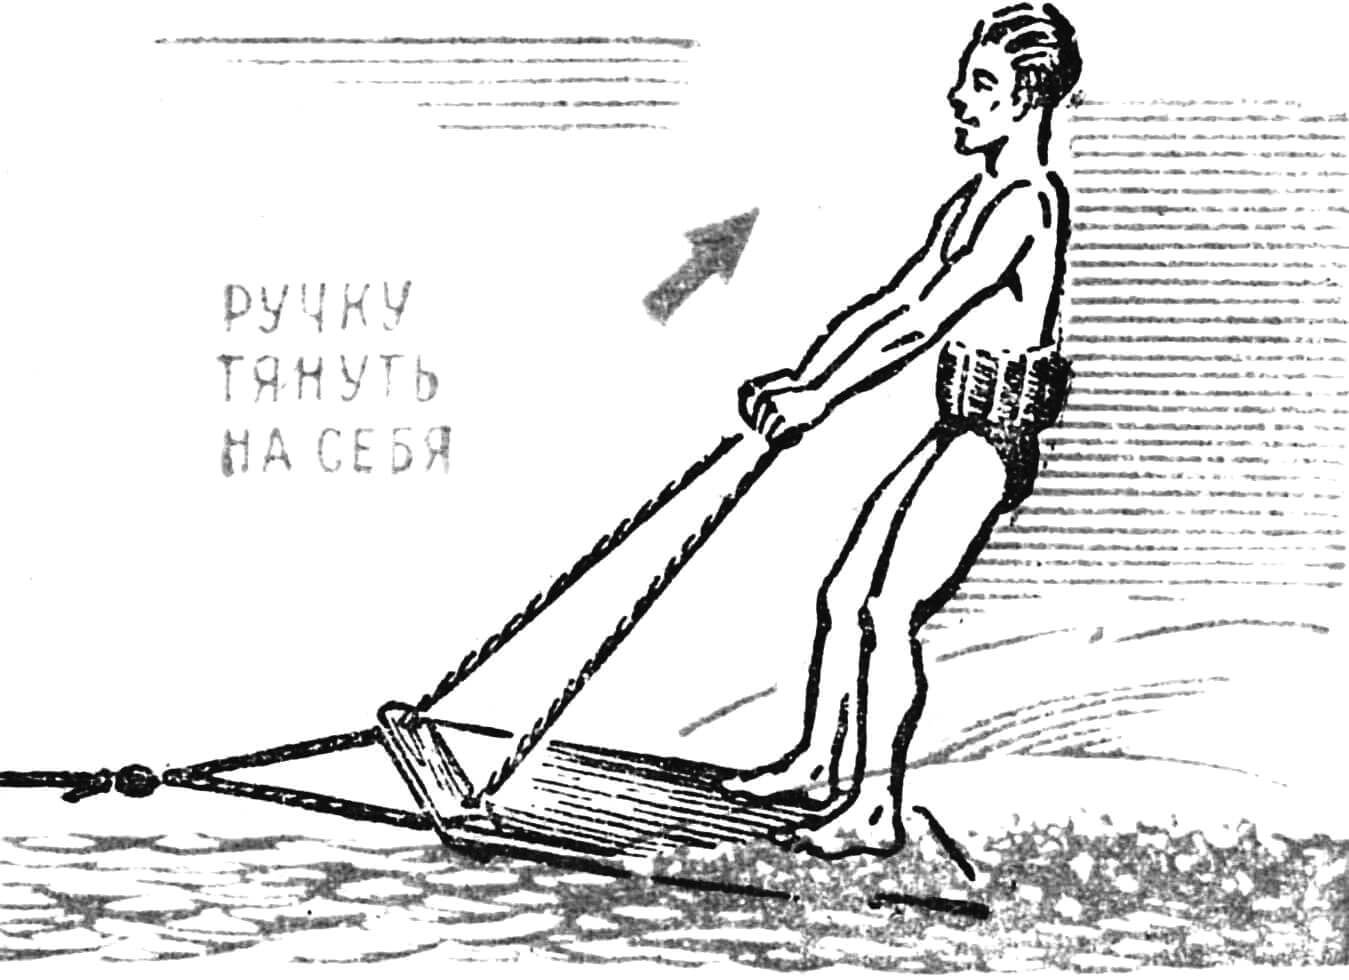
After the aquaplanist has knelt down, getting up to full height and taking the basic stance position is no longer difficult. To do this, you need to grab the bridle and, without loosening its tension, rise quickly but not jerkily, trying not to lose balance (fig. 8). This usually succeeds the first time if there was no lateral wave unnoticed by the athlete. In general, the first lessons should be conducted in the morning or evening hours when the water is calm.
Having mastered movement in a straight line, you can proceed to study turns. On an aquaplane, they are performed by transferring the center of gravity to the right or left edge, with simultaneous banking. The technique of performing a turn is similar to an alpine skiing turn “on parallel skis”.
Having mastered the aquaplane, you can perform all kinds of gymnastic and even acrobatic figures, for example, handstands and headstands, jumping off the aquaplane with a backflip into the water, etc.
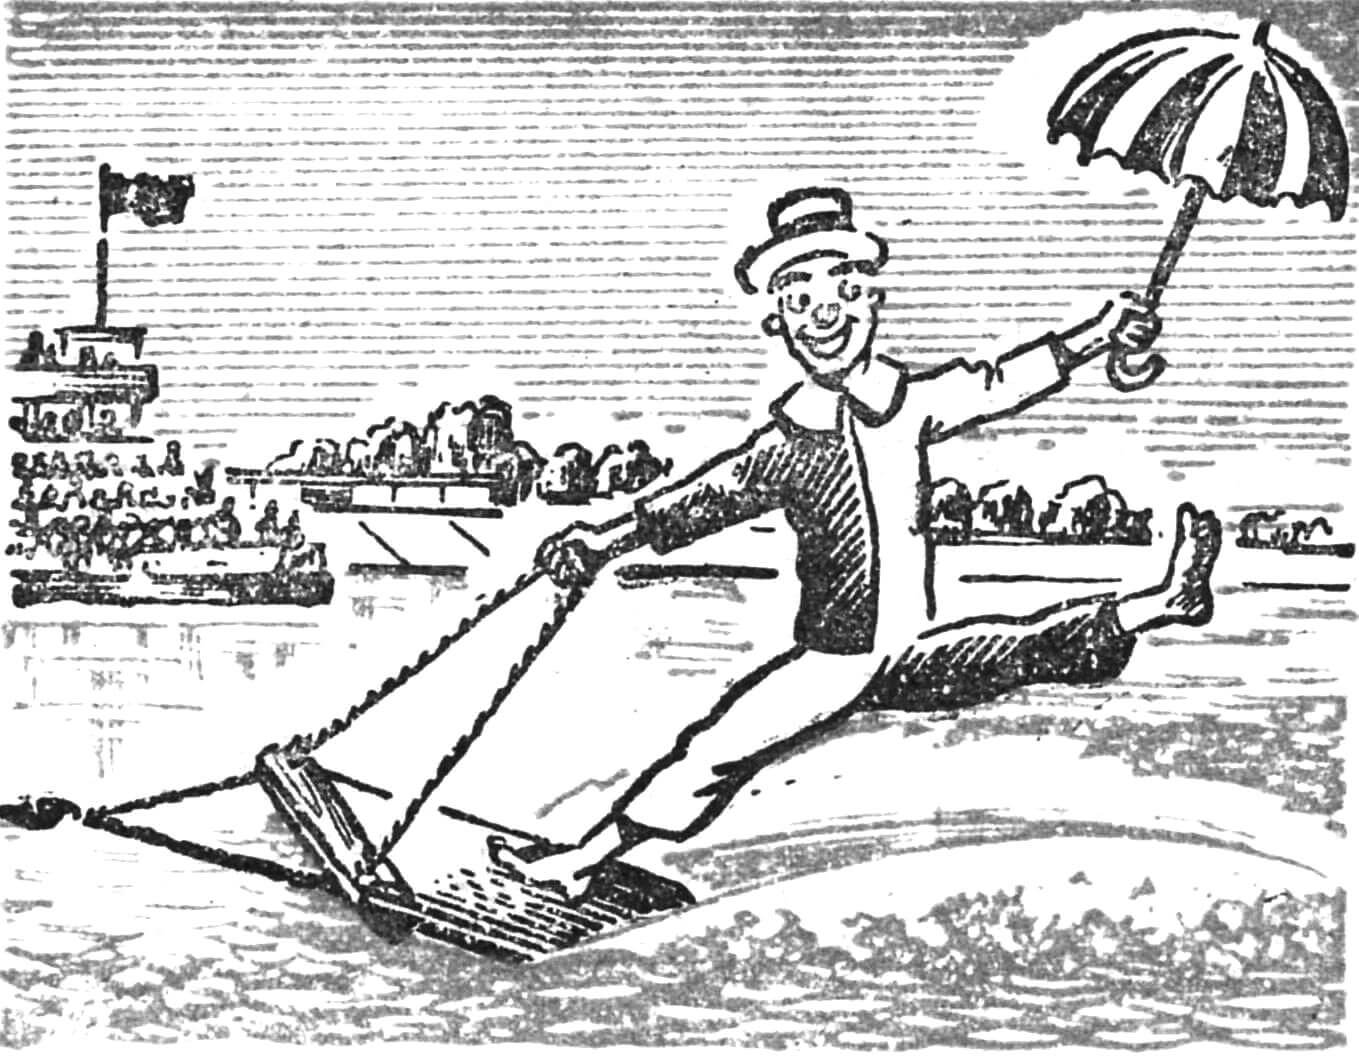
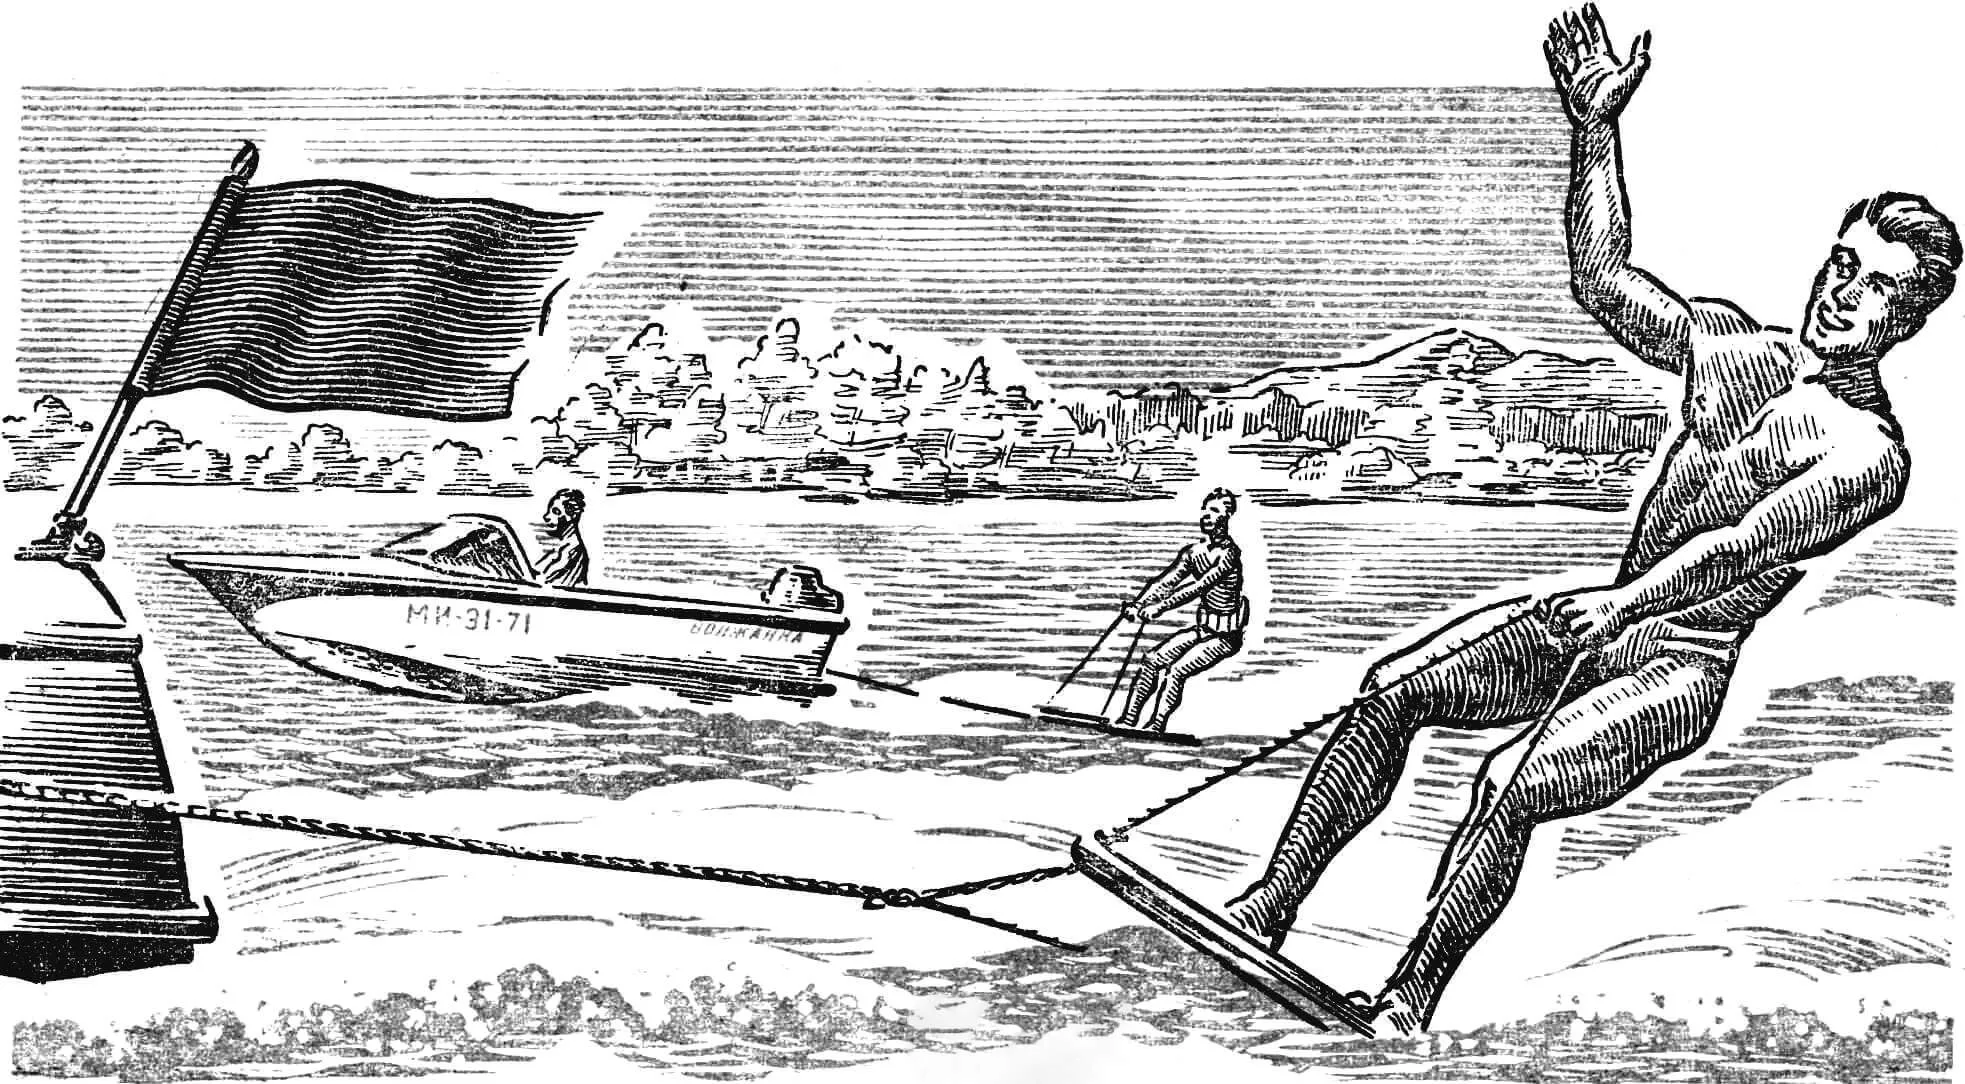
Comic numbers on aquaplanes are very effective — riding in masquerade costumes, with umbrellas and fans, etc. (fig. 9). Such comic numbers can be timed to celebrate Navy Day, water sports competitions, water carnivals, etc.

The highest skill of an aquaplanist is riding on figured aquaplanes (fig. 10), designed in the form of fantastic animals, as well as figure riding with the participation of two, three or more athletes (pyramids on aquaplanes). But it is impossible to master it immediately. For this, you need to train a lot and persistently. And the simplest aquaplane, with the description of which we began our story, is an excellent apparatus for sports and entertainment on the water in a pioneer camp.
G. STEPANOV
Recommend to read
 SOLAR DRYER
For harvesting for the future fruit for several years, use convenient dryer of our own making. Frame design and vertical placement allows you to place it on the Sunny wall of the garden...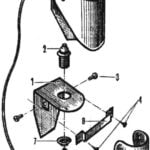 LAMP FOR WORKSHOP
The lamp has only three pipe parts: the bracket, the clip and the visor. The first two (see picture) made of steel sheet with a thickness of 1-1,5 mm (dotted line marked bend line). The...
