 As the history of aviation, the aircraft can be done from almost any material of the First airplanes he built from bamboo and percale, later, aircraft materials steel Yes spruce pine, them was soon replaced by aluminum and magnesium alloys, but today the high speeds require the use of titanium and high strength steels.
 The same problems sometimes arise and in front of the model aircraft, searching for their models to new materials, Balsa, pine, aircraft plywood, foam, panel-sandwiches, ultralight shell made of composites… And every time attempt use of new materials accompanied by the traditional question “will Fly or will not fly?”
Precisely this question arose to me when I drew attention to the conventional packaging corrugated Board from doing this and boxes for computers, and boxes of beer bottles. The material is made up of Kraft paper, reminiscent of aircraft sandwich panels with honeycomb it is very hard, durable, easily processed and glued together — is not the basis for the creation of model aircraft?
So fly or not fly? A good test of strength and aerodynamic properties of corrugated Board has been the production of a simple schematic of the airframe to maintain the purity of the experiment, all the elements — from the wing to the fuselage was made of this material is First of all about the basic tools, with which was made the glider — sharp knife-cutter best, of course, to use the purchase — this shows one of the photographs However is fine and improvised, perfectly sharpened knife-the Doobie Mention that when cutting the cardboard with a blunt tool blanks turn out rough (“hairy”), unfit for further use.
A few words about the glue, with which the separate parts of going to the glider experience has shown that the most convenient and durable is the construction adhesive “liquid nails” — it has excellent adhesion and low shrinkage, and seam adhesive — high strength. Besides, this glue can even putty the ends of the panels from corrugated cardboard And more — before starting, purchase a dozen of clothes pegs — they will help you with the gluing of the individual elements of the model.
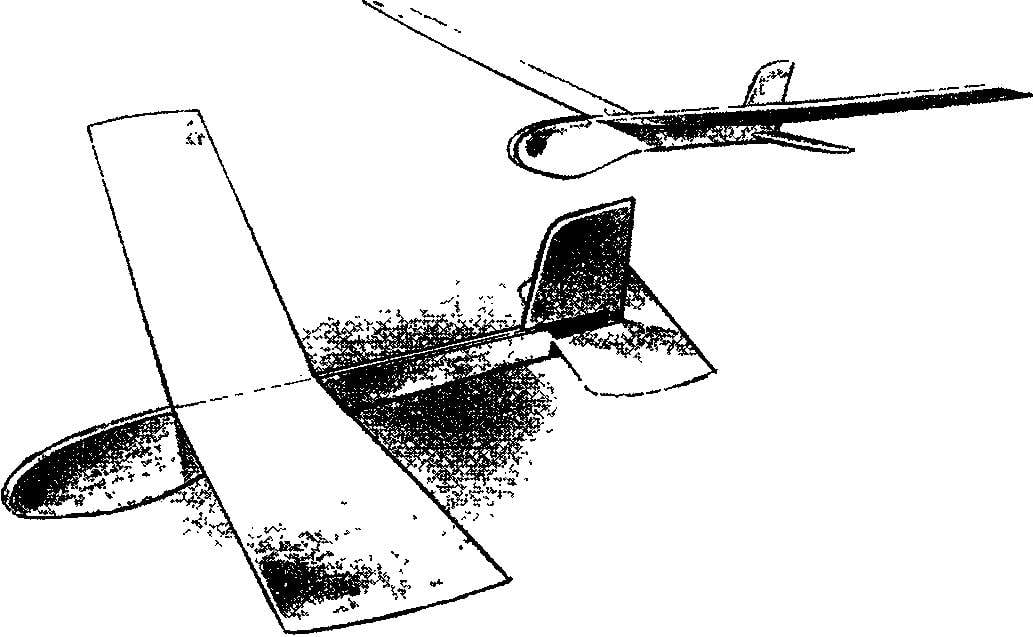
A few words about the glider. It is a high-wing monoplane with a rectangular wing with a pronounced V-shape. Stabilizer — rectangular shapes. The outlines of the flat fuselage — typical for this kind of gliders Weight of the finished model is about 80 g.

The geometric scheme of the model glider made of corrugated cardboard.

Corrugated cardboard blanks for the manufacture of the model.
The first step is to choose a quality corrugated cardboard, preferably to one of its sides was covered with a thin adhesive foil (in boxes of such material, as a rule, transporterowych consumer electronic devices) With the markings on the corrugated contours of the fuselage, wing, stabilizer and fin need to keep in mind that the corrugations should be placed along the long sides of these components.
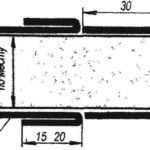
Wing glider consists of two half-wings that are connected by two segments of the dural needles for knitting, bent in the form of the letter “V” — the diameter is chosen such that they are tightly inserted into the corrugations on polycrylic. When assembled on the ends of polycrylic is applied to the adhesive “liquid nails”.
The fuselage of the model is glued together from three corrugated blanks Simultaneously in its tail section is glued and the keel After drying “liquid nails” on the fuselage, the contour is processed by a razor-sharp knife, and then glued the paper strip.

Gluing of the fuselage to fix its elements were used clothespins.

Applying structural adhesive to the blanks of the fuselage.

Here is the wing after gluing.
Next on the fuselage is cut through the frame under the wing (the angle relative to the longitudinal axis of the fuselage is about 3 degrees), and the groove under the stabilizer, it Should be borne in mind that all the slots should be done at once, simultaneously — material features do not give the master the possibility for any subsequent corrections.
When assembling the airframe all joints as follows promazyvaetsya glue the Wing glued to the fuselage “section”, and then, after drying, “liquid nails” in addition to fixed a couple of tiny wedges, hewed out of wood under them is pre-pierced with an awl a hole in which is introduced the adhesive and then a wedge is driven.
After Assembly and final curing of the adhesive model should be balanced — the center of gravity must lie on the line of 25% chord of the wing to achieve this, the nose of the glider will have to download — the easiest way to do this with lead, consistently adding to the zone load small pieces of metal, Then they are fused into a single weight and the melt is poured into a form — for example, in the segment of aluminum pipe the Resulting disk is then sealed in the nose of the fuselage.

Built-up fuselage models.

Model flight ready. In the front part of the fuselage is a lead weight.
In the process of circling models, it may be that asymmetry and twisting of the aerodynamic surfaces (wing, stabilizer and fin), formed by the Assembly lead to unplanned rolls, turns, dive, or pitch, from which pieces to post in the first glider flight In these cases is a good idea to arm the folded aerodynamic surfaces — ailerons, rudders and height, to make the thin cardboard by bending in the process of trial runs one or the other of the steering element, to achieve very stable flight.
Balanced thus the glider can be run with lifelines — only need the bottom of the front part of the fuselage replaced by a tow hook.
It seems that the schematic model of the airframe is not the only field of application of corrugated cardboard Its creation — is primarily a development of the technology of working with the material Believe that in the near future will attempt to build a model airplane cord. That happens, read one of the following numbers “M-K”.
I. MNEVNIKI


