
When making thumbnails or sports models boats and ships, from small sailboats and light to heavy and huge battleships — be sure to take models of such elements of the mooring devices, as tilting the slats or cleats, and not in a single number. But because in the simulation it makes sense to think about technology as a “serial” production.
Offer modelers own version of their production, tested in. As the technology of tilting the slats and paired (double) bollards (direct and cross), as well as the tools and materials are included in maps and drawings and a special explanation is not required.
1. Stock material — dried birch. Billet to grind on a lathe.
2. On both sides of the workpiece to whittle down the flats. To mark the holes.
3. To drill through the hole markings.
4. Open bar: to make a slit between the holes and cut the opening with a jigsaw. When closed the strap: insert the blade into the drilled hole, cut out the opening and make a slit at an angle of 45°.
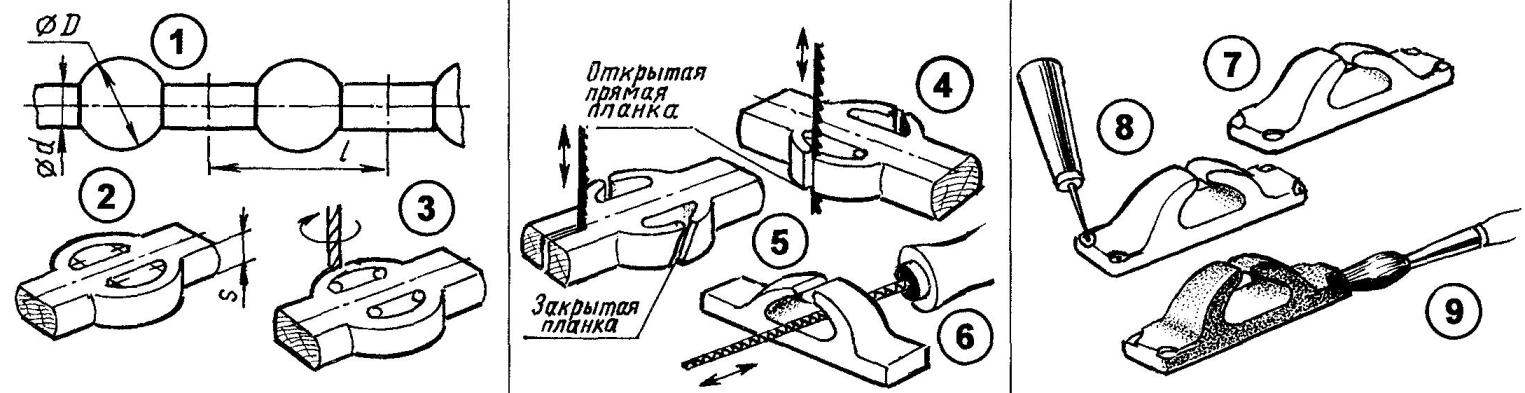
5. To cut the workpiece into two parts.
6. To handle opening the files of the respective section.
7. Perform the corners of the sample (with a knife or chisel).
8. To pierce with an awl at the corners of the through hole.
9. Paint paint PF-115 or PF-1305.
1. Stock material — dried birch. Cut the billet for a few bollards. Mark the holes in the cabinets.
2. Secure workpiece in vise. Drill holes of diameter D under cabinets.
3. To divide the workpiece into separate plates (bases), accounting allowance: when straight grained wood to split with a knife; when svilevatoj — to saw.
4. Finally to grind the surface of the substrate to a size S.
5. To pick or squeeze on the conductor stud for cabinets. For cross bollard to drill holes in pillars with a diameter d for a jumper on the conductor. Cut the stem on the pedestal, having size h.
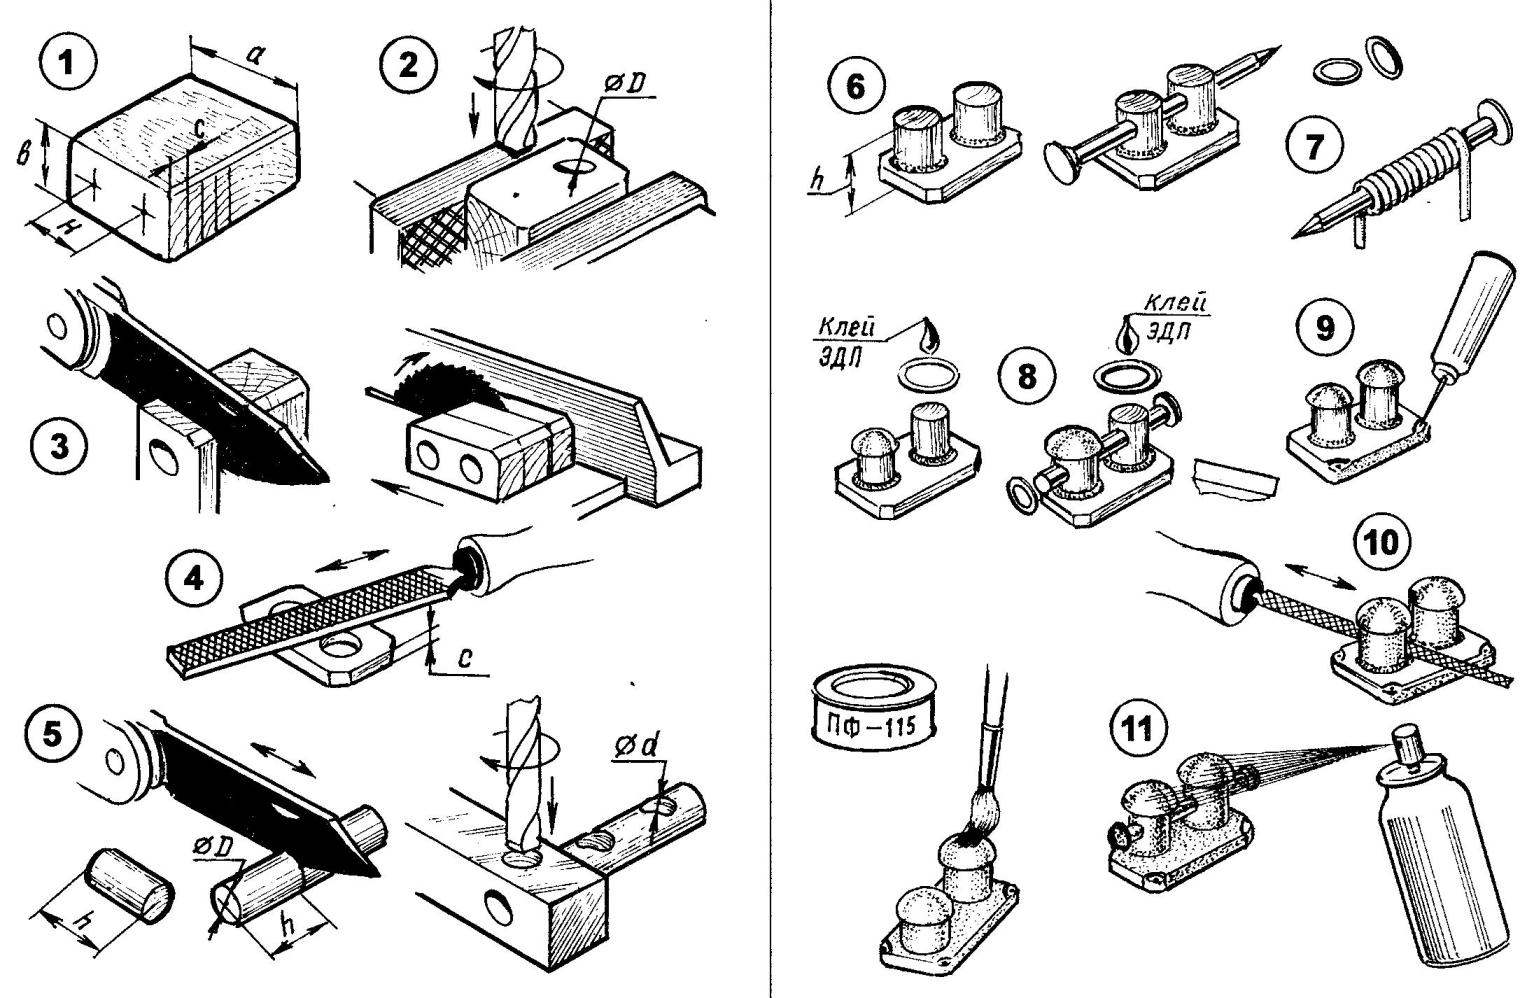
6. Insert thumbs into the holes of the base with glue (cross the cleat holes in the stand to position the coaxial).
7. Navit spiral of aluminum wire with internal diameters D and D and cut into rings.
8. Ring to spread glue on the heads of the pedestals and the ends of the jumper. The ends of the cover with glue.
9. At the corners to make selections with a knife or chisel and awl to pierce through holes.
10. To handle the clamp work of different cross sections.
11. Cover the surface with paint PF-115 or PF-1305.
Recommend to read
 METRONOME-CONDUCTOR
When learning to play a musical instrument to set the tempo often use a mechanical or electronic metronome. Last and I made one of the most popular modern developments. However,...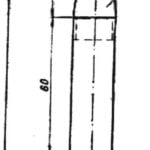 “ROCKET” CLASS S-3-A
Constructed this model of the Bulgarian athlete G. Lalev — European champion in class S-3-A 1979. The case is made from one layer of paper on the mandrel Ø 17 mm, and then covered with a...
