
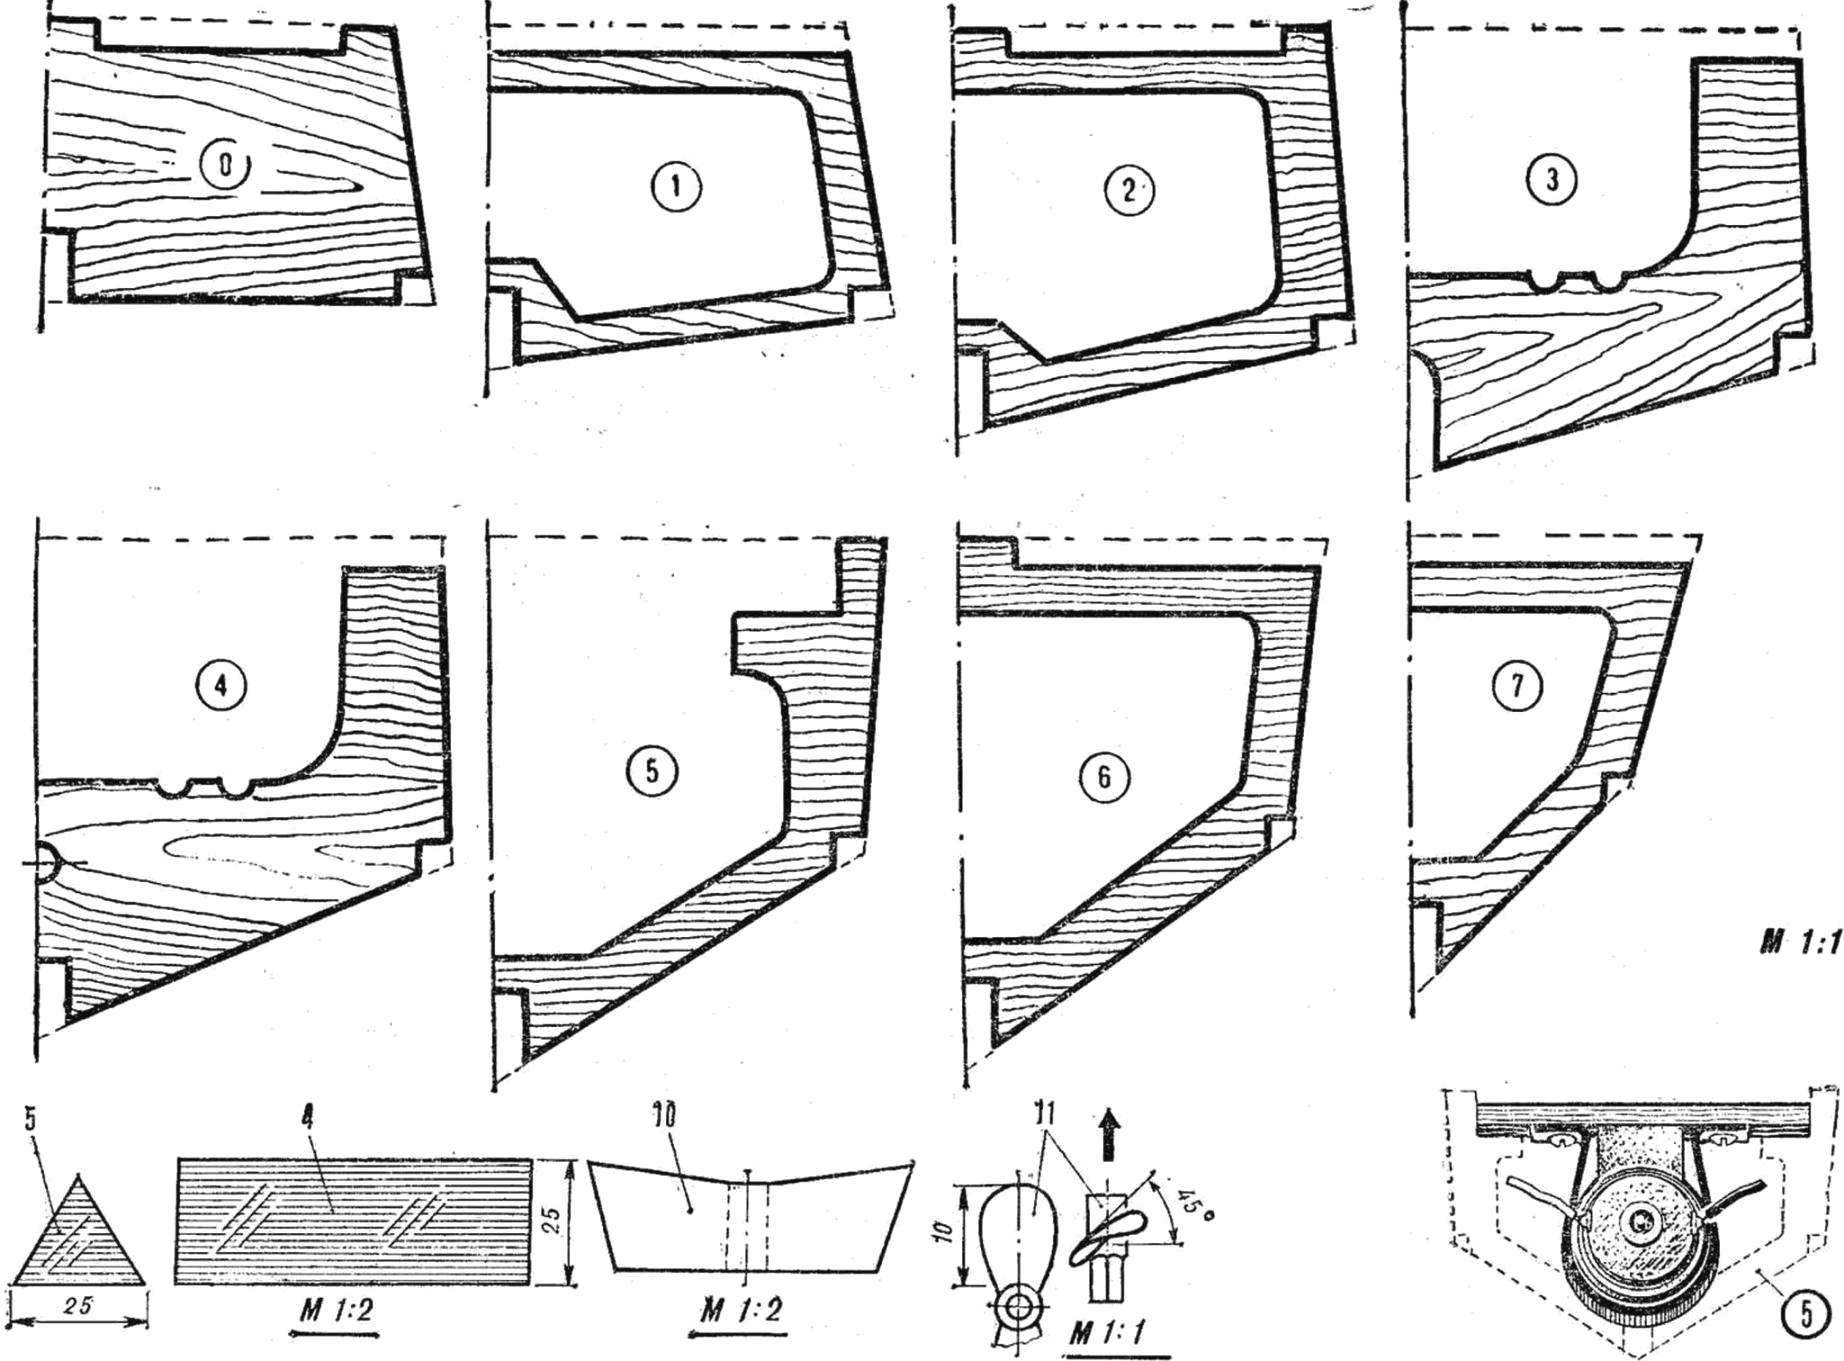
 Start with a careful study of the drawing and then get to work. As the present motor vessel, the vessel is stacked On a smooth plywood, 3 mm thick, transfer the exact dimensions of the deck and frames using carbon paper or tracing paper. Remember that on the deck of the elephant of plywood will be parallel to the axis, and the ribs vertically.
Jigsaw carefully cut out all the frames and the deck. Special attention to the careful observance of the dimensions of the grooves under bilge stringers and keel. Shown in the drawing, the frames are symmetric, that is, their left side like the right. Bad sawn frames better redo it. Cleaning the burrs, check the manufacturer assembled the frames with the deck. Don’t forget to cut out the deck hatch to access the battery and the motor and drill holes with Ø 3 mm and Ø 12 mm respectively for heliportable tubes and power switch.
Manhole cover manufacture so that it is easily installed. To it glue the cross rail, simulating the back, and paint, draw two seats. The cover glue the two doors of the engine compartment.
Then mark out and fabricate the keel. Saw it out of plywood with a thickness of 5 mm. Assemble the whole frame and eliminate irregularities. Pay special attention to the shape of the keel and the adjacent frames. Keel it is necessary podstrogat so that it was a continuation of the line of frames, it will improve the contours and facilitate the ship’s hull. Finally, the frame assemble on waterproof glue (Amalia, AK-20, supercement, lacquer type NTS).
Bilge stringers take out air or ship modeling kits or do it yourself (Reiki is a cross section of 4×4 mm and a length of 360-380 mm). Brushing glue all the joints, assemble the frame. If necessary, pull the keel, formers and stringers with a thin elastic thread or soft wire. It is very convenient to use clothespins. Bilge stringers in the bow part of the hull cut at an angle and pull the threads so that they densely adjoined to the stem. After about a day, the glue of any type will well dry out.
Remove the accessory fasteners, mark the holes respectively, under gilmorton and a stern tube in the keel (so-called pipes, through which the steering shaft and the screw shaft). Under the first pipe, drill one hole Ø 3 mm, under the second 5 — 6 hole 45° angle, which then round needle files sawed in the inclined groove as shown in the drawing. (If this will break the keel, do not worry, it is easy to fix: install on both sides of the pads on the glue, dry it and continue.)
If we are able to purchase boat motor worth 3 rubles 15 kopecks Leningrad plant “Electropribor” (it is sold in Assembly — motor, stern tube, shaft and propeller), then there will be no need to manufacture the listed details. But they can be done independently.
For shaft screw, use a knitting needle Ø 2 mm, length 160 mm, and for the deadwood tube length of 135 — 145 mm, internal Ø 2.5 mm. For the shaft of the steering wheel and take heliportugal pipe shaft and pipe of the same diameter, and the size define in the drawing. The steering shaft solder in the center of the sweep rudder, then follow the plate around the shaft and propagte joints. Two-blade propeller manufactured from a cut tube from deadwood and strips of tin, which are cut according to the drawing. To do this, the tube make cuts at an angle of 45°, they insert the blade and solder. The finished screw will clean up with needle files, and mount on the shaft by means of soldering.
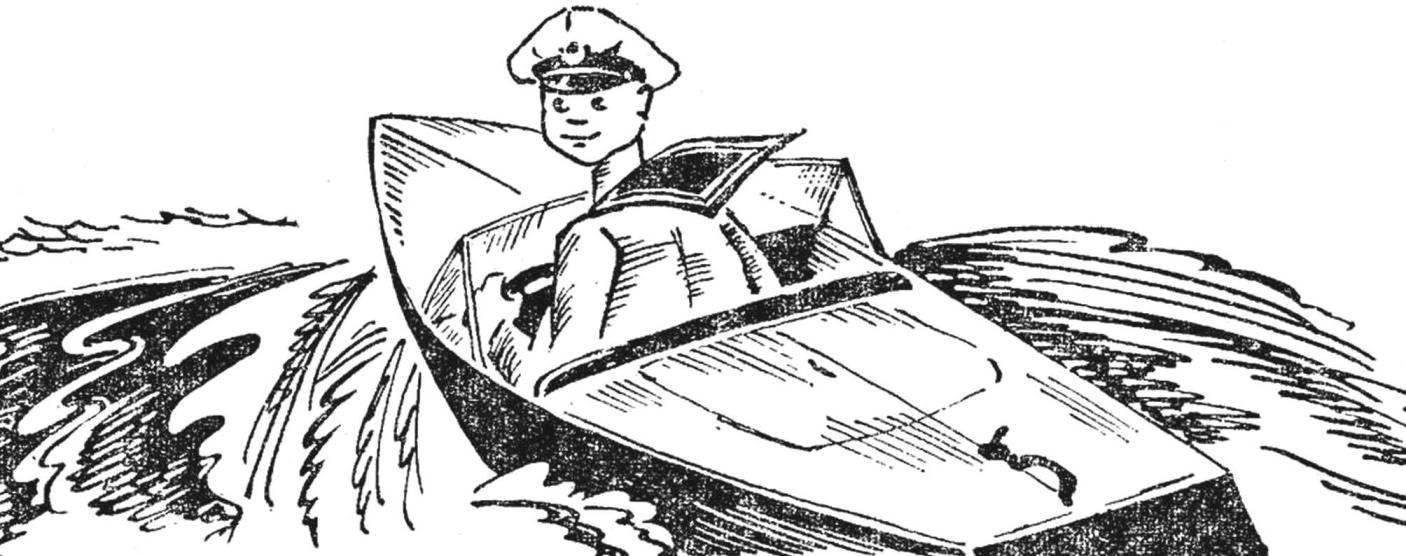
MODEL SPEED BOATS:
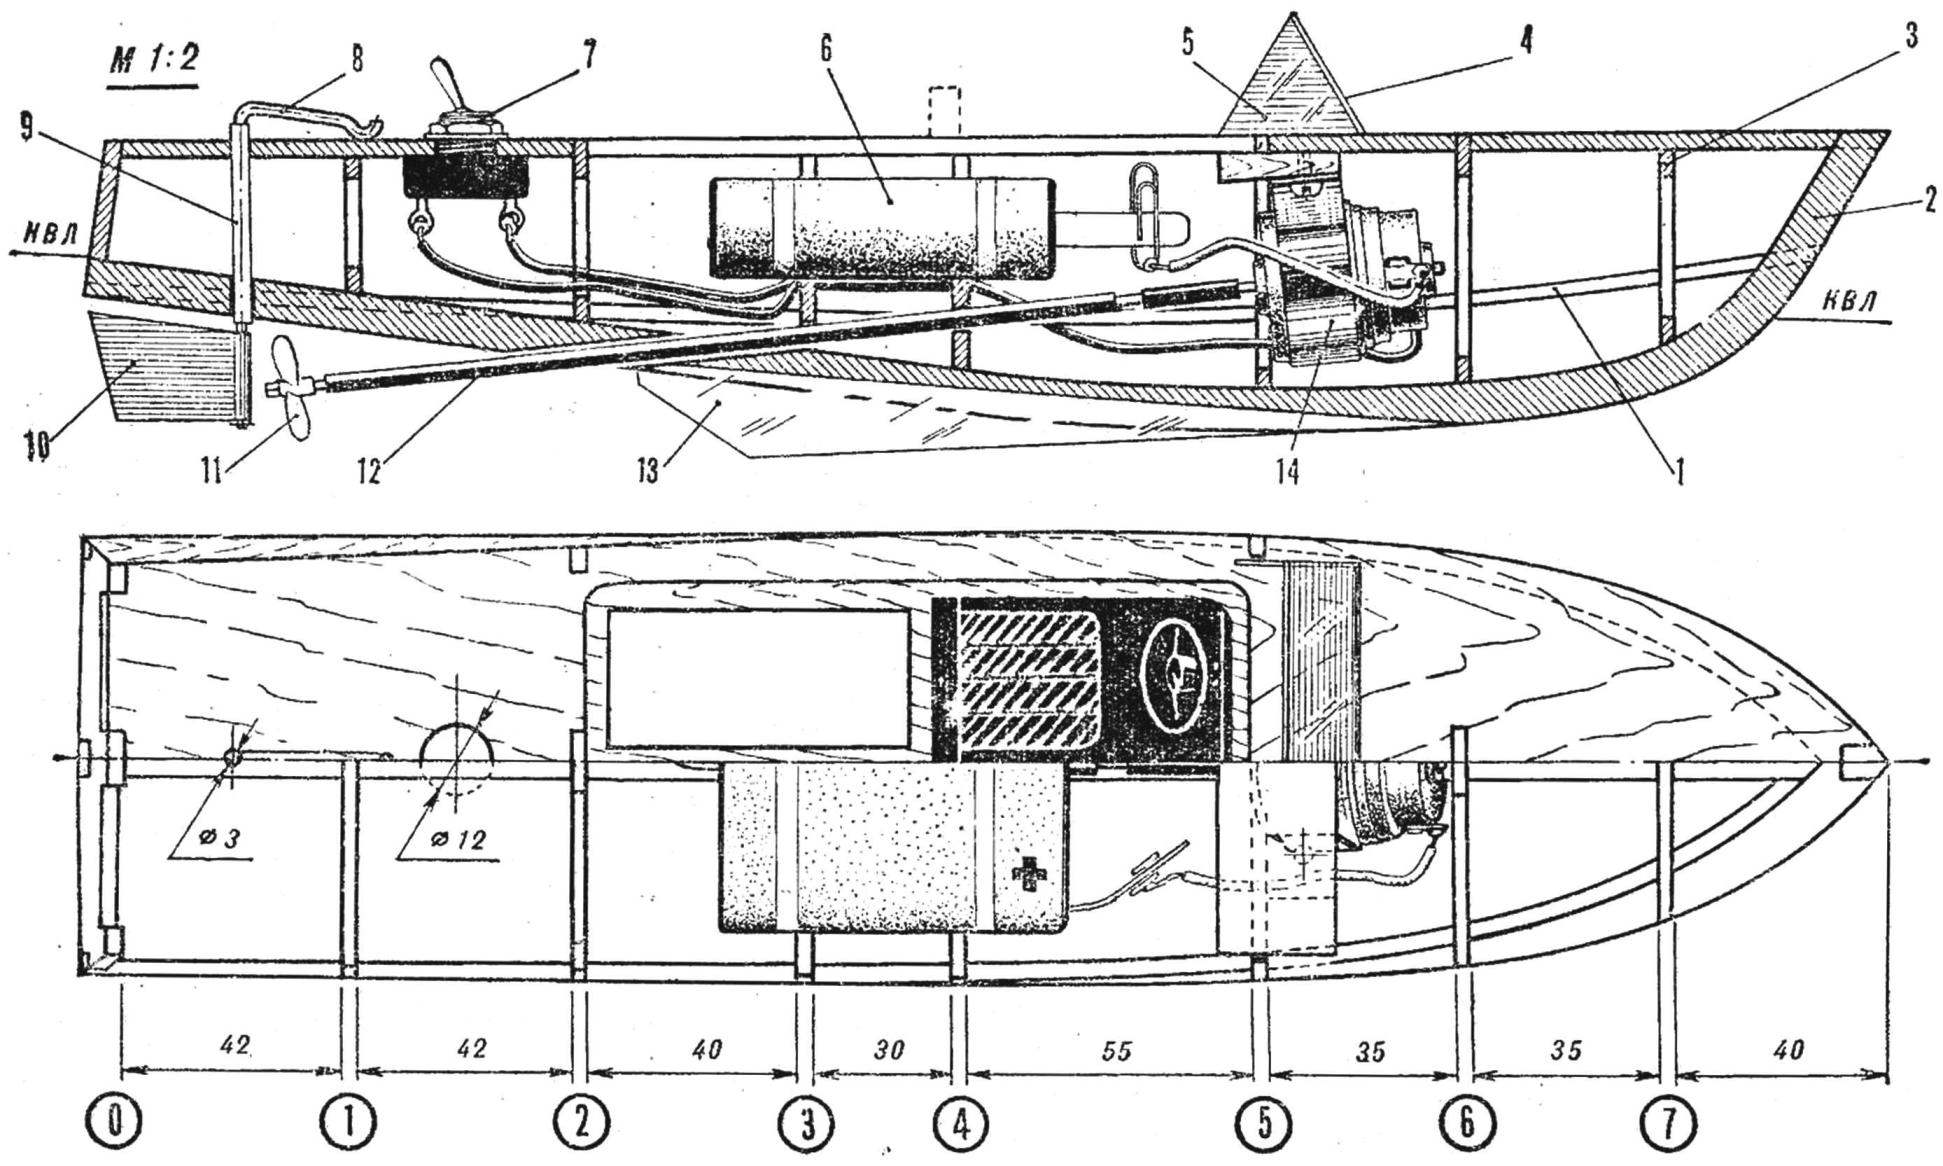
1 — bilge stringer (rail 4×4 mm), 2 — keel (plywood S = 5 mm), 3 — frame (plywood S = 3 mm), 4 — windscreen (celluloid S = 0.5—1 mm), 5 — side window (celluloid S = 0.5—1 mm), 6 — battery 3336-L, 7 — switch, 8 — tiller (wire or needle Ø 2.5 mm), 9 — gelmanova tube, 10 — the wheel (plate S = 0.5 mm) 11—screw (tin S = 0.5 mm), 12 — stern tube (a metal tube from a ballpoint pen), 13 — keel (celluloid S = 1 mm), 14 — microelectronical.
Sheathing the hull is most convenient strips of thin cardboard or aviation plywood with a thickness of 1 mm. Start with the sides from the deck to the bilge stringer. Well missed to glue the frames and stringers attach strips, optional (temporarily) secure small nails or pins in the stringer trim can be fastened clothespins, or tie whole body with rubber thread. After drying, glue the bottom on the same technology.
Then epoxy glue to fix in the case of a stern and gilmorton pipe. Grease them inside with petroleum jelly or grease, then the shaft of the steering curve, as shown in the drawing. Slizovskiy do in Kiel propyl and the resulting groove on nitroblue insert the keel of celluloid thickness 1 — 1.5 mm. It will help the model better to stay the course.
Microelectronical plant “Chaika” strip of soft metal attach to the underframe (it is a piece of plywood), then install into the housing, securing the frame in the grooves of the frame № 5. The motor shaft and the screw shaft connect through the spring from a ballpoint or through a soft plastic tube of suitable diameter. The windshield is fabricated of a thin transparent celluloid in the drawing. As a switch, you can use any small toggle switch.
Painting the model nitro – or oil enamels in two to four layers, installing the battery, windshield and engine compartment closing door, proceed to test the model on the water.
BOKHONOV, Yu.
Recommend to read
 TO HELP RING
Over time, knives to the grinder are worn down and there comes a point when its working elements a gap. To eliminate his nevinovna end of the nut is no longer possible. The result is...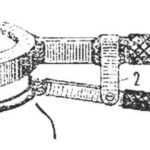 OPENING — SAVE
Offer a design key for removing lids from cans nakatannyh. Device instantly reveals not only the Bank, but also keeps intact the lid and the rubber grommet. At the same time (most...
