
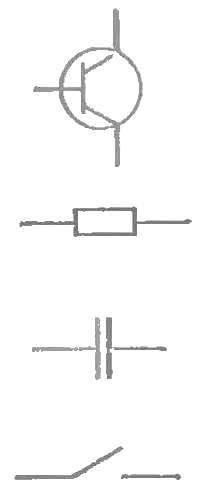
 Each constructor of RC models knows how many times spent the time to draw a wiring diagram. In a hurry is not always possible to sustain the necessary proportions between the individual elements, thoroughly implement the conventions. And then this scheme is not only messy, unsightly, but it often creep annoying bugs and inaccuracies. What to do in this case? To help here you can the cliches. More precisely, a set of moulds from which to select the desired image of the scheme. There are only about twenty: resistor, capacitor, diode, transistor, transformer, etc.
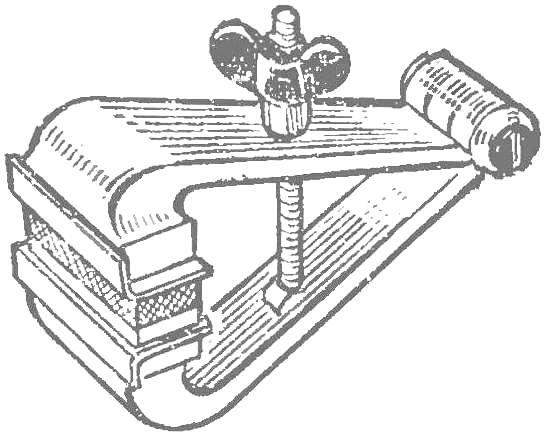
At first make a matrix — form for the pressing of the stamp is made of plastic. On a flat lead fee with a thickness of 1,5—2 mm pencil applied to the image of the drawing or drawing on which you intend to make a stamp. Then applied the pencil outline light hammer blows using a small chisel to form the recess. Their width depends on the thickness of the lines of the future of the stamp. Moreover, from the definition applied to the matrix of the picture quality of the stamp depends in the first place: deepening should be the same everywhere, right angle and carefully processed.
Recommend to read
 FROM “SPIDOLY” LAB!
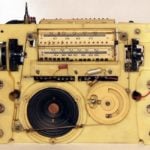
Instruments based on the radio. Technical progress is relentless it forces us to buy all new electronic devices, and old, but usable receivers, tape recorders, record players and tape...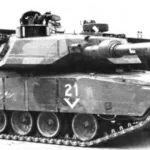 MAIN BATTLE TANK “ABRAMS”
Large-scale work on designing a new main battle tank began in the USA after the termination in 1970 of the joint with Germany development of a promising tank МВТ70. In February 1972, the...
