
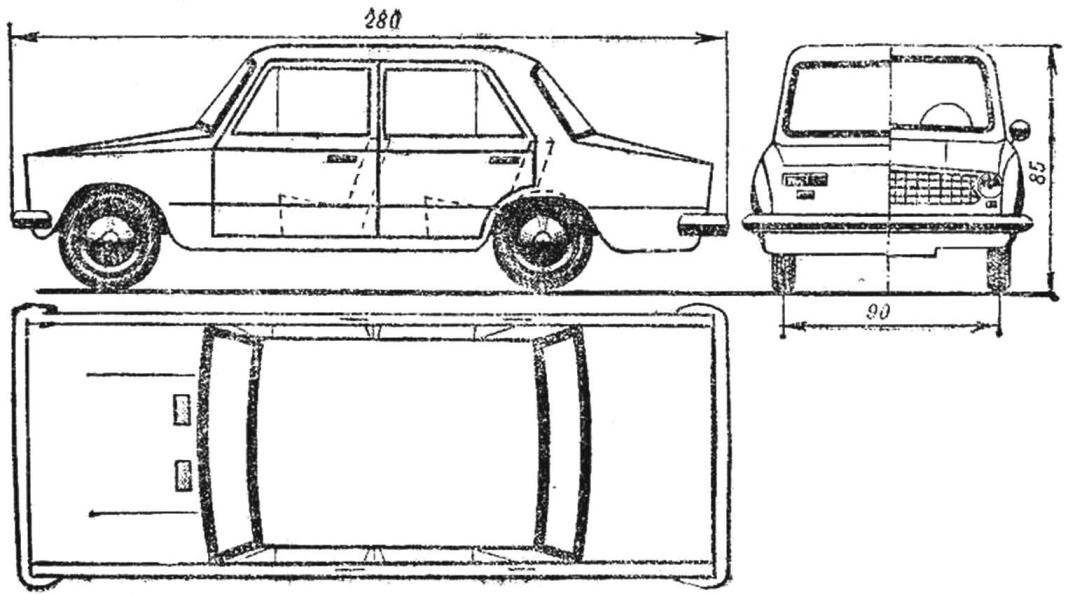
 Novice automodellista propose a simple model with a body made of thin stiff cardboard. Manufacture the body you need to start with drawing and cutting with the side walls of the pattern No. 1. To get the contours right and left walls, the pattern upside down. After cutting the parts beaten out from the inner side with a hammer, giving them a slightly curved profile. Longitudinal breaklines make incisions on half the thickness of the cardboard on the outside and the inside — on the dotted line.
The second operation — cutting a strip of cardboard of thickness 3-4 mm pattern No. 2. It should glue to the inner side of the part No. 1 1 mm below the crest line.
Then draw and cut the side inner walls of the cabin and glue them on the Assembly drawing, respectively, carefully aligning the corners. The adhesive should cover only narrow strips on parts No. 2 and the joints.
Now templates of the parts 4-6 are manufactured instrument panel, front and rear sofas. On lines should make incisions on half the thickness of the cardboard along the solid lines on the outside, but on the dotted line from the inside. In the incised lines details should be bent and glued in accordance with the Assembly drawing No. 1 to the internal machines of the cabin.

The model of the car “Lada” and the appearance of the chassis.
The front and rear walls of the body produce templates № 7, 8. Along the top and bottom edges along the lines to make incisions on half the thickness of the cardboard and make a drift. To glue the parts necessary, combining the points designated with the same letters.
Details of the hoods draw and cut out templates # 9 and 10, and then beaten out from the inner side to impart a spherical shape and glued. Bonding is butt on items No. 1, 4, 6, 7 and 8. On the inner side for strength by gluing to glue narrow strips of paper.
Tracing, cutting, punch and bonding of the roof of the cabin are carried out according to the pattern No. 13 and in the Assembly drawing. The roof of the cabin should be pasted between the side walls of the interior details No. 1 — on the narrow strips on the inside, aligning the joints. Bonding of part of the windshield and rear window out of cardboard is done without strips of paper on the inner side parts 1, 9, 10 and 13. Now Stripping all seams are adhesions between parts and alignment of the whole body liquid putty with a brush.
The last operation for the production of car body machining the profile and the attaching of the bumper according to template No. 14. The bumpers thickness of 3 mm.

Order of finish model: grinding large sandpaper; secondary grinding of the whole body; secondary grinding finer sandpaper, paint the model with thick paint, polishing the paint with fine emery paper; painting models more than liquid paint, more sanding with fine emery paper; painting with liquid paint; polishing paste GOI, diluted with kerosene. The repetition of the coating liquid paint will improve the appearance of the model.
Finally, trim — sticker small parts: grille, headlight, handles, sidelights, brake lights, turn lights — made paint of the same color, which was painted the body.
For the frame of the chassis will require a three-millimeter plywood, which will need to cut a jigsaw pattern No. 17. To the frame attach fixed bridges in the form of narrow strips of sheet metal with a thickness of 0.6—0.7 mm pattern No. 16. Wheels are cut from plywood in two layers by pattern No. 15.
The engine is better to make rubber acting in tension.
Recommend to read
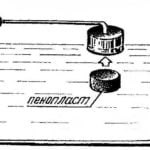 UNSINKABLE FLOAT
Often hollow plastic float in the toilet tank, prohodivshiy, fills with water and stops functioning. But do not rush to replace it with a new one. Remove the float from the lever, cut...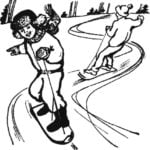 SURFING IN THE SNOW
On the opposite slope of the ravine, where a tower stretching up gold under the bright winter sun the trunks of the pine trees, down the skier. He rolls down the fresh, the night fell...
