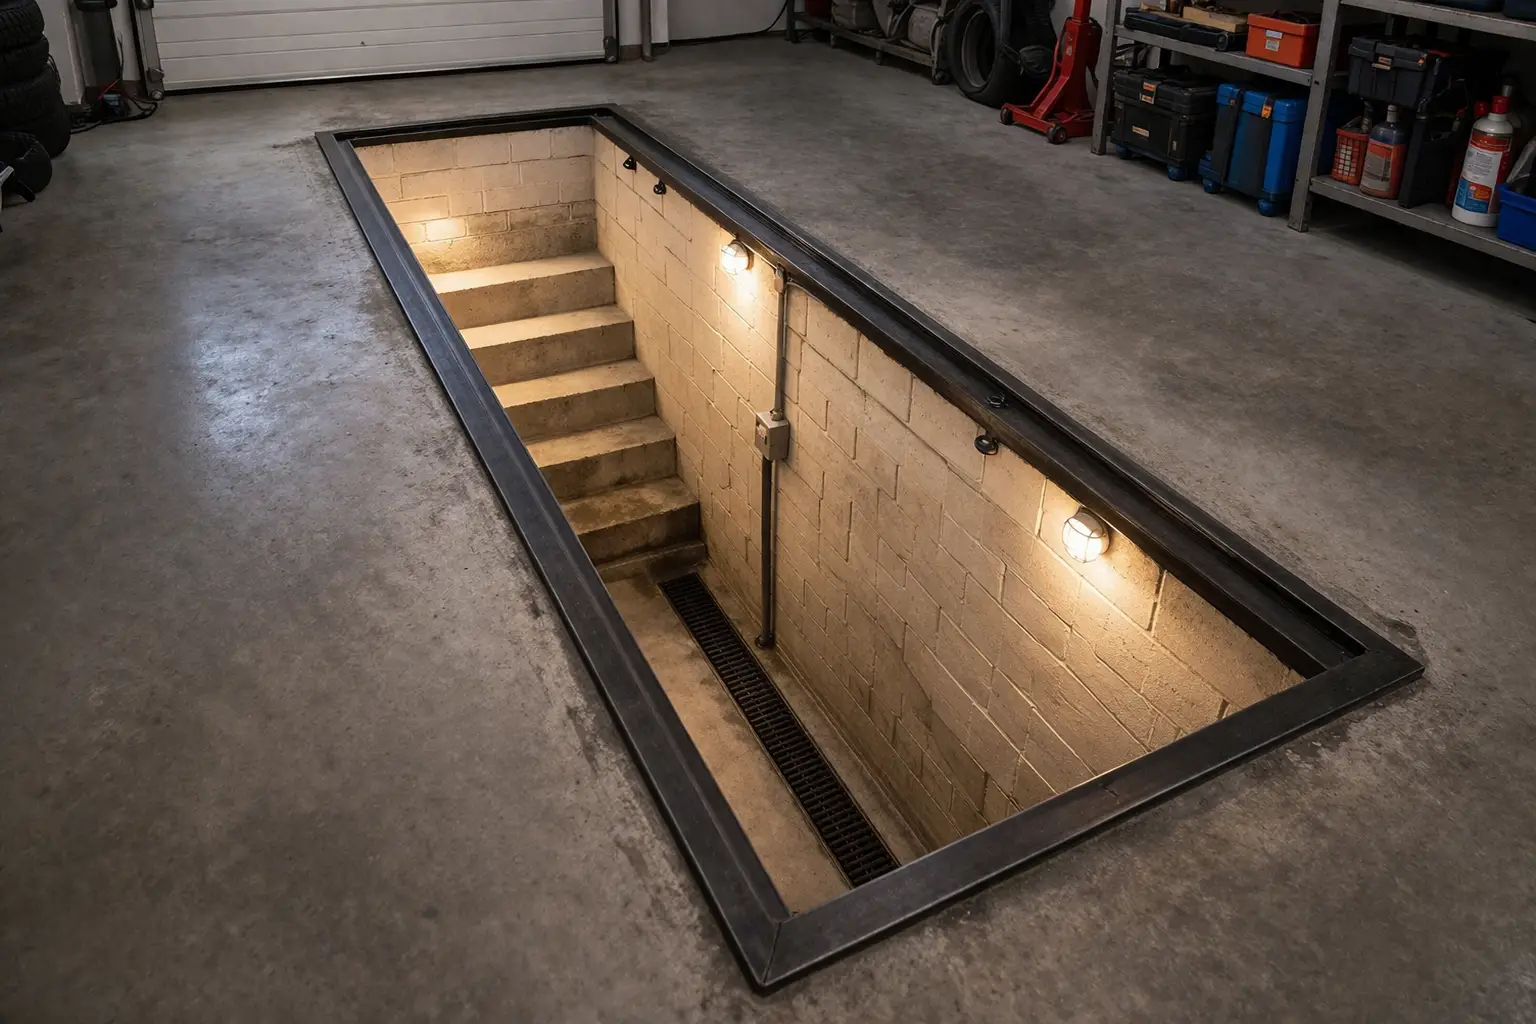
I suggest motorists equip themselves with a shallow inspection pit that lets you repair a car while seated. It takes far less effort and material than building any “full-depth” equivalent — and it is comfortable to work in.
The mini pit has two parts: a ramp pit with a sloped end (you slide under the car along it) and a recessed area with a built-in seat. I recommend lining the walls with brick. If you have sheet metal roofing, you can also face the walls with it as a welded box structure. A worse (but cheaper) option is to set wooden posts and then clad the walls with boards, plywood, or plastic. The floor can stay bare earth if there is no groundwater.
When you drive on and position the car for service, the edges of the inspection mini pit take heavy loads, so they must be reinforced. First, with a sturdy frame welded from 70×70 mm steel angle and fitted in place after the walls are lined. Second, with a proper concrete apron, filling voids under the frame and along the pit edges with cement mortar and broken brick as aggregate. Also attach a welded U-shaped structure of 40×40 mm steel angle around the perimeter to support a removable deck of boards at least 40 mm thick.
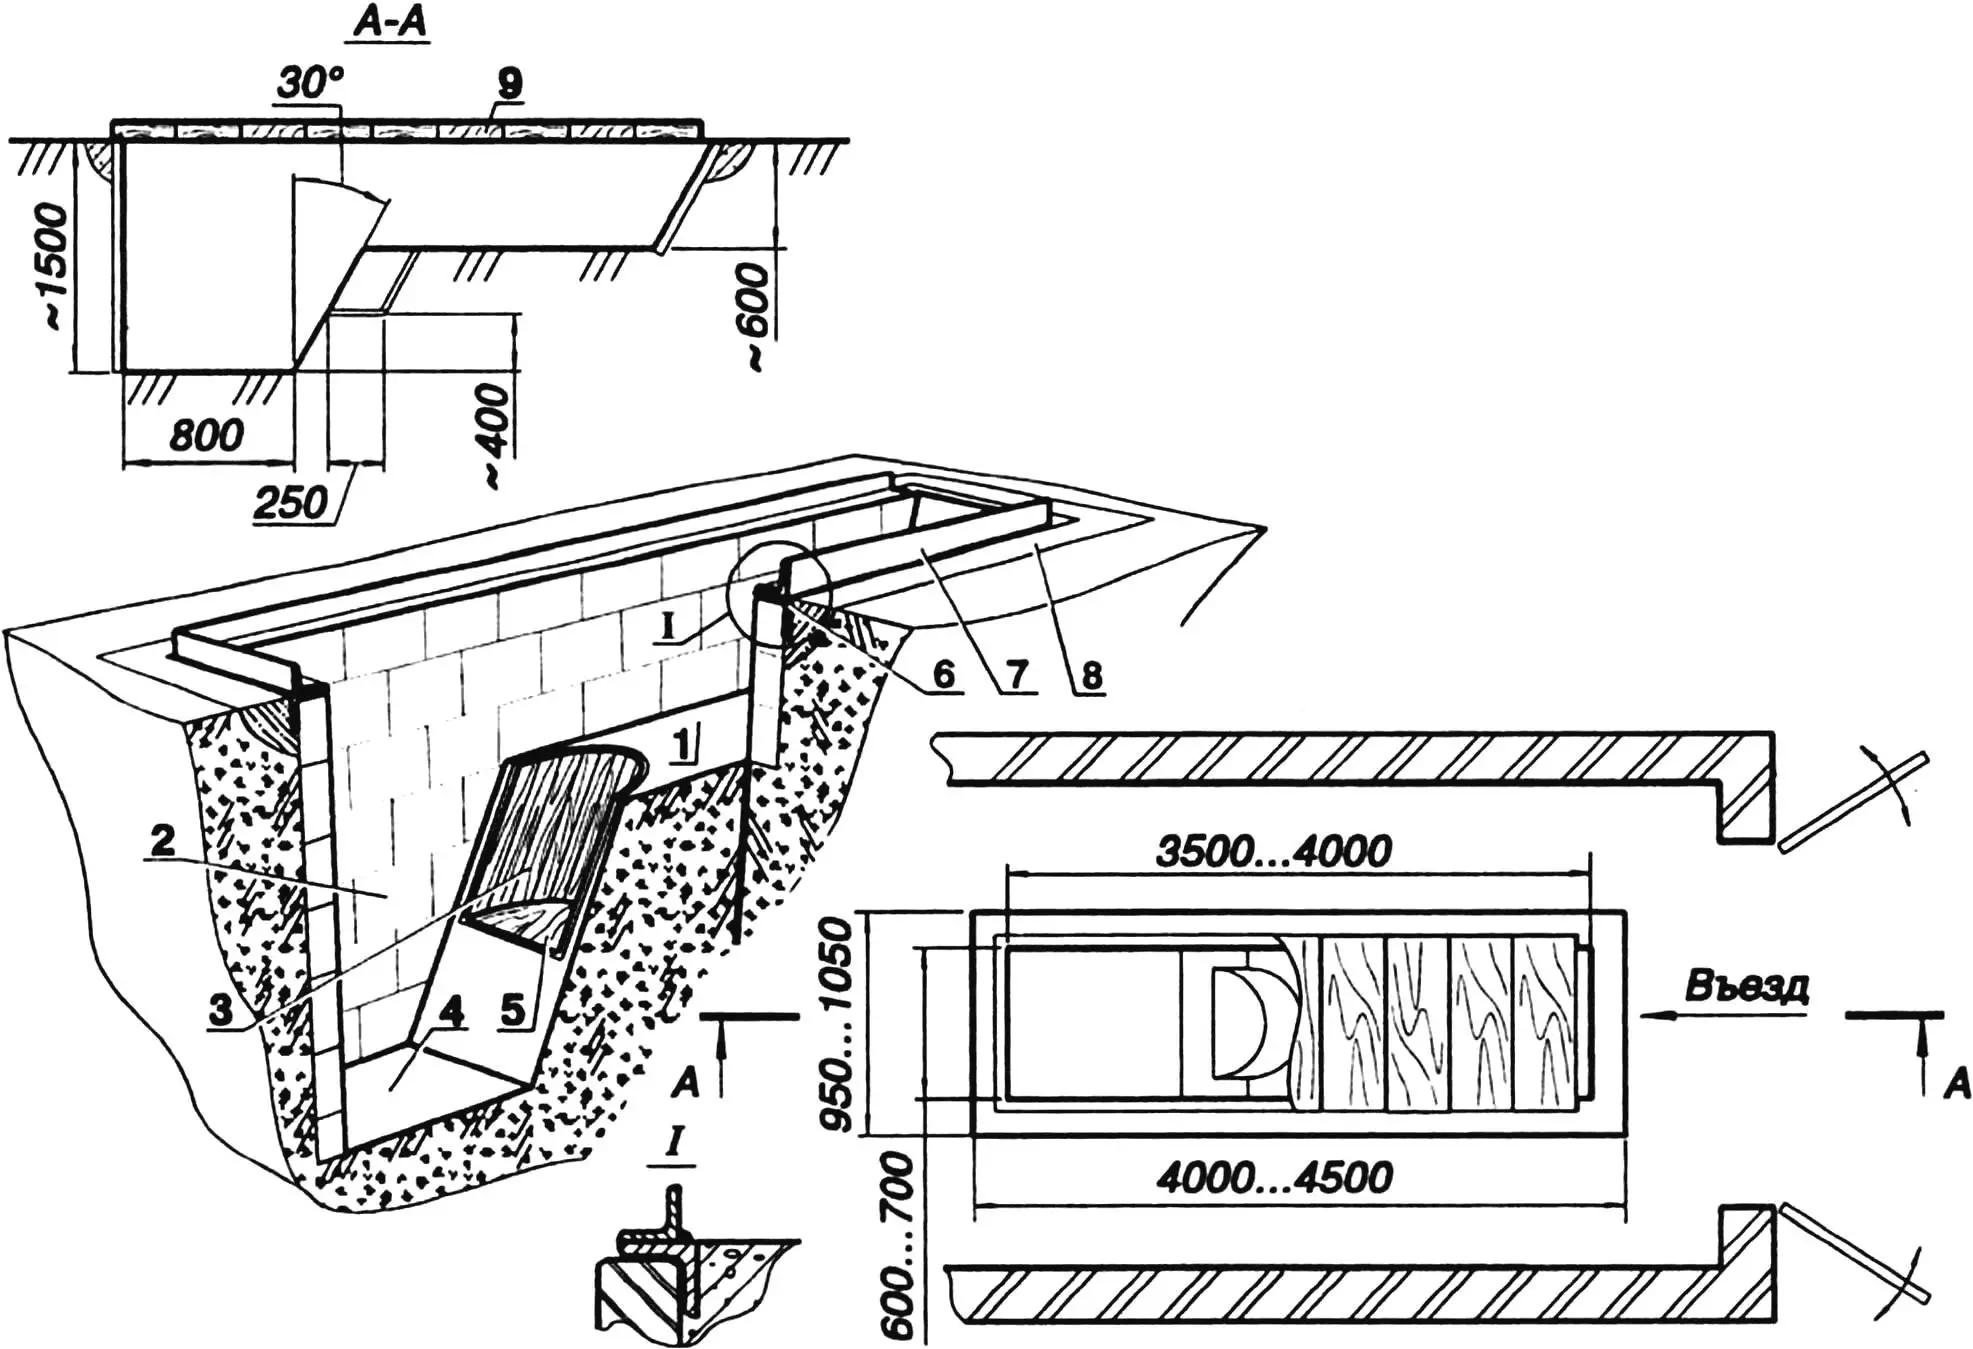
1 — ramp pit floor; 2 — wall lining; 3 — seat back; 4 — recess floor; 5 — seat; 6 — welded frame; 7 — deck support; 8 — concrete apron; 9 — removable decking.
The seat is semicircular, slightly tilted back to reduce fatigue. The back is made of wooden slats 20 mm thick and no wider than 50 mm. A metal mesh shell with a cement mortar coat (at least 50 mm thick) is also acceptable. The insert itself is wooden, with a soft insulated pad and faux leather cover.
A garage inspection mini pit will help shorten car repair time, but you can also build one in the yard. To protect it from weather, cover the wooden deck with film or a small sheet-metal canopy.
Modelist-Konstruktor No. 5’98, P. YURAEV
Recommend to read
 LIKE CLOCKWORK
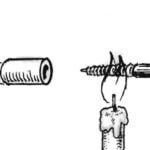
Known tip to RUB the screw with soap, to facilitate its mounting in the wooden piece. If it is plastic, for example, sealing the dowel into the hole — then the screw for the same...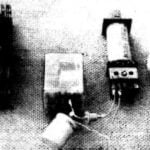 NOV OLD RELAY
Of course, thyristor power switches in household appliances is very compact and convenient, but... КУ201, КУ202 and familiar to all cheap copies, unfortunately, tend unjustly to fail....
