The second stage is the dismantling of components of a greenhouse on the wood, on glass, nails… Finished this job in mid-June, and fuel to Bani last until the autumn frosts.
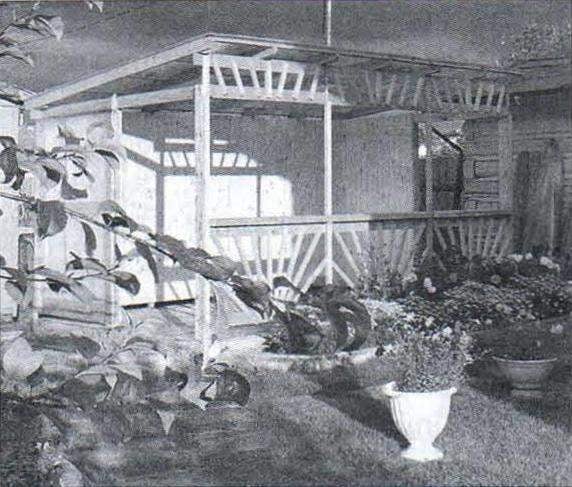
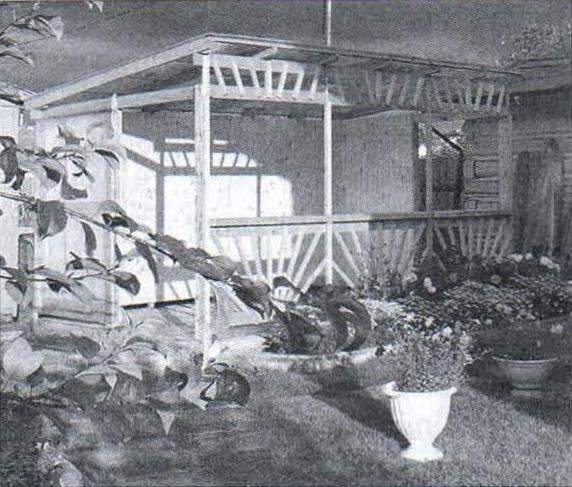
The frame of the terrace ready
The roof boarding
Flooring sand concrete
Flooring sand concrete
Step three – build up with welding metal posts left over from the greenhouse, steel rolling area 35x35x5 mm to a height of 2100 mm. Then rack for the front wall built up to a height of 2280 mm area 25x25x4 mm. At the same time spaced and welded mounting brackets from angle 25x25x4 mm (for trim boards and post timber and boards zones).
This was followed by the construction of a wooden frame terrace, and the lattice shed roof. Actually, the wooden frame are the only zones: lower, middle and upper, and the first two broken doorways, and the upper belt is a harness around the perimeter. Stand left corner of the metal only in the inlet openings attached to the jambs of the Board 100×40 mm, and so that they do not touch the ground (floor). At the same time on the corner jambs of the Board to harness and bottom belt nailed flat and on the middle jambs – across (rib), with a cut under the Board strapping.
The rafters are made of boards 100x 40 mm, put on an edge. To support their front ends to the posts at the top attached podstropilnye “timber” from the same Board. Support their rear end is the rear portion of the upper strapping. Seven of rafters laid on the supports with the front (bigger) and back (smaller), distributing them evenly from edge to edge, and additionally joined them together by short crossbars-inserts block 50×40 mm, placing them in a staggered flush with the upper faces of the rafters. In addition, the gashes on the ends of the rafters quarters 50×40 mm, put it in continuous runs from the block matching section.
In early July there was an attempt to “speed up” and in time for the birthday of his wife, but failed.
Step four – roofing sheet polycarbonate. Polycarbonate sheets are stacked to the rafters with a small overlap at the front and rear and on the sides. The leaves were connected by screws with the metal plates of stainless steel. Joints with sealant. Looking ahead, I note that the roof remained the polycarbonate sheet, and I used one side wall.
Now, after installation and carpentry turn came to solid floor. And it was already middle of July.
Step five – installation of the formwork for the perimeter of the terrace for a border and filling it with rubble concrete of broken ceramic (red) bricks border to zero (level surfaces clean floor) with pre-installation inside the formwork of reinforcing rods. While rubble concrete has hardened and gained strength over the July.
Step six – filling with sand of the pit floor layers of 100 mm and a thorough compaction leveling the surface of the top layer in the “minus 30 mm.” A pit depth of almost 20 cm “swallowed” half a car construction sand and almost two weeks of evening time. This operation (or phase of work) has ended by mid-August.
A simple calculation of the cost of 12 m2 concrete paving tiles for flooring has led to the rapid brain activity to search for other variants of the device sex. The cheapest available and reliable enough presented gender from a simple sand-cement mortar (sand concrete).
Seventh stage – laying on sand sub-base of wooden slats with a height of 30 mm (cross-section 30×10 mm) with the same struts between them, which divided the surface into squares. These parts are simpler and easier to arrange the floor, flooding them with sand concrete. In each square was enclosed with a wire mesh and filled sand-cement mortar prepared in proportion of 4:1. After alignment of the raw sand concrete performed his “zheleznenie”: sprinkled on top of the cement and steel make up for it with a trowel (this tool is often called “the trowel”). Then covered the floor with polythene to protect from drying out.
Garden terrace pergola:
1 – roof (polycarbonate); 2-rafter (100×40 pine Board, 7 pieces); 3 run (pine bar 50×40, 2); 4 – upper sash-rail (pine Board 100×40); 5 – (steel area 35x35x4, 4-piece); 6 – middle belt (pine Board 100×40); 7 – mount boards, belts, angle steel 25x25x4, set); 8 – window sill (pine Board 200×50); 9 – lower belt (pine Board 100×40); 10 – floor tile (solid sand concrete); 11 – rail 30×10 split the floor into squares and rectangles (white, set); 12 – paneling (tongue-and-groove Board paneling s16); 13 – sub-base (construction sand); 14 – connecting plate (stainless steel, sheet s2, set); 15 – screw (set); 16 sealant; 17 – the curb (rubble concrete); 18 – “Sunny rays” (pine rail 30×10)
In the period of setting and hardening of concrete to walk on the new floor not came again simple.
Phase eight. Sheathed the back wall and left side wall inner side pine floorboards-lining, attaching the lining to the boards of the belts and the upper trim finishing nails.
Set a drip Board. Material – pine-Board”pyatidesyati” with a width of 200 mm. Secured with screws through the Board to the front middle belt.
On the main facade facing terraces spaced location and attached with screws Reiki, depicting the rays of the sun.
The final stage is the coating of steel parts with paint on metal, wood-impregnation for wood, cement floor -silicate paint. Finishing operations occurred in the Golden September.
At the same time passed the “test” structure. Especially good to be there in Sunny, but cool autumn days when the sun is not too hot, and on the terrace the air temperature in the summer.
It is a pity that in connection with harvesting and tidy in the garden didn’t make the table and benches. But now – until spring.
A. MATVEICHUK, Zavodoukovsk
Recommend to read MOTOR CART In a homestead or dacha farm, even a small one, any mechanized cargo vehicle is a great help. It saves both time and effort. Of course, when it's simple and reliable. It's desirable that... THE LIGHT IN THE WAGON BOX Many models of passenger cars produced by well-known manufacturers, equipped with illumination. Usually installed inside a miniature incandescent bulbs or LEDs yellow glow. The energy...