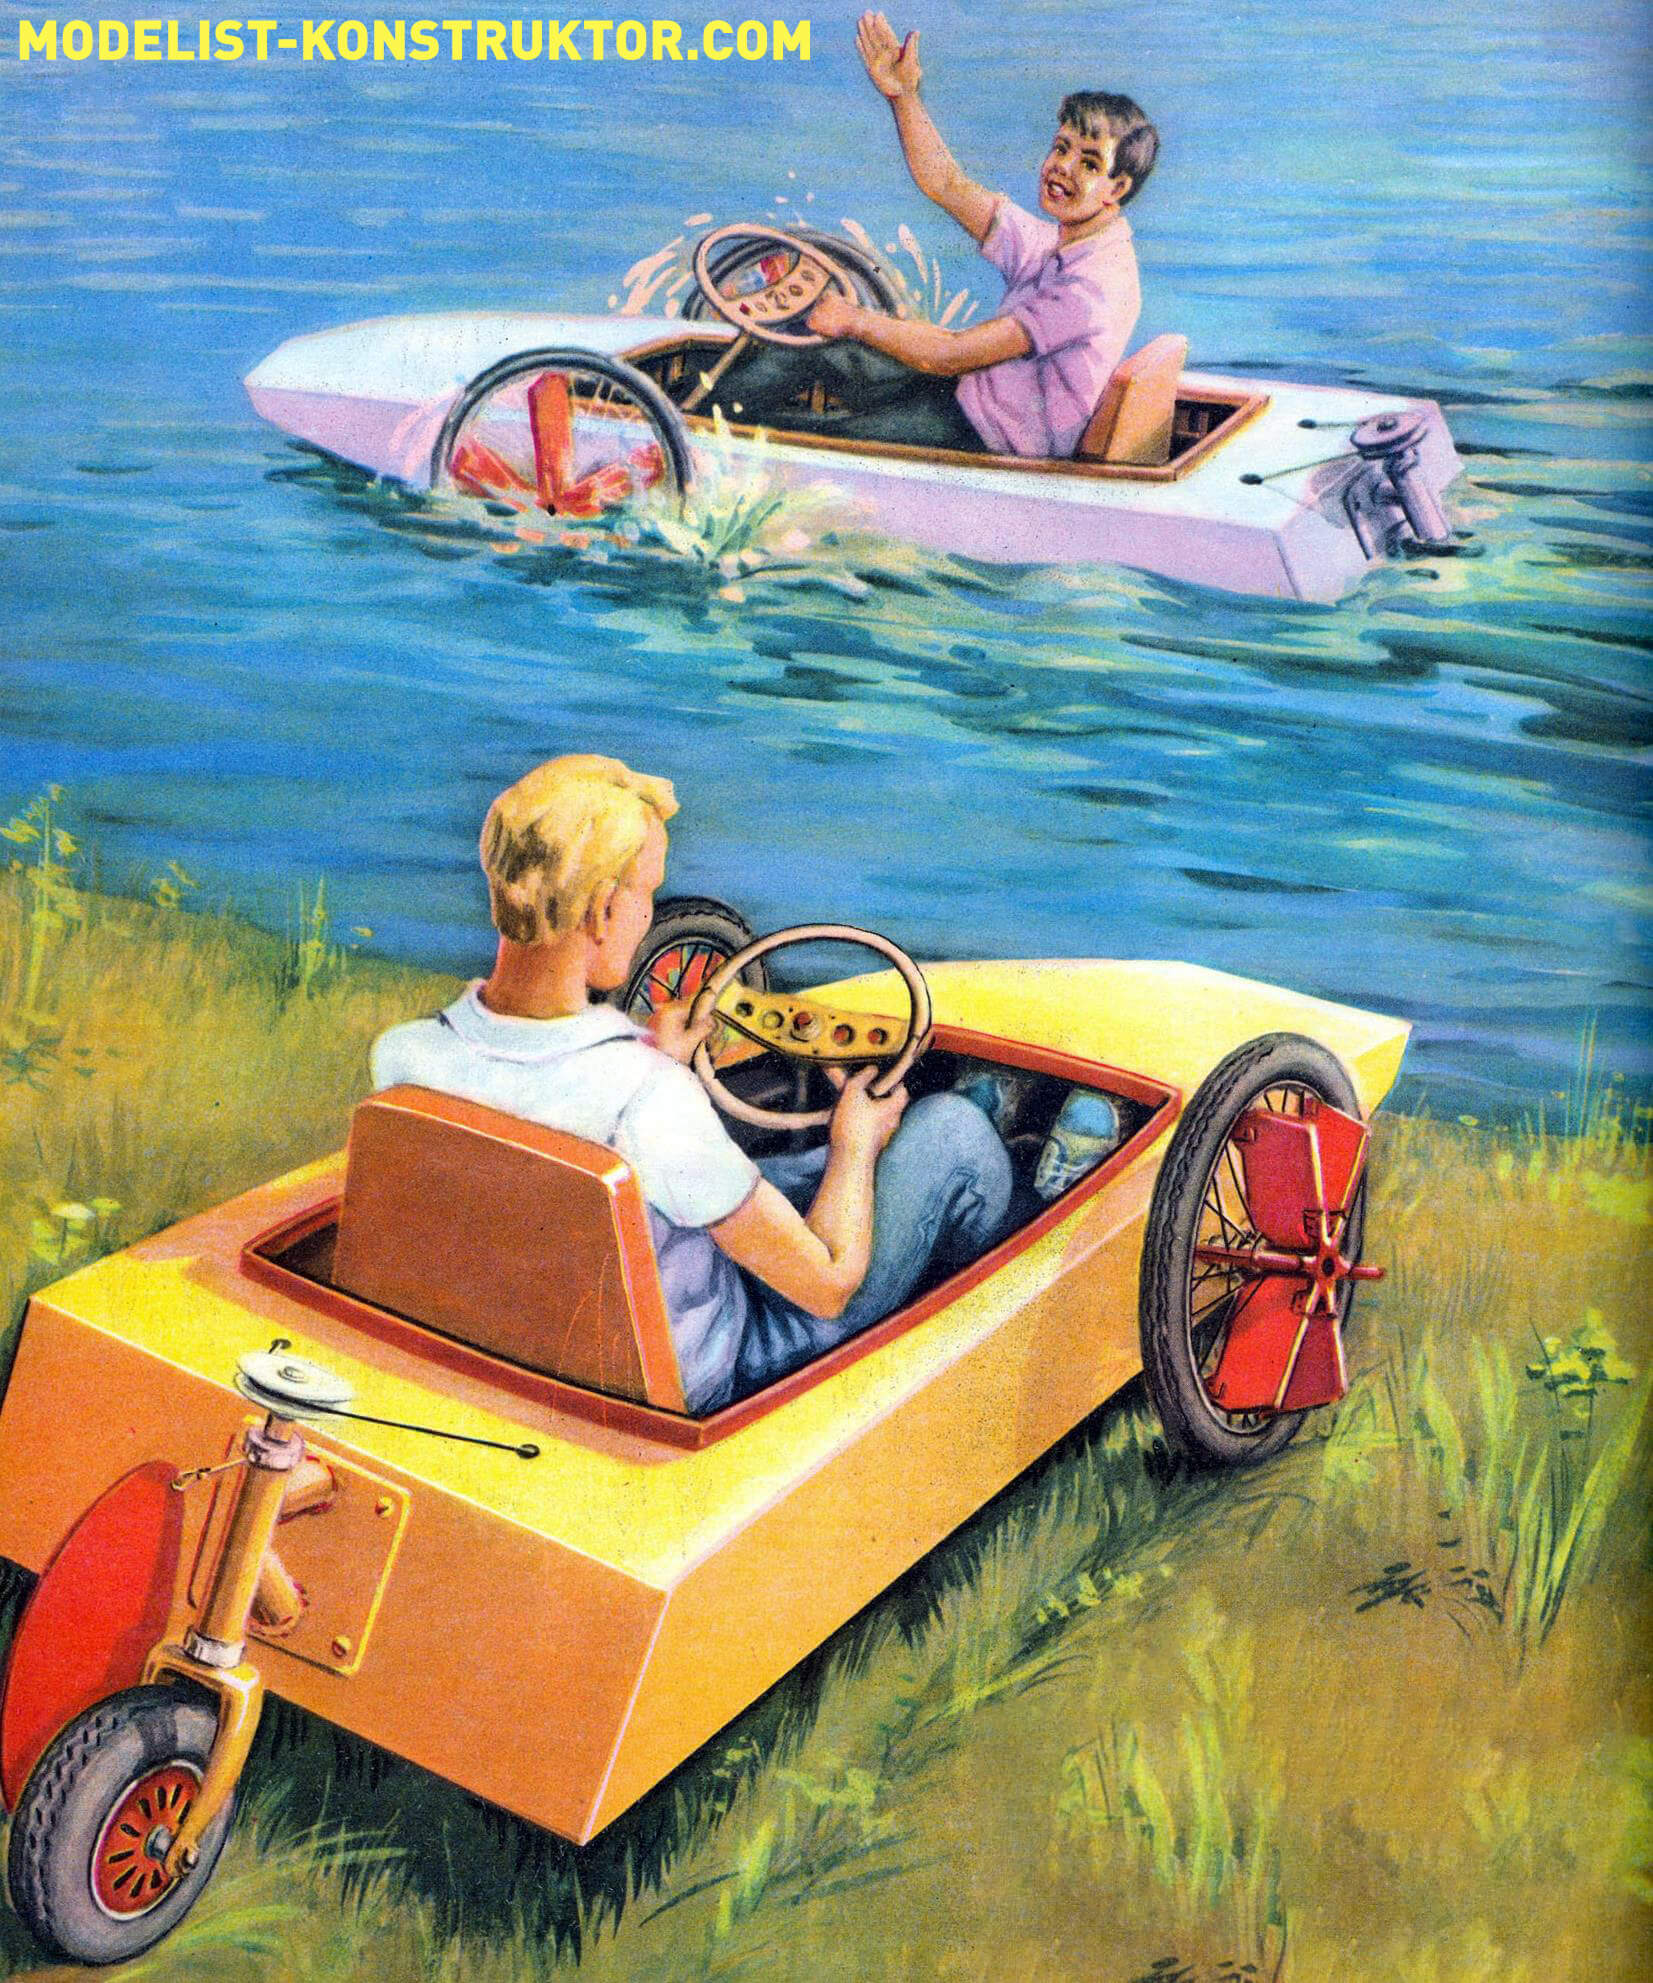
It’s tempting, isn’t it, to leave your house on a velomobile, get to the nearest body of water and, rolling down from a low bank, continue moving along the water? This will become possible if you make yourself an amphiped, a universal transport that combines the advantages of both a velomobile and an aquaped.
The family of pedal boats is diverse and numerous, but they all have a significant drawback: transporting them over land is very difficult. Another thing is an amphiped; on land it feels as confident as on water. The secret of such versatility is in its propulsion – the crankshaft with paddle wheels acts as the driving “front axle” when traveling on roads.
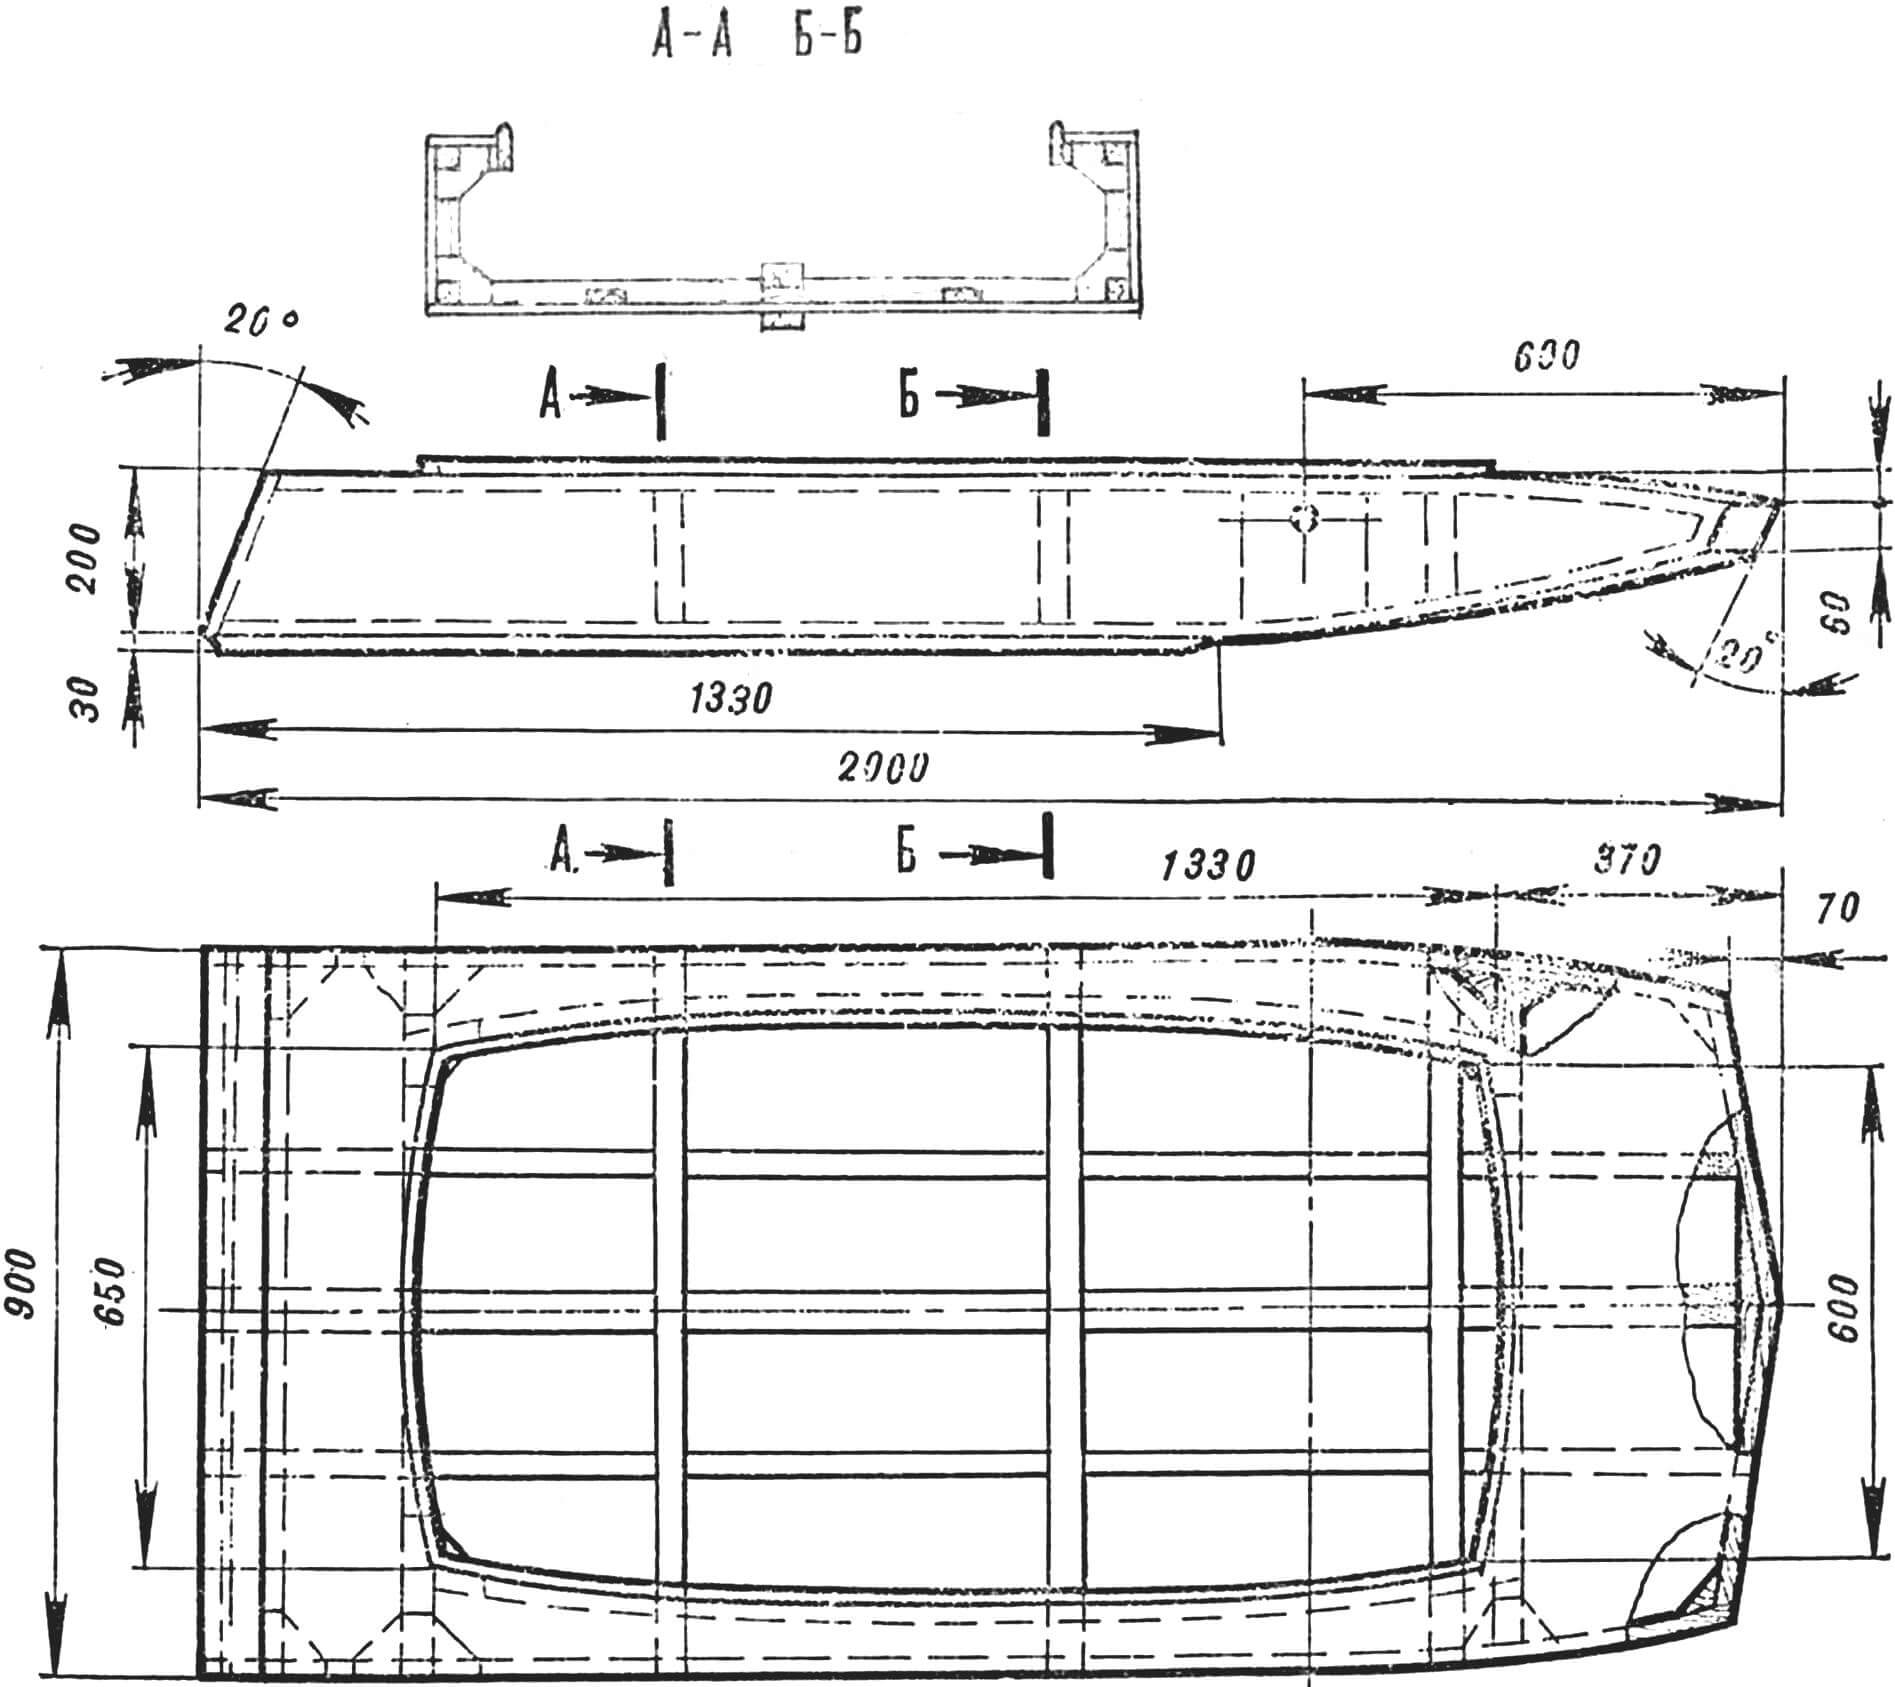
Making an amphiped is not that difficult. Start your work by making the frame of the boat. Glue the frames from pine slats with a cross section of 15X35 mm, reinforce the joints with plywood gussets and screws. Cut the transom board from a sheet of plywood 12-15 mm thick. Its dimensions are 220X900 mm. For the longitudinal set of the body, prepare four slats with a cross-section of 20X20 mm, two with a cross-section of 15X35 mm and one with a cross-section of 35X35 mm. The length of each rail is 2000 mm. For the keel, you will also need a 15X35X1330 mm strip.
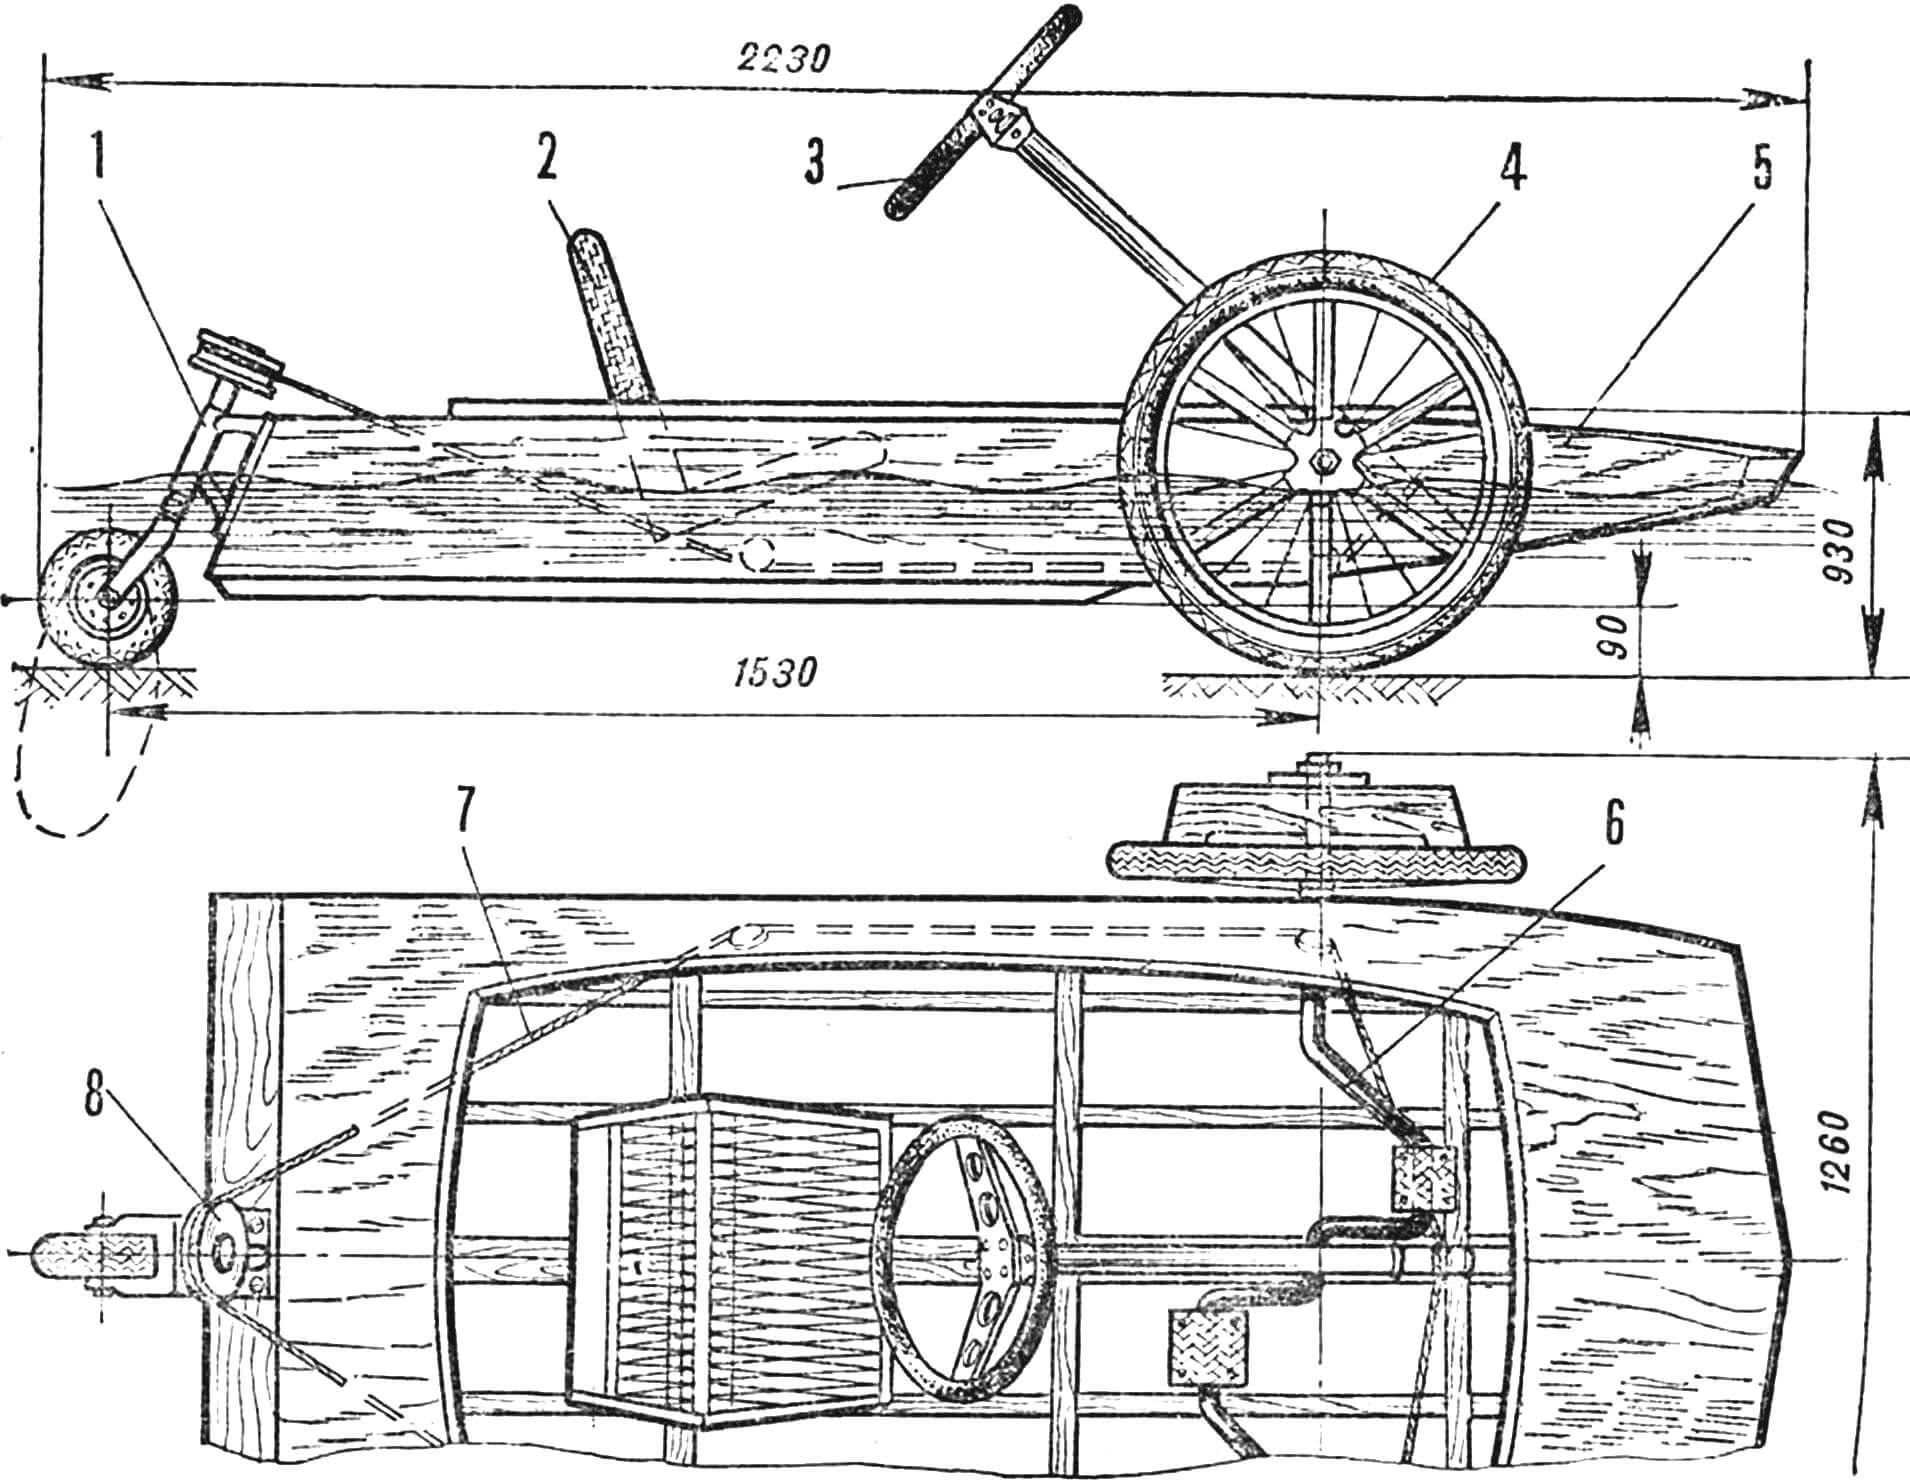
1 – swivel unit, 2 – seat, 3 – steering wheel, 4 – amphibian drive wheel, 5 – housing, 6 – crankshaft, 7 – steering cables, 8 – steering drum.
A few days before assembling the frame, the blank for the keel beam (35X35 mm cross-section) should be soaked in water (for two days), and then fixed on a slipway – a board about 40 mm thick. The deflection of the beam must correspond to the configuration of the bottom. After drying for two to three days, the workpiece is placed on a flat horizontal platform and secured with small nails. Mark the location of the frames with a colored pencil or felt-tip pen and cut grooves in the marked places. Install the transverse set elements on the keel beam and temporarily secure them to it. Next, in the corners of the frames and transom board, make grooves for the longitudinal slats.
The frame is assembled using polyvinyl acetate or casein glue and screws. When assembling, carefully check the relative position of the elements of the longitudinal and transverse sets, avoiding distortions. The remaining longitudinal elements of the set are adjusted in place, that is, the lath is applied to the frames, its position on them is noted, and then the grooves are cut.
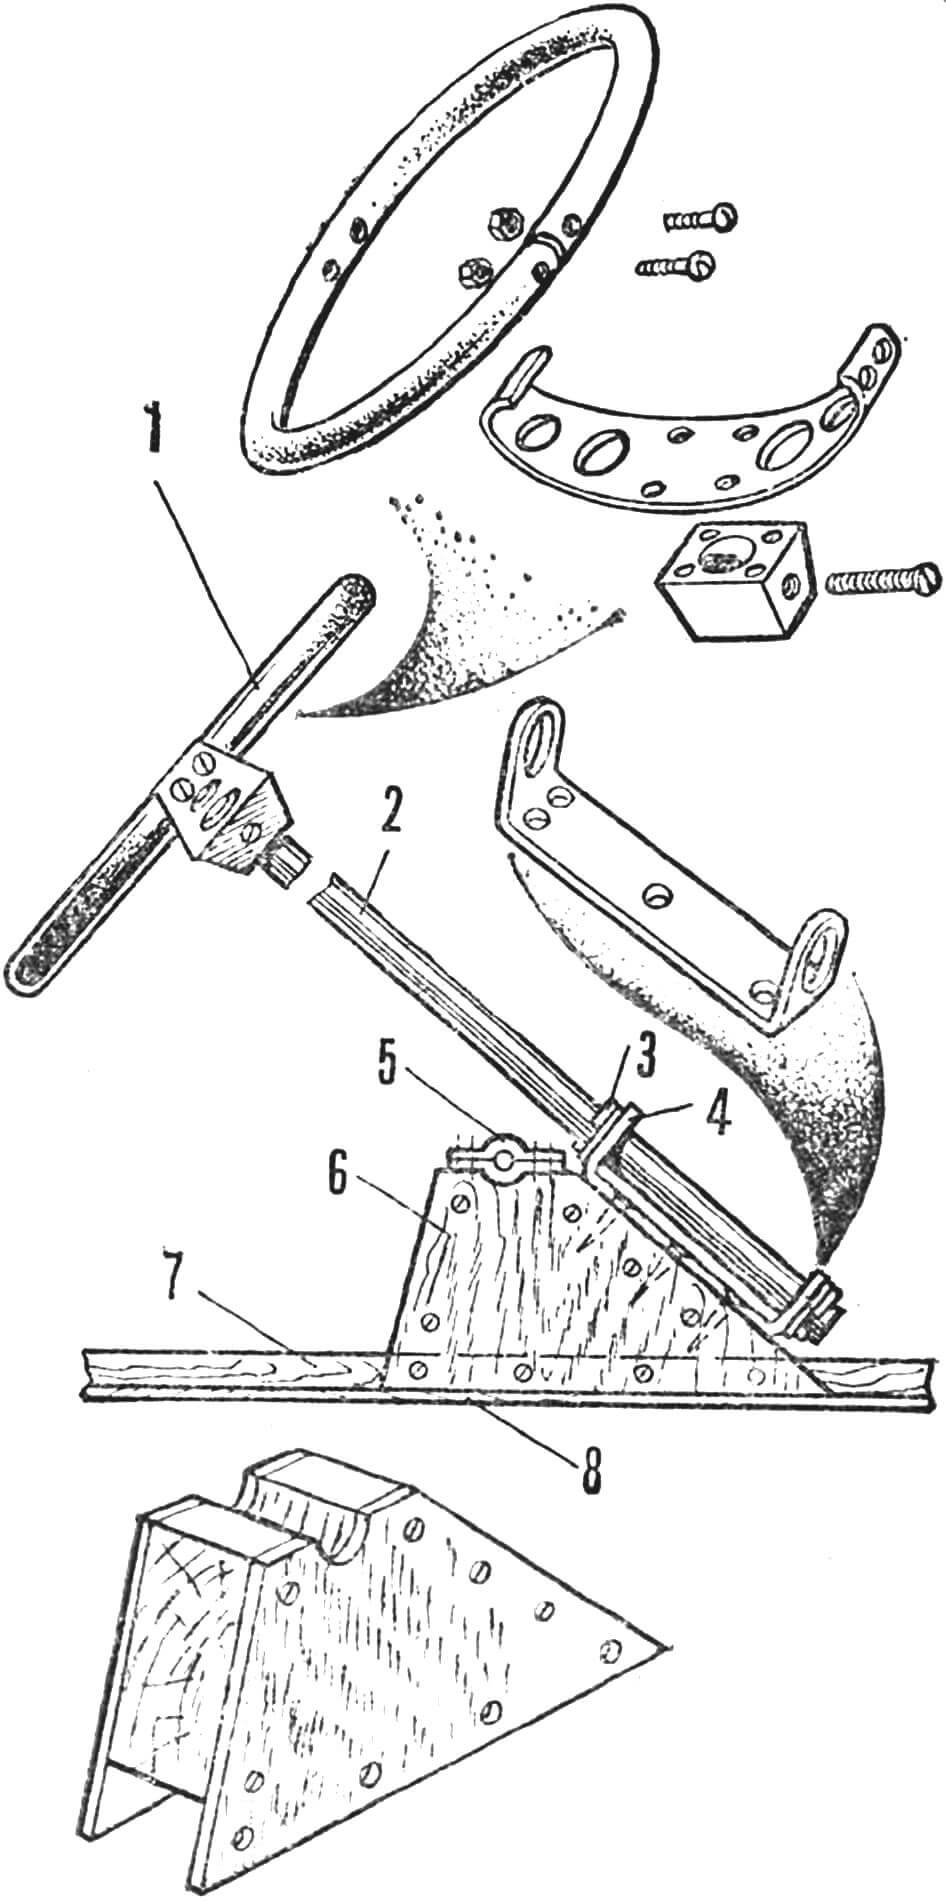
1 — steering wheel, 2 — steering shaft, 3 — cotter pin with washer 4 — bracket, steering bearing (steel S3), 5 — central support bearing, 6 — support, 7 — keel beam, 8 — bottom trim.
After cleaning the frame, cover it with plywood or hardboard. Start from the bottom. Attach a blank (4X1000X2000 mm) to it, outline it along the frame with an allowance of 3-5 mm on the side and cut it. Next, lubricate the joining surfaces with glue, place the trim on the frame and, starting from the transom, use nails about 20 mm long to nail it to the parts of the set. When the glue has dried, carefully smooth the contours of the sheet with a plane.
Cover the sides and deck in the same way. Carefully treat the joints from the outside and smooth the inside with epoxy putty. Along the outer contours it is useful to additionally cover the boat with fabric in one layer. It can be glued with any resin, including parquet varnish, as well as GF and PF paints.
Now let’s take on the rowing mechanism. It includes a crankshaft bent from a steel bar Ø 12-14 mm, two bicycle wheels (we recommend using the front wheels of the Shkolnik or Kama bicycles) and two paddle wheels assembled from six plywood (10 mm thick) or duralumin ( 3 mm thick) plates each. The dimensions of the rowing plate are 150X250 mm. It is secured to the wheel rim with duralumin corners and countersunk screws. In the center, the propeller plates are assembled using a shaped duralumin plate 2 mm thick.
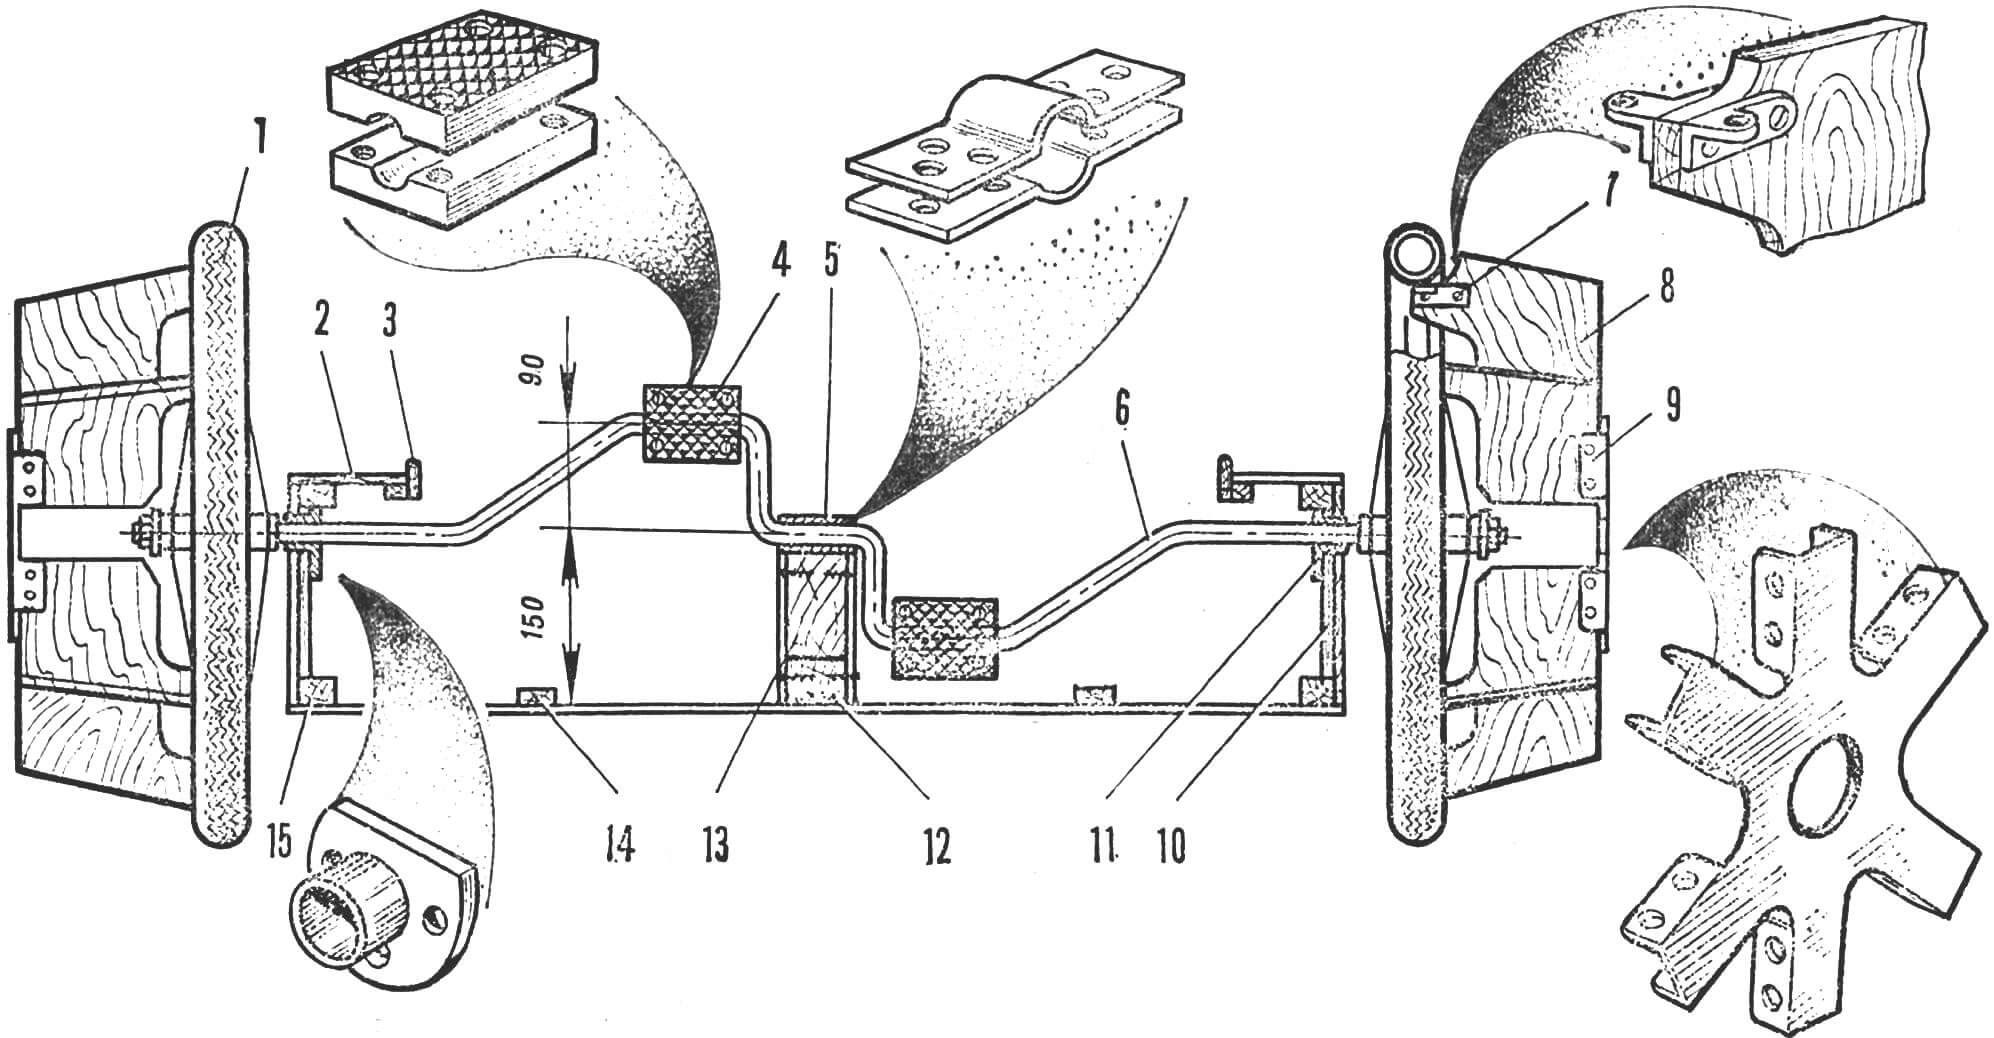
1 — wheel (from the Shkolnik bicycle), 2 — deck, 3 — cockpit edging, 4 — pedal (plywood or textolite), 5 — central support bearing (brass or copper S2), 6 — crankshaft (steel Ø 12— 14 mm), 7 — bracket for fastening the propeller plates (duralumin corner 20X20 mm), 8 — propeller plate (S10 plywood or S3 duralumin), 9 — figured plate, 10 — side reinforcement (S12 plywood), 11 — bushing bearing (brass , bronze), 12 — keel beam, 13 — support for the central and steering bearing, 14, 15 — longitudinal frame of the hull.
Secure the crankshaft support bearing to a trapezoidal wooden block 35 mm thick, sheathed on both sides with four-millimeter plywood. Screw the steering column bearing to the block – a steel bracket with holes, bent from a 4 mm thick strip. Fix the steering column – a duralumin pipe Ø 20-22 mm – in the bearing with two cotter pins.
It is advisable to use a ready-made steering wheel, but you can make it yourself by bending it from an aluminum pipe with a diameter of about 20 mm, or use a ring from an old Viennese chair. Cut the spokes of the steering wheel from a duralumin sheet about 3 mm thick. Turn the central bushing on a lathe or select a suitable block.
The rear steering wheel (from a children’s bicycle or stroller] is mounted on a swivel bracket welded from the front part of an old bicycle frame and a steel plate. It is secured to the transom board with four bolts. The steering drum is a round wooden boss Ø 160 mm with two duralumin cheeks.
To control the amphiped on the water, a duralumin steering feather is provided, hingedly mounted on the rear wheel axle. Before the car leaves for land, the pen* is raised and secured with a cable and a carabiner.
To wire the steering cables, you will need four to six blocks: these are available in any children’s construction set. You can adjust the tension of the cables using a pair of lanyards (tanders).
The seat of the amphiped is a wooden frame covered with a nylon cord or a vinyl chloride tube Ø 5-6 mm. When installing the seat in the boat hull, make sure that its position can be adjusted depending on the height of the driver.
Having completed the assembly work, putty the body inside and out and paint it in two or three layers with GF or PF enamels. That’s all, actually. All that remains is to test the amphibian in both land and water versions, once again check all the joints and bearings, and eliminate possible leaks.
I. SERGEEV
Recommend to read
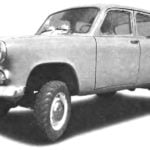 “Moskvich-410”
In 1955 the design Bureau of the Gorky automobile plant, who worked at the time on the creation of an all-wheel drive "Victory", started designing small SUV M73 engine and a number of...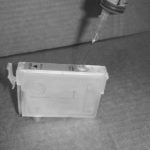 THE SYRINGE — CARTRIDGE
In the mid 50-ies of the last century, the magazines wrote that the burned out light bulb is a real treasure for lovers to make all their own hands. In particular, it was reported how to...
