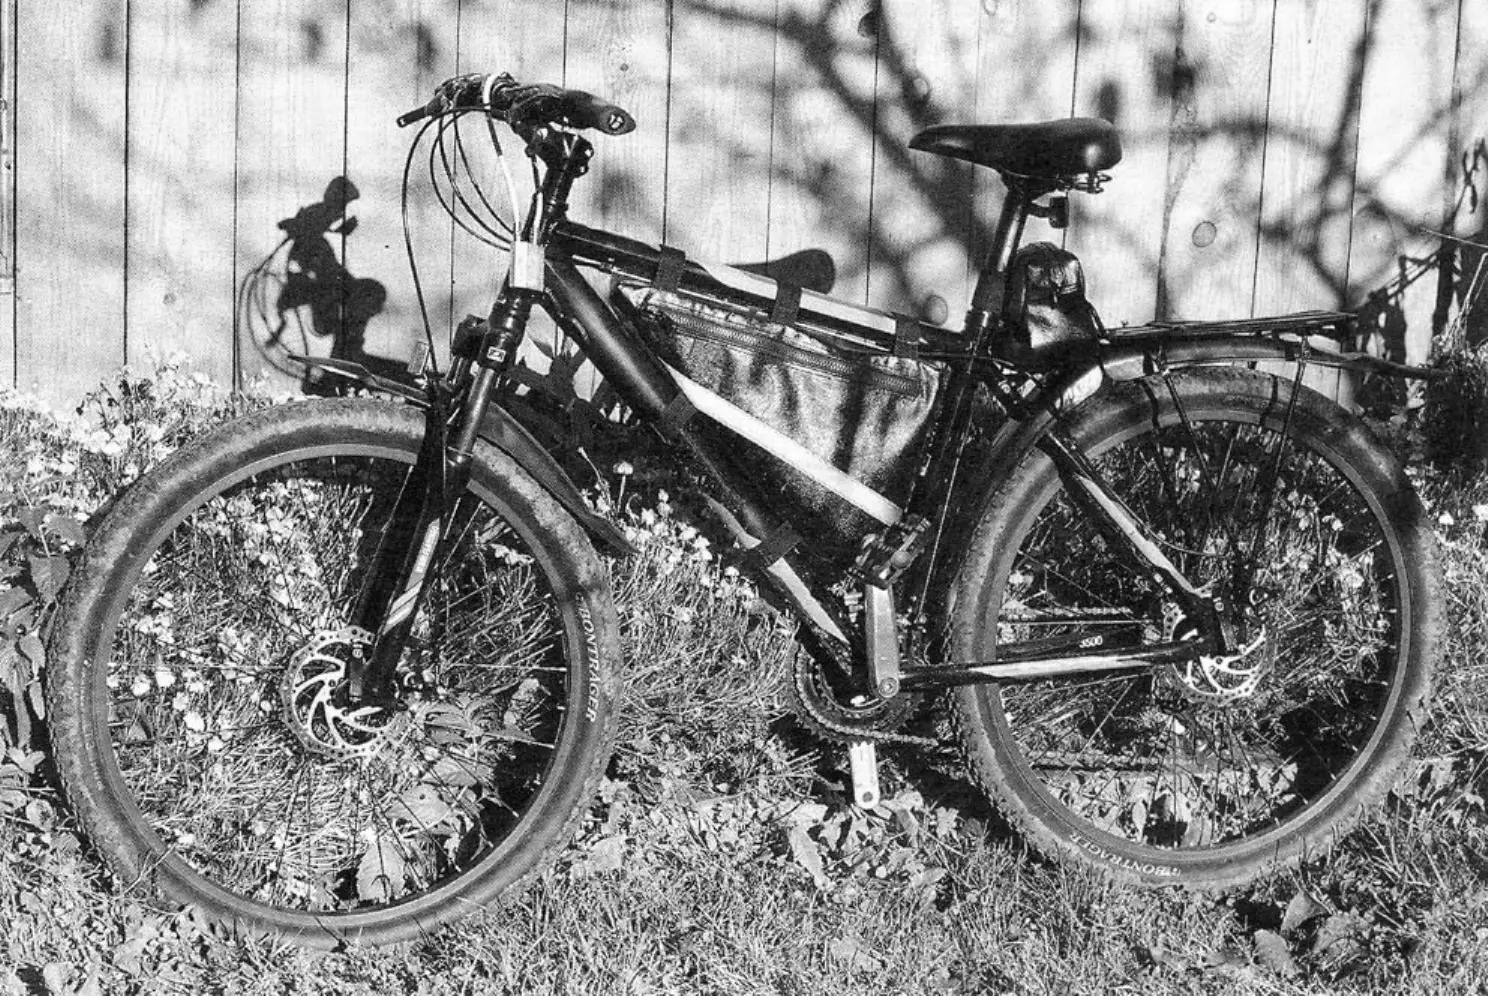
I rode the Kharkiv Bicycle Factory’s “Tourist” bicycle for 30 years. It was, perhaps, one of the best Soviet bicycles — not only for active recreation (which it was actually designed for), but also for everyday trips. Now it hangs on the shed wall as a retro exhibit. Instead, I bought a new, modern two-wheel cross-country bicycle.
The stylish multi-speed bicycle turned out to be… bare. Just an aluminum frame with wheels! It had no reflectors or lighting equipment. I had to spend extra on additional accessories. I bought a soft saddle, a rear rack, and fenders (front and rear). All of this improved the bicycle’s comfort. But there was no room for a spare inner tube or the items in a repair kit.
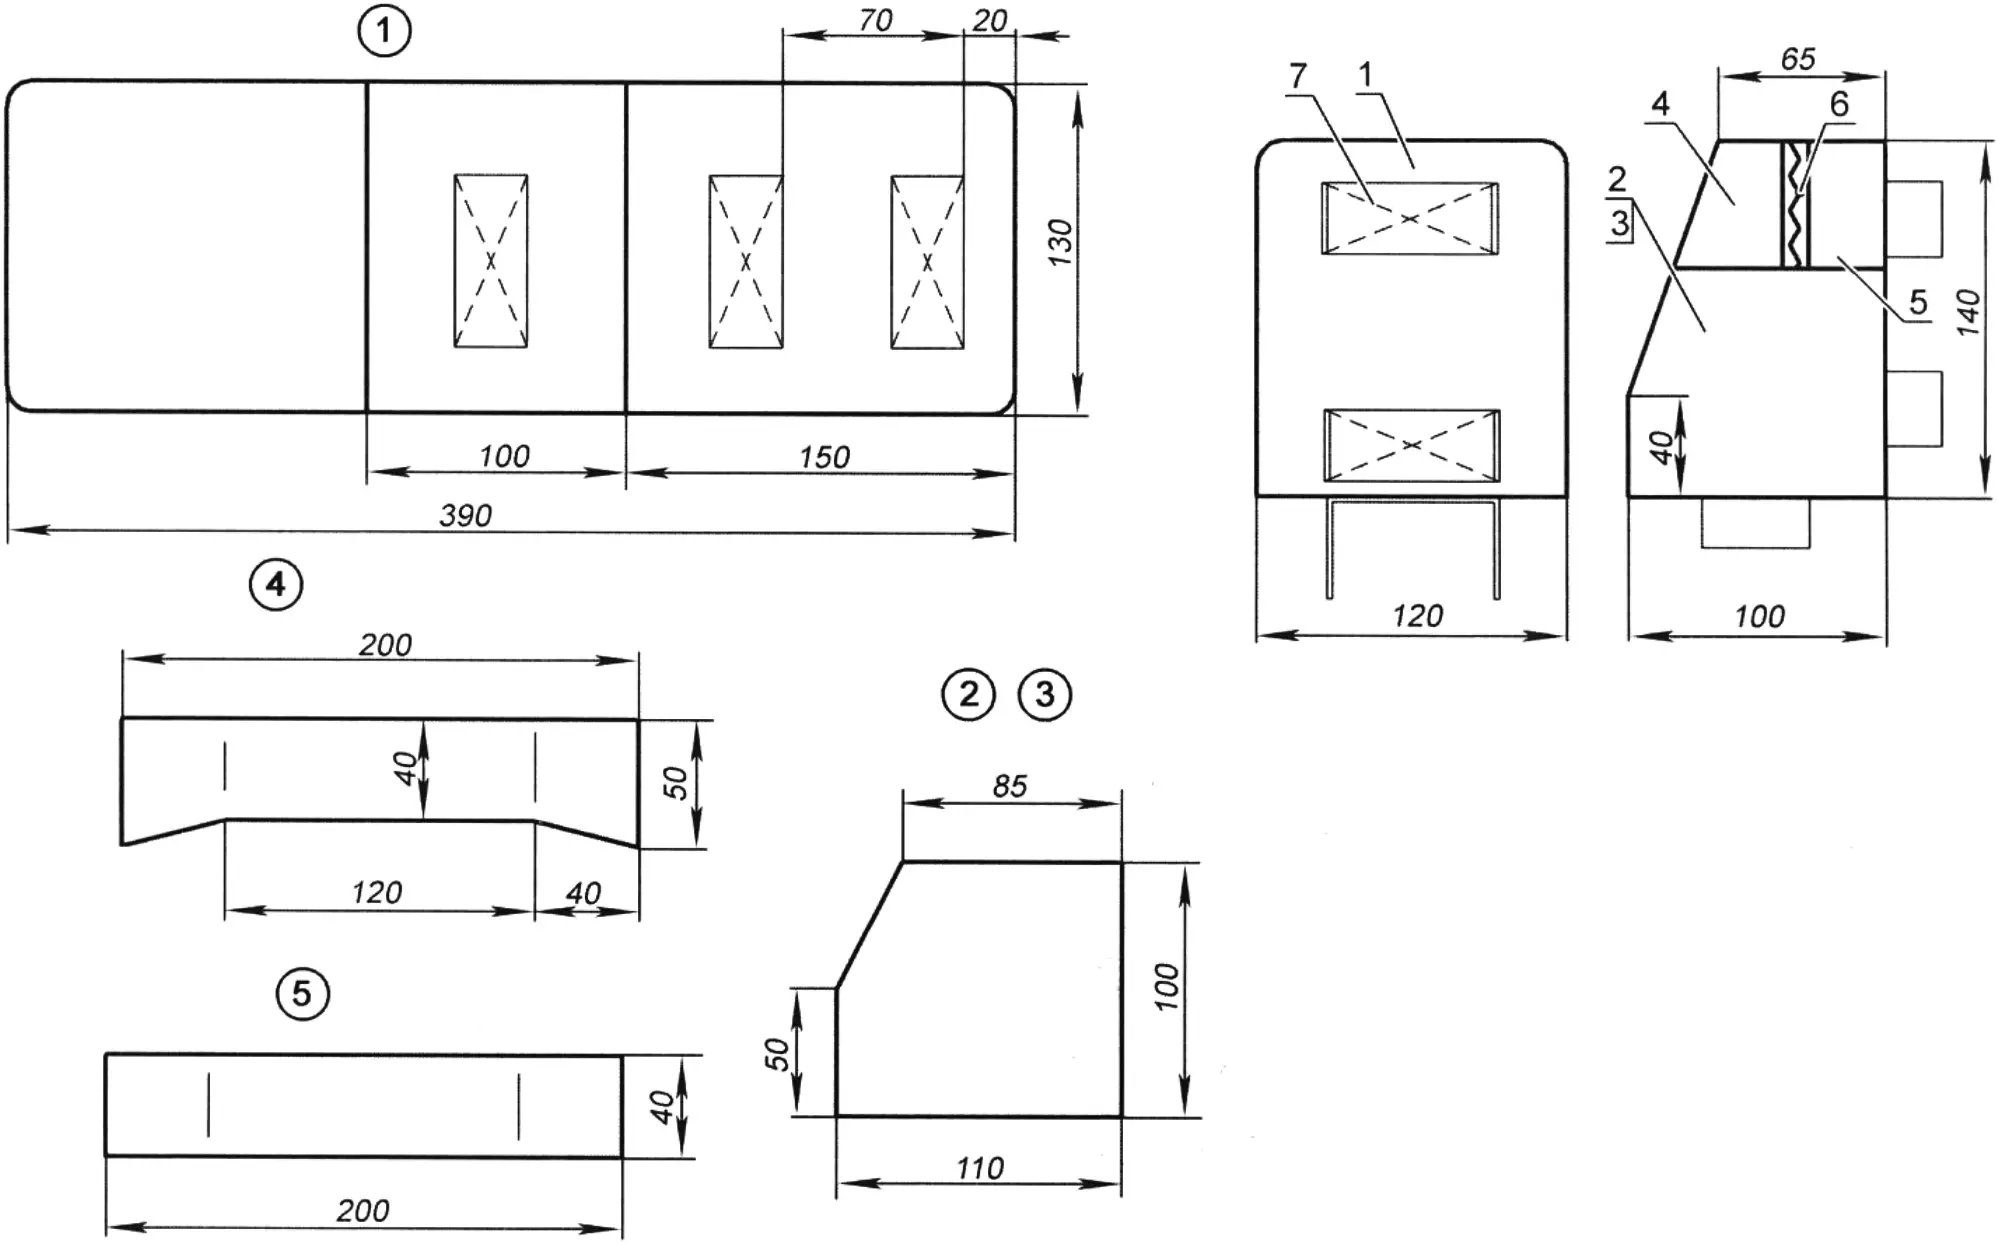
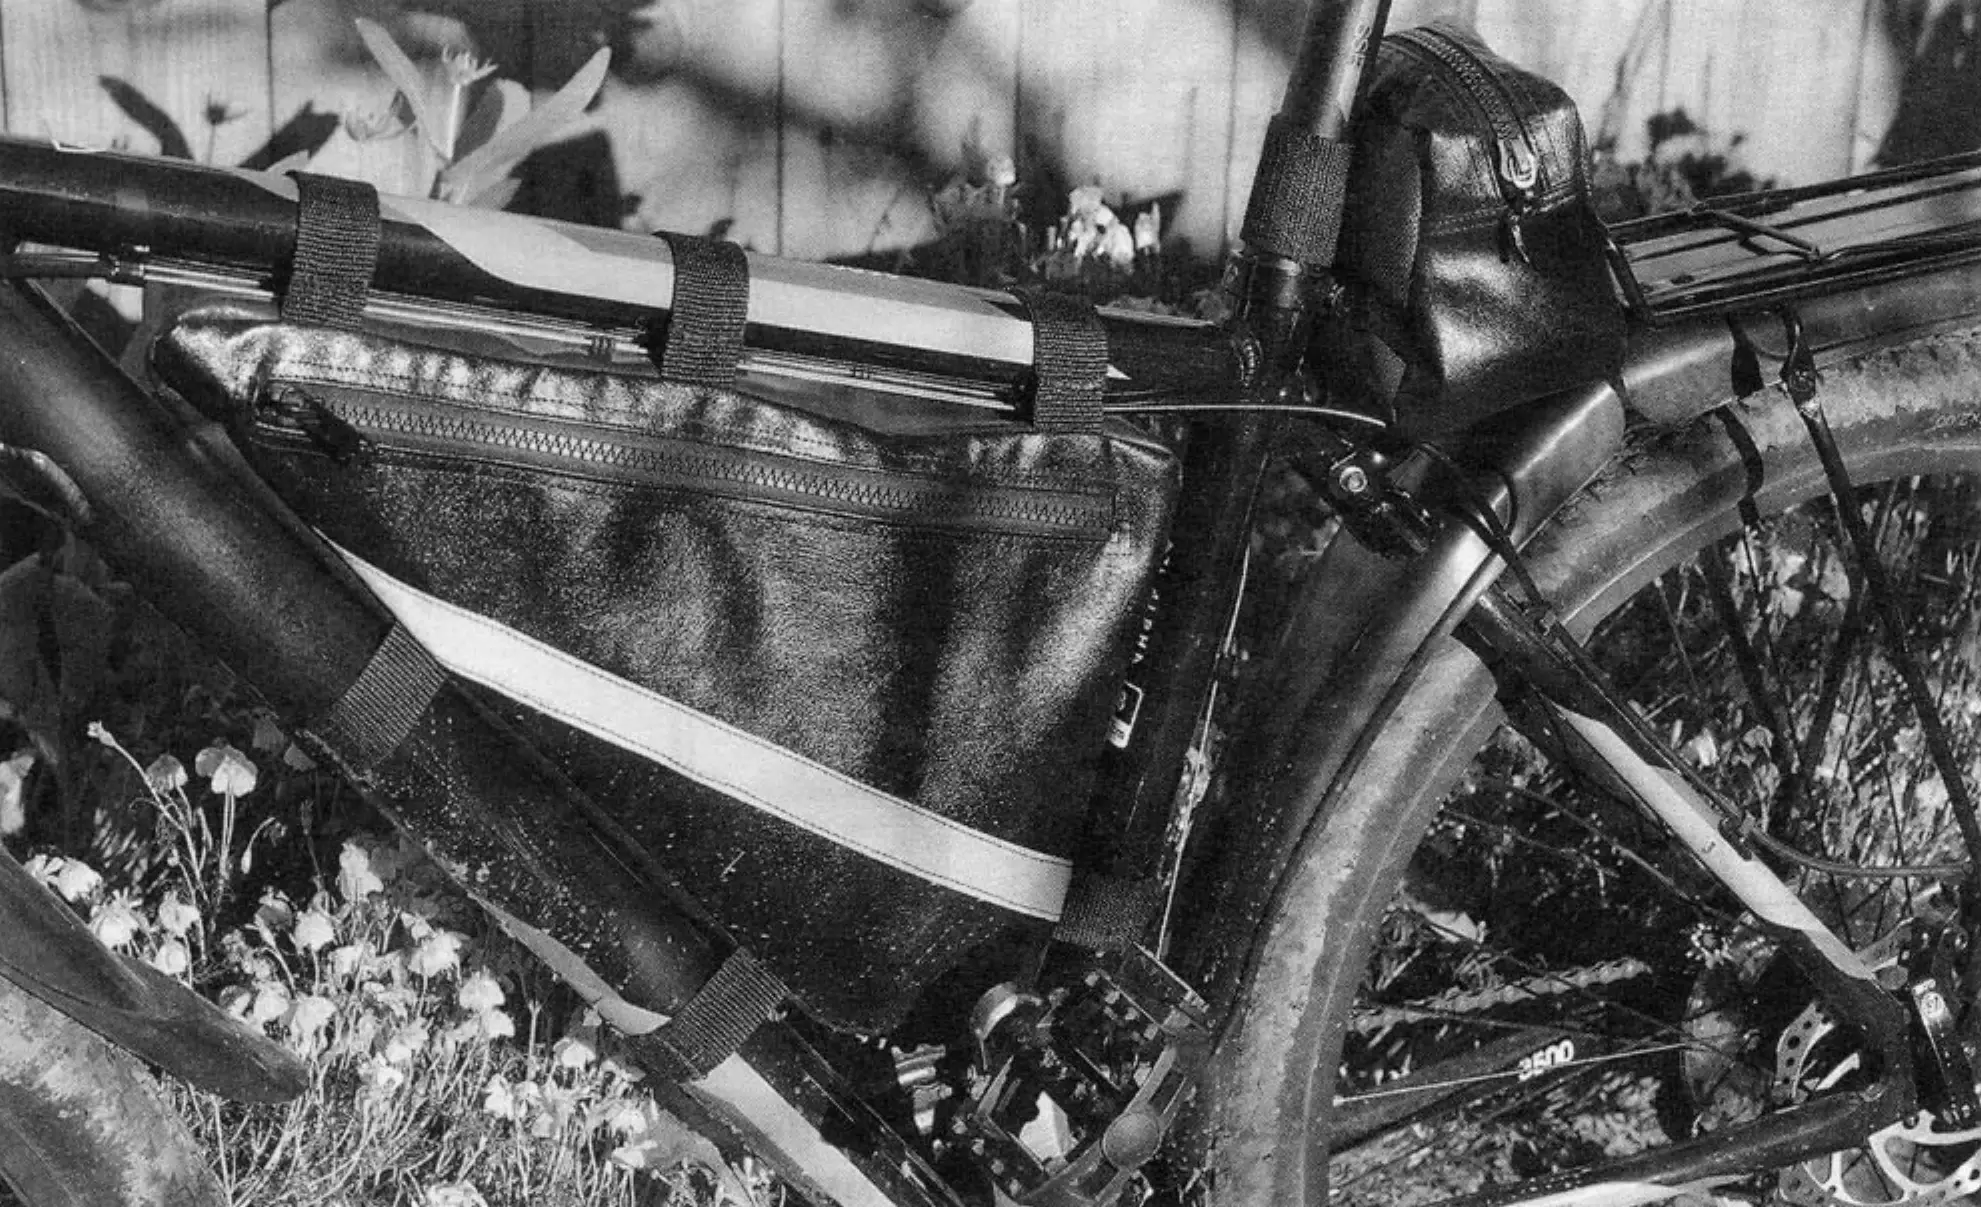
1 — base; 2, 3 — left side panel (right — mirror image); 4 — front top; 5 — rear top; 6 — zipper; 7 — nylon tie (L200, 3 pcs.)
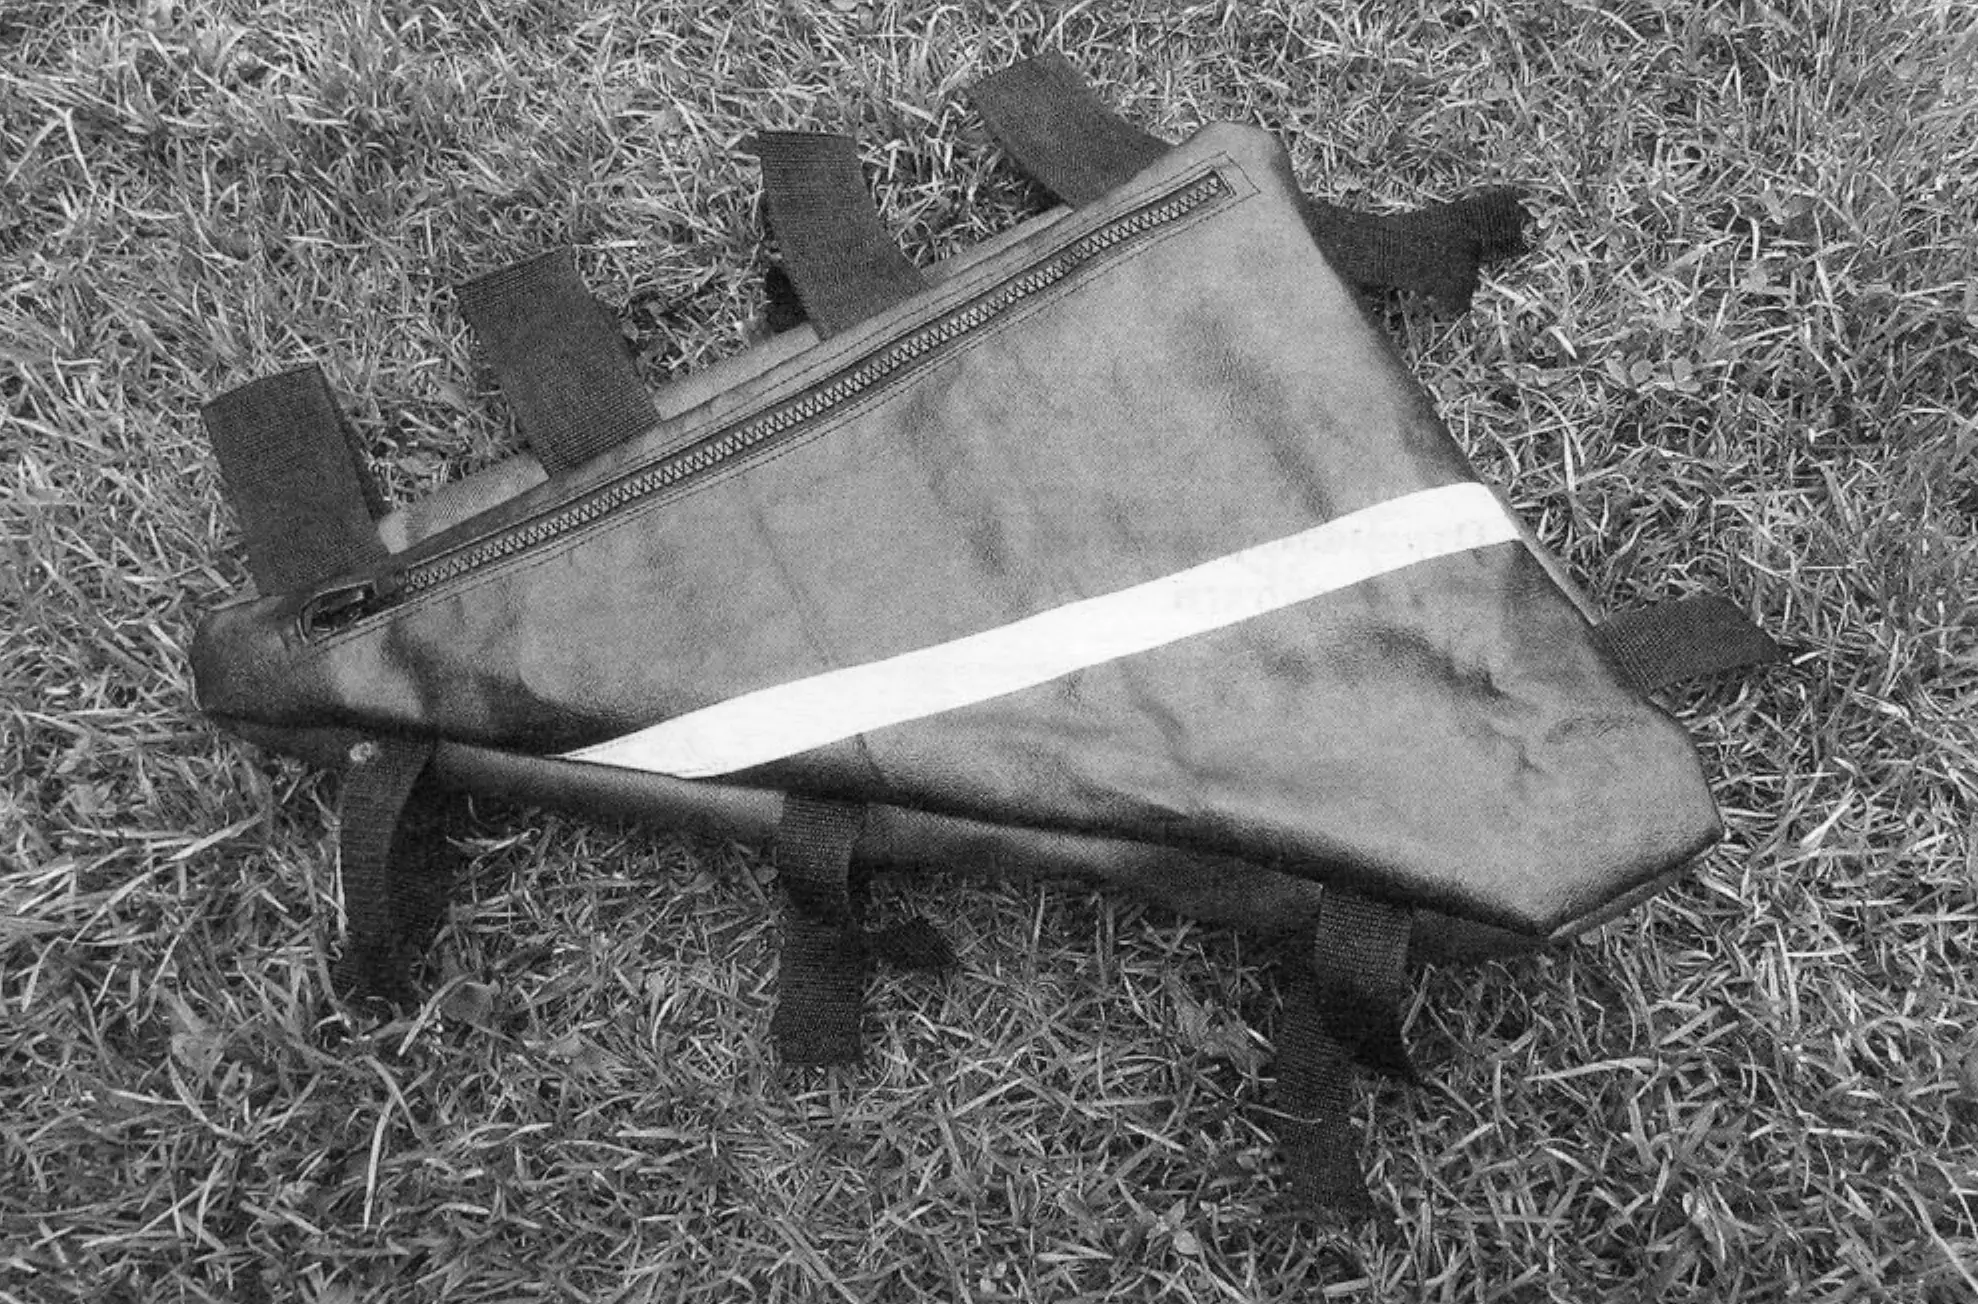
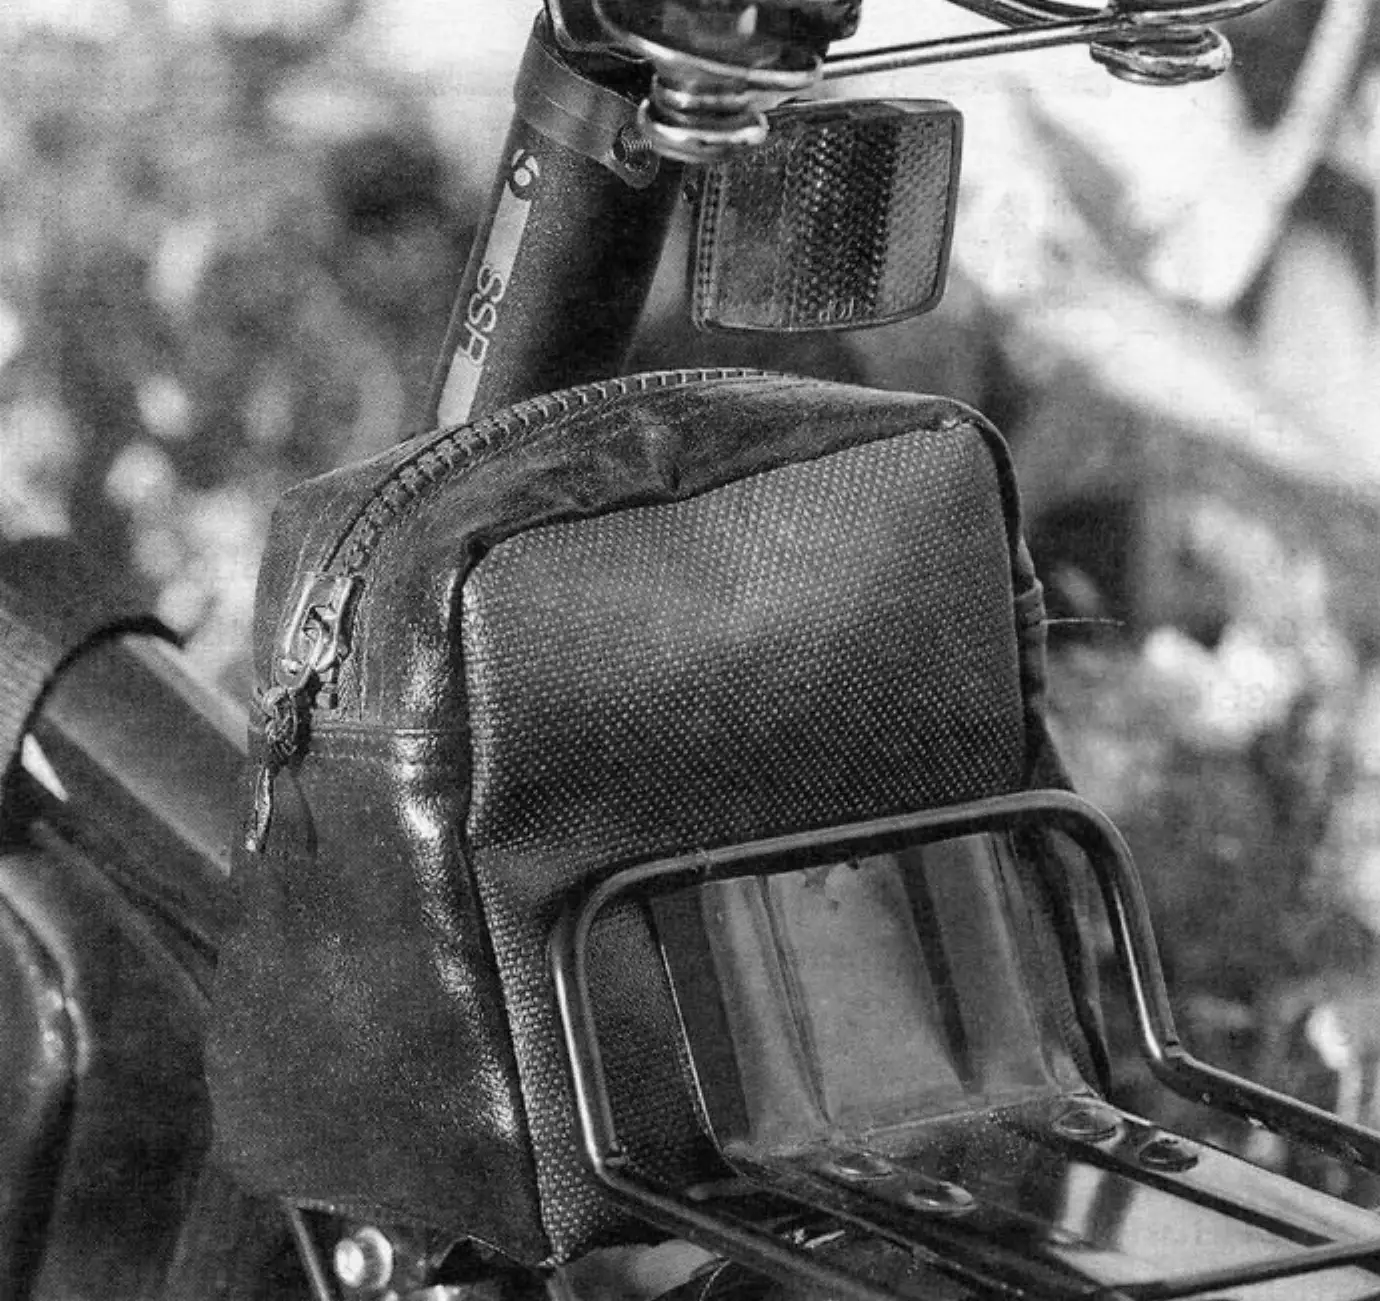
For them, I had to make a large triangular frame “kangaroo” bag for various relatively flat items (not necessarily bicycle-related — the volume allows) and a small pouch for a spare inner tube and repair kit on the rear rack under the saddle.
I have described the cutting and sewing technology for such items more than once (you can find it in issue No. 4-2016 in the article “Mitten” for a shovel — they are identical). The large “kangaroo” bag can hold spare water and food; a polyethylene raincoat and a pump.
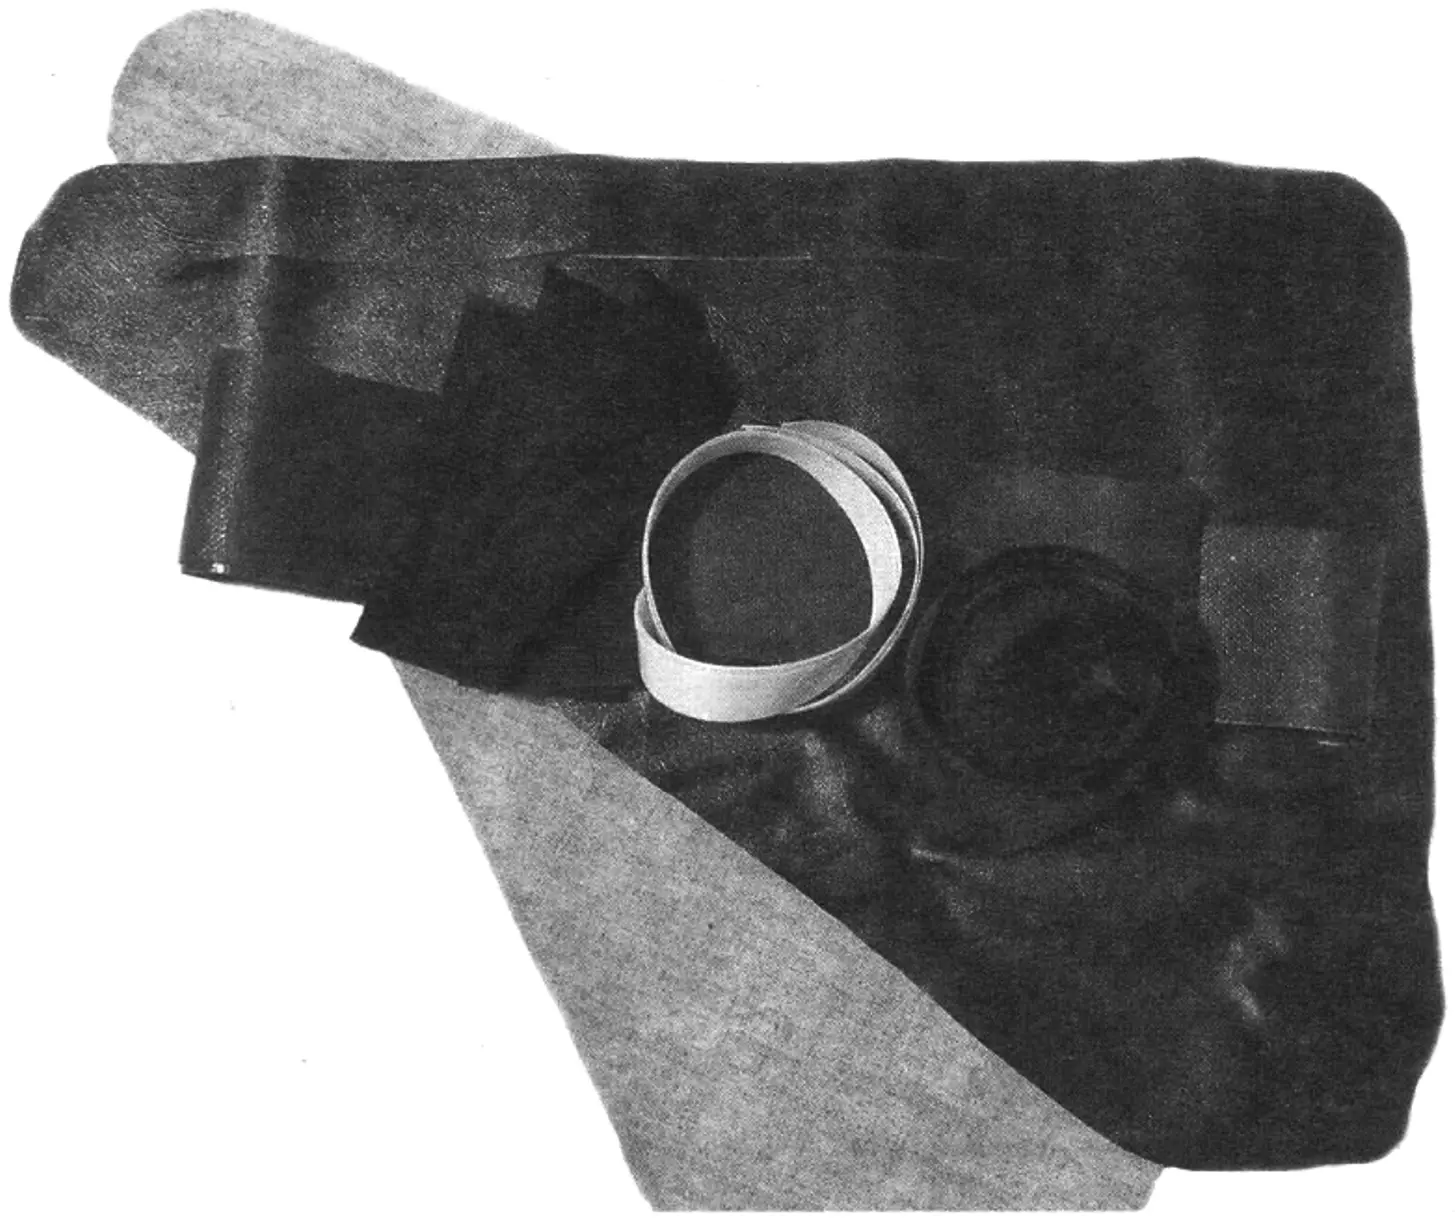
The repair kit pouch holds three tire levers, a spare inner tube, glue with patches, a bandage, iodine, and a tow rope.
A bicycle backpack or a utility bag can be mounted and secured on the rack with a spring clamp.
Wide plastic fenders protect the cyclist from splashes and mud from under the wheels in rainy weather. On the first rides, I adjusted the saddle and handlebar to suit my height and build.
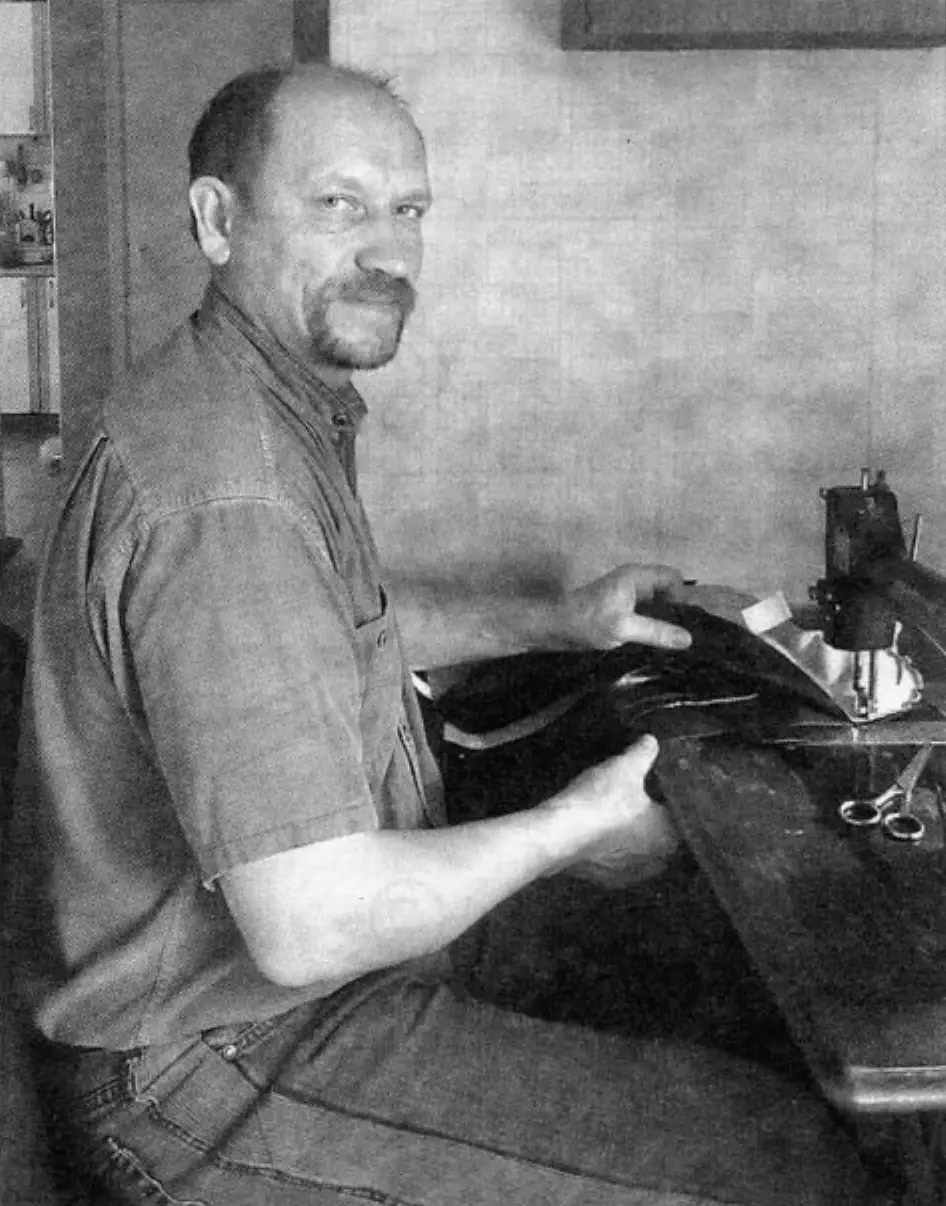
All the additions, especially the “self-sewn” bags, gave the bicycle a distinctive style.
Now my new bicycle has an original appearance and is ready for everyday rides and even touring trips.
“Modelist-Constructor” No. 1’2017, A. Matveichuk
Recommend to read
 UNNECESSARY TO SEAL
If the angular groove in the part requires the processing of a triangular file, but only one side with a notch (nearby to not participate in it), tape it temporarily any adhesive tape... NOT RAISING DUST
To the broom lifted off the floor dust it can be equipped with its own humidifier. Take the flat plastic shampoo bottle, drill in the lid a few small holes, pour water and tighten on the...
