OH, THE SLEIGH – RIDE THEMSELVES

OH, THE SLEIGH - RIDE FOR YOURSELF
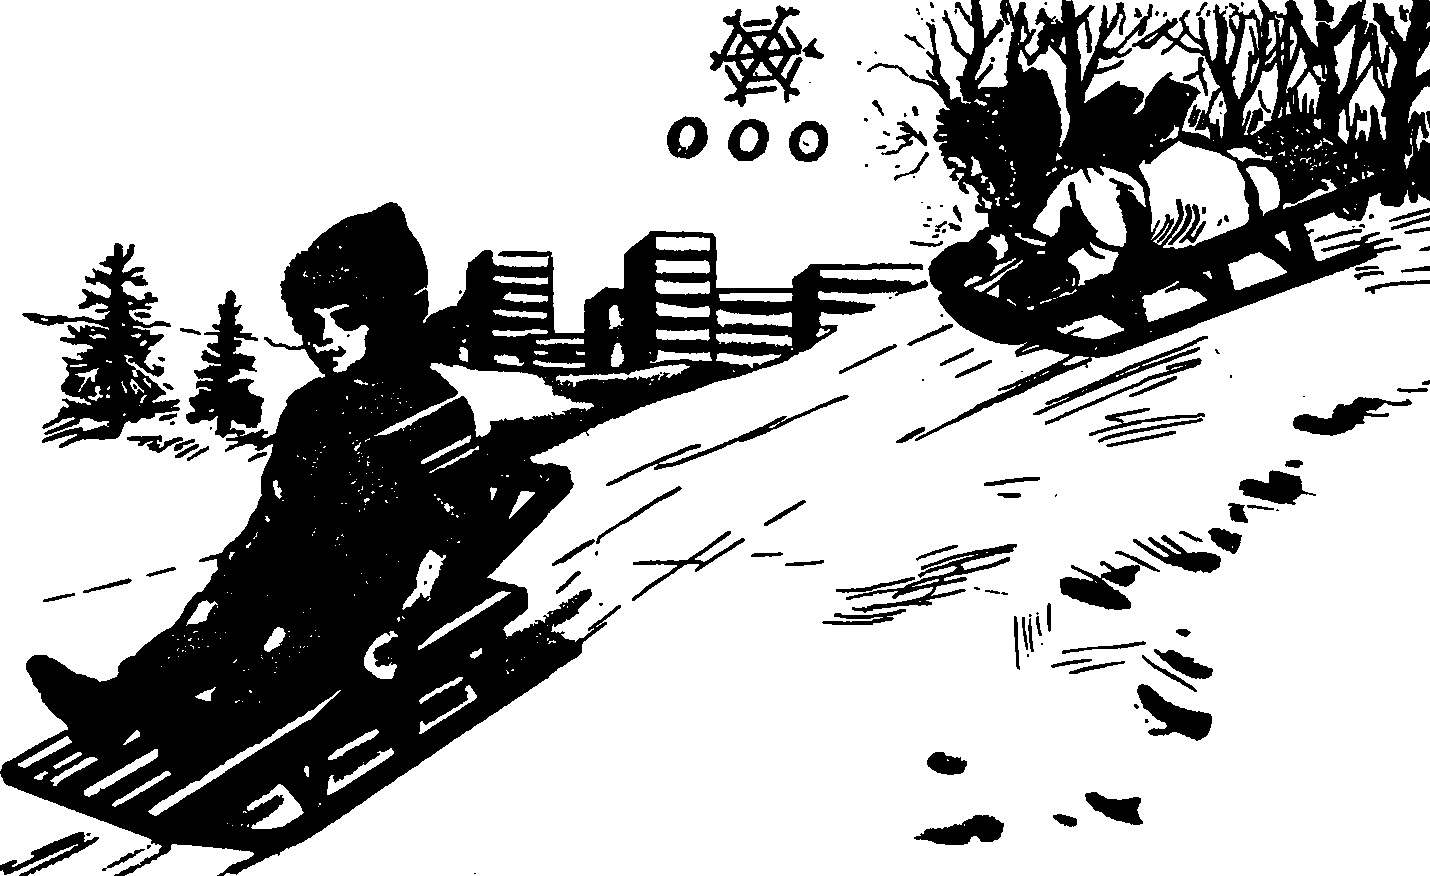
Perhaps, in the memories of every adult baby winter fun be sure to contact the sled. And it’s safe to say that in a rare home today will not meet them: they still serve the kids and adults — the baby in daycare to take a little weight out of the house or building to deliver in the snow.
And despite the variety of designs, this simple technique has a lot in common, well-established and traditional in execution and use. For example, as a rule, they move with a flexible leash rope belt. This is inconvenient, because the sleds are always pulling back. If he’s moving fast, the snow Shoe gets in the sleigh, in addition, have alternately look either forward or backward, and because of the lack of strict control of the sled can tip over.
 
There are, however, constructions with a rigid arm, secured the rear. It’s much easier: the movement occurs, more stable, lighter and more confident to overcome obstacles. However, it is not without flaw: when pushing the back can not see the face of the passenger. Remember these inconveniences for the future of our reflection, and yet consider the requirements for the sled to ride from the mountains.
 
This calls for a different design — without backrest and handrails: because to race with the slides lying on the sled on his stomach. In this position and a low centre of gravity, air resistance decreases, and thus increases the speed. And close to the snow flying from under the runners of the sled, acute emotional perception.
 
All of these conditions can be implemented by introducing simple design changes in the sled.
Pull
 
Sled pull, designed for children 1.5 — 3 years, designed on the basis of the wooden structure of the Riga carriage works. Their improvement came down to the rounded rear of the skids on the type of front and upgrade the hard leash handle so that it can be easy to flip from the front of the sled in the rear to move “backwards”.
 
It should be noted that the use of the thrown over lever facilitates the control of the sled allows you to see the obstacles and lose sight of the small passenger. And rounded ends of the runners make the sled indifferent to the direction of movement. There is an opportunity to assist the child if necessary, back to the wind, or when you want to talk to him, to deploy to face him.
 
Upgraded the sled and Pull with the handle of the buggy.
Upgraded the sled and Pull with the handle of the buggy:
1 — front arms, 2 — rear corner skids, 3 — handrail handle, 4 — position lock arm, 5 — bracket, 6 — pin, 7 — lock the folding arm.
 
Upgraded sled with the standard arm.
Upgraded sled with the standard handle:
1 — front, 2 — arm, 3 — panel, 4 — screw-lamb, 5 — handrail, 6 — rear corner runners; And — the position of the arm, B is optional.
 
The easiest way is to upgrade the standard arm. You need to make (in accordance with the figure) the two pads of steel sheet and install them horizontally on the rails of the sled so they fixed the handle into position B. Mount each cover plate is performed with three screws.
 
Overlay.
Cover:
1 — base, 2 — screw front.
 
Corner skids are performed using steel parts No. 2.0 or 2.5, bent in a heated state on the mandrel with a diameter of 160 mm. Mounting holes for screws are marked and drilled in place, and then arc joined to the sled with screws or if the wood skid is not very strong, with M4 screws with countersunk heads. To increase the rigidity of the connection of the ends of the arcs with the sled they can hold the cross pin.
 
The curvature of the ends of the runners.
Of curvature of the ends of the runners:
1 — area, 2 — back front of the sled, 3 sled runners, 4 — screw.
Mount bracket to the skid.
Mount the bracket to the skid:
1 — bracket, 2 — front arm, 3 — runner sled, 4 — screw 5 — washer, 6 — pin.
 
Much easier, although somewhat more complicated folding metal handle from the stroller. Finalizing it is that of the bottom of the rack is cut a section of pipe with a length of 260 mm, and the handle itself is bent so that the distance between the uprights in the lower part was equal to the width of the sled (about 380 mm). The lower part of them is fixed in the bracket which, in turn, is screwed with screws to the wooden part of the runners.
 
Arm.
Arm:
1 — handrail arm, 2 — front arm, 3 — jumper (cut and removed), 4 — clip folding arms, 5 — retaining ring.
 
The locking position of the handle.
The locking position of the arm:
1 — the base of the retainer 2 — front arm, 3 screws, 4 — lock ring 5 — handrail sleigh.
 
Handle mounted in positions A and B with the clips attached to the rails with screws. Form lodgement of the bent part of the base provides a snug fit to it the rack arm, while the cradle and the stand arm connects the retaining ring. Place of installation of the clamps is determined by the required height of the handrail arm.
 
Translation of leash sled from “forward” to “backwards” is clear from the construction of the sled. It remains to note that such a sleigh is convenient to store, carry the stairs and be transported in the lift and public transport.
 
“Folding sled”
 
They feature retractable backrest and handrails: the first is a secondary grille of the seat, the grab bars as to expand the deck of the sled, and jumper turns into a footrest when riding prone.
 
Based on designs taken widespread dural sled with the longitudinal slats of the deck.
 
The back of the sled is a grid of wooden slats, like the slats of flooring. It is attached to the deck seats an axle passing through the ends of the strips the full width of the sled. For axis, you can take a wire with a diameter of 4 — 5 mm. Through hole under the axle it is best to serverlimit in several passes: first the usual drill with both sides of the deck for the length of the drill, and then improvised a perk of wire of the desired diameter, one end of which raslaan and sharpened by the first drill. The slats back under the axle hole is easier to do before Assembly.
 
Folding sled.
Folding sled:
1 — base (from serial sled), 2 — plank flooring, 3 — axis of rotation of the U-shaped frame 4 — axis-limiter, 5 — handrail P-frame, 6 — jumper 7 — retaining ring (rubber), 8 — cross member of the backrest, 9 — strap back.
 
The upper ends of the slats of the backrest is screwed to the crossmember, which can be made of duralumin area.
Handrails are part of the U-shaped frame. The ends of the latter are fastened to the side rails of the deck so that the frame can pivot in the vertical plane. For greater reliability and durability, these flooring strips are thickened. Attaching to them is selected in such a manner that the jumper frame retreated from the ends of the sled 100… 200 mm.
 
In position for sit-ski rails and the back of the sled rise: the child sits, leaning back, and his elbows are on the stanchions-handrails.
 
In this position the back of the sled and the rails are as follows: jumper frame is lowered onto the crossmember of the back of the sleigh, they snapped o-rings. Instead of such rings, you can use normal straps, pulling them the crosspiece of the U-shaped frame with a transverse backrest.
 
In the lying position for riding the sled shall be interpreted as follows. Clamping rings (left and right from the back) shift rails of the frame, back when it falls on the floor, and a U-shaped frame — is provided with stops projecting ends of the axle. The rake of the backrest in this case is flush with the deck of the sled.
 
Lying on the sled, the child rests his feet in the jumper of U-shaped frame, and with his hands held behind extreme slats of the deck. This situation for him and conveniently, and sustainably.
 
KOVALEV

Recommend to read

  • FILTER BOTTLEFILTER BOTTLE
    When the faucet suddenly begins to run cloudy or rusty water, and a filter for cleaning the house is not then so off the cuff can be manufactured from readily available materials,...
  • DISKOBOLKADISKOBOLKA
    As well as natural and habitual in our apartments home libraries, does not surprise anyone today, and family library: records, magnetopulse, the compact cassette. The latter appeared...