 Alexander Konochkin — student of the physical-technical faculty of Tomsk state University. The choice of the future profession is not accidental — since childhood Sasha enjoys improvised technical creativity.
While studying in the senior class Tataurovskaya secondary school (Pribaikalsky district), Alexander Konochkin successfully participated in the competition of technical creativity among pupils with the work “Design and construction table lamp”. The object of the contest work only at first glance seems simple: he asked the student a lot of efforts and knowledge. And as a result of serious creative approach to solving tasks, the reasonableness and technical feasibility of elements of design, attractive design of the product was appreciated by the discerning competition Commission.
School authorities have been encouraged to use the design of the lamp as teaching AIDS in the workshops on the lessons of labour: in fact it includes items such as wood and metal which processing complexity comprises almost the entire school year of labor training. In this example, students can understand that even seemingly complex structures may have simple solutions, and feel that their hands can make a beautiful, convenient and useful things in life.
One who spends a lot of time behind a Desk knows how important the right lighting his workspace. Insufficient light or the wrong direction lead to tired eyes, loss of visual acuity, decrease in productivity. Students and schoolchildren to suffer more than others: after all homework has to do mostly in the evenings.
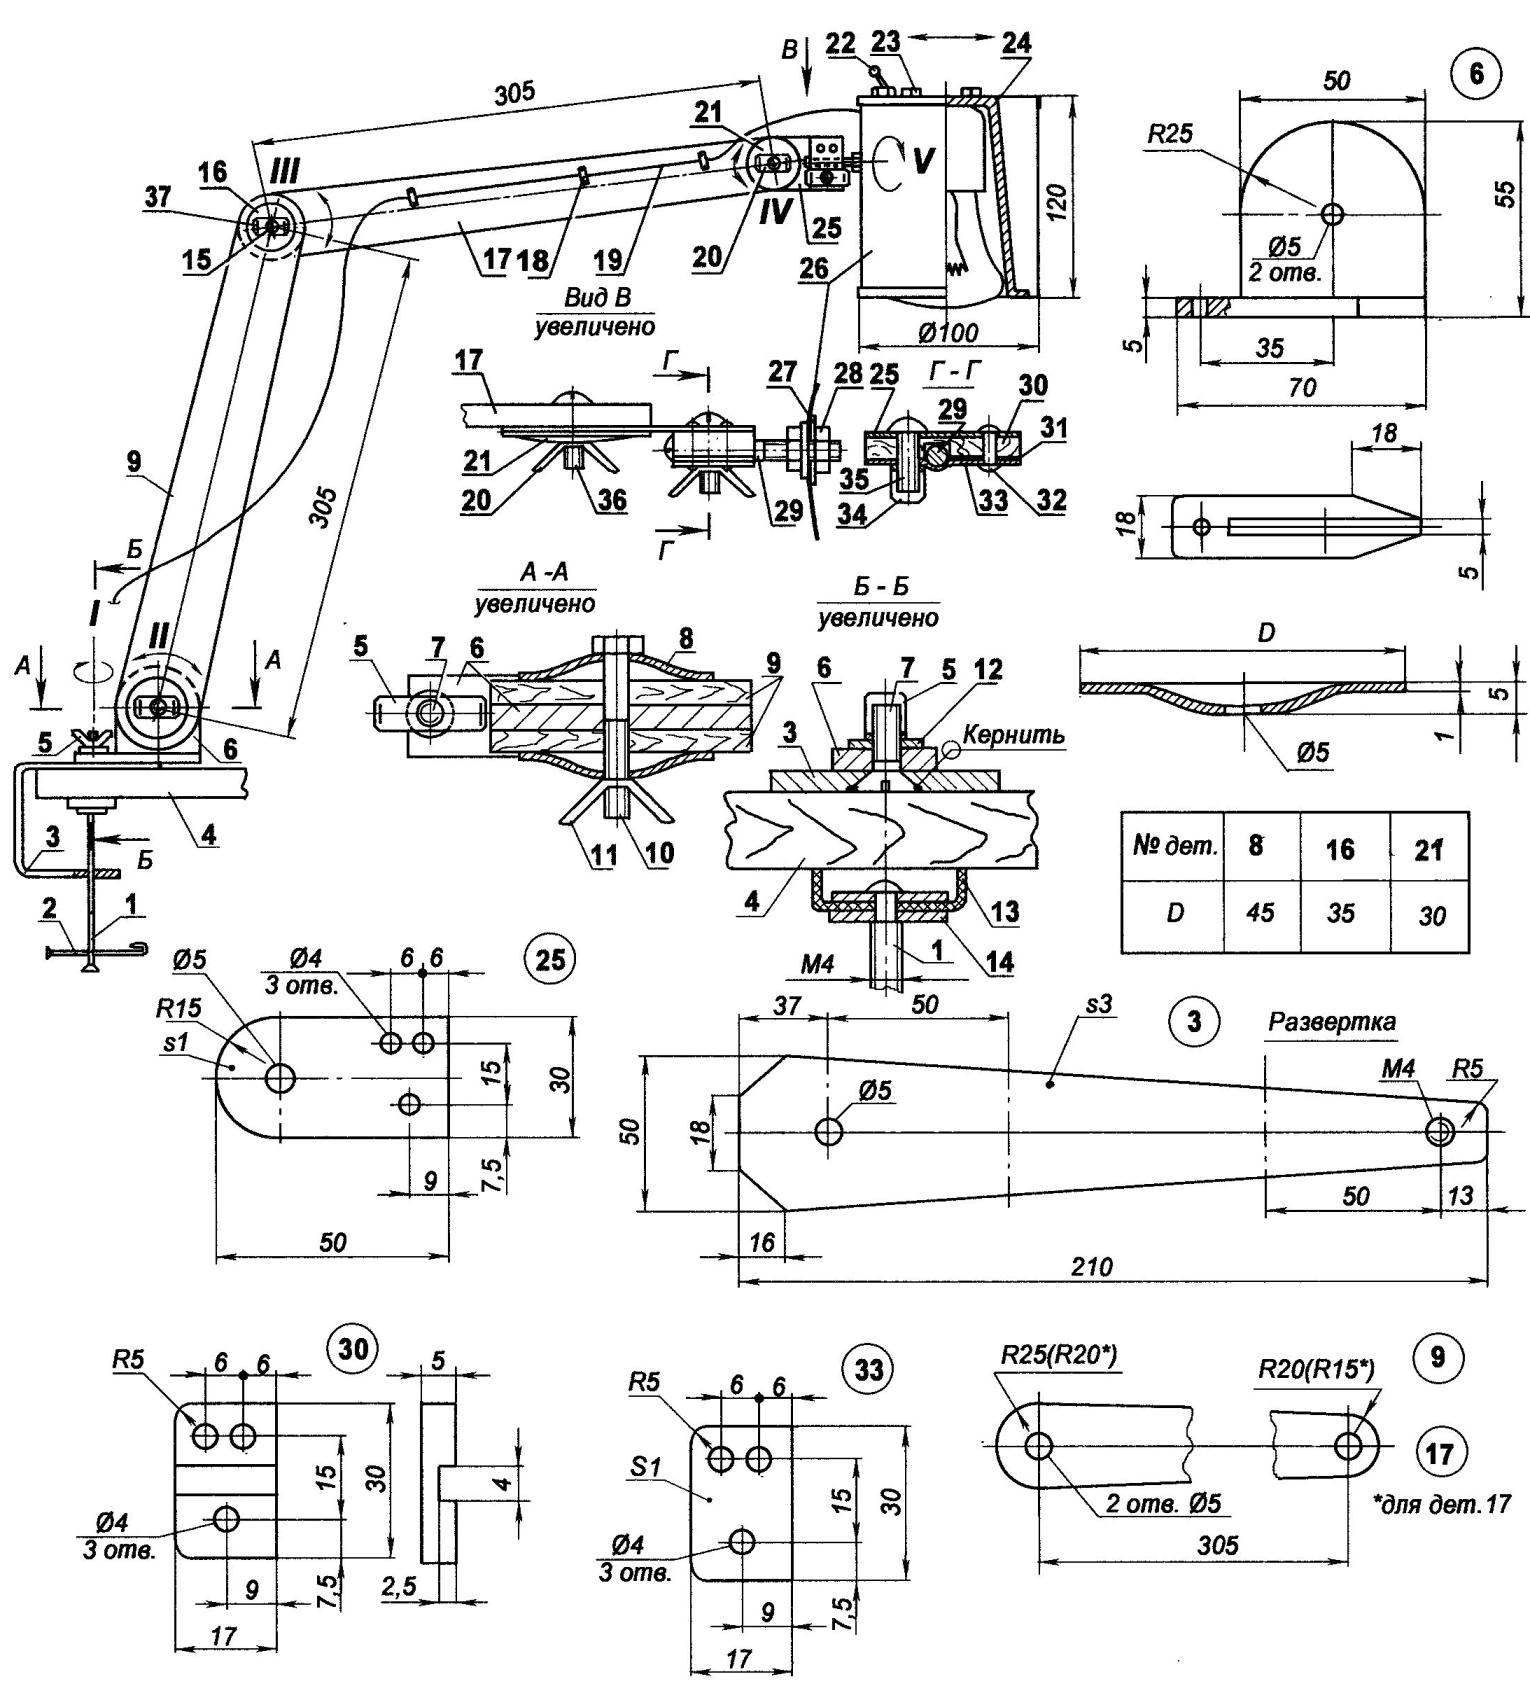
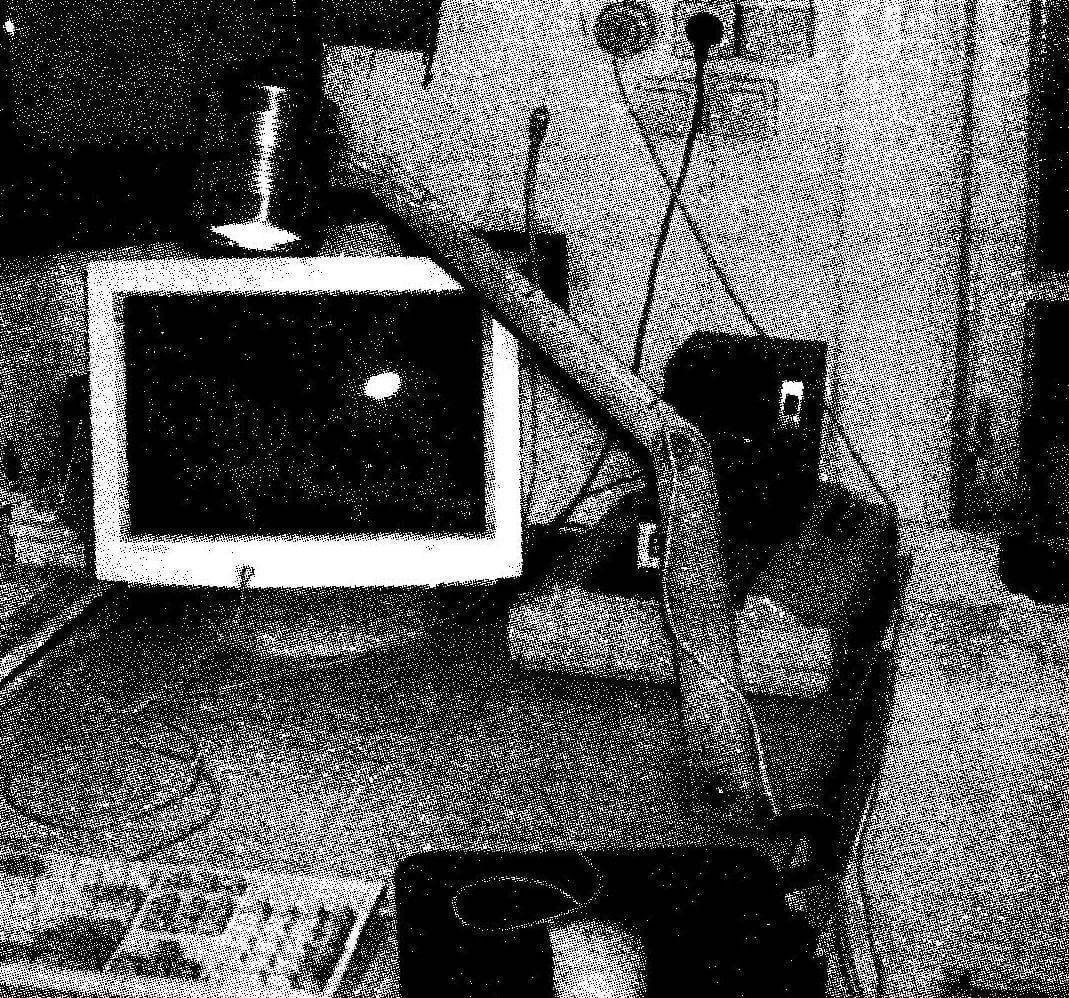
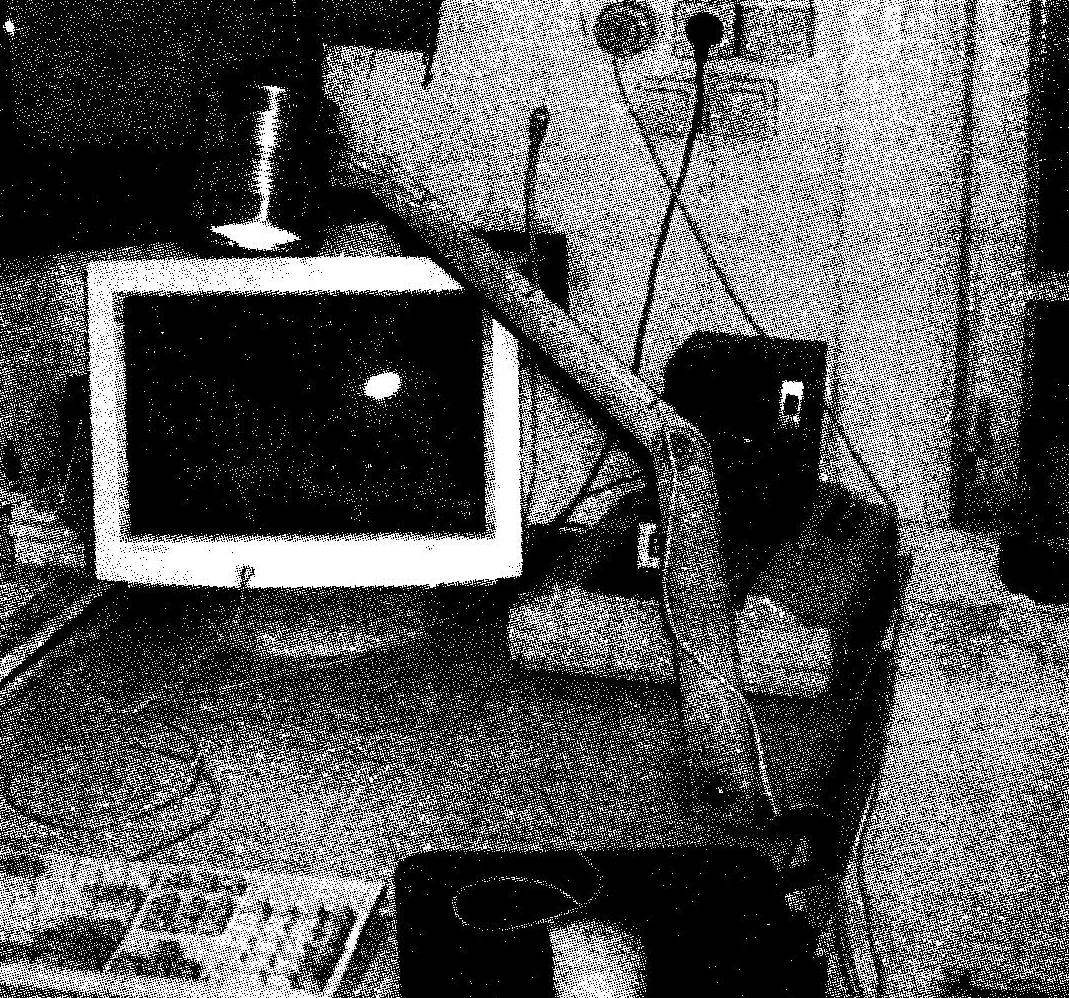
Table lamp:
1—the screw clamps (nail Ø4); 2—knob (nail Ø2); 3—bracket clamp (steel, sheet s3); 4—countertop; 5,11, 20,34,37—nuts M5; 6—bracket lower hinge (aluminium, brass, steel); 7—vertical axis lower ball joint (screw M5); 8,16,21 —shaped Belleville washers (steel, sheet s1); 9—the lower shoulder (plywood s5, 2 PCs.); 10—the horizontal axis of the lower hinge 11 (M5 bolt); 12—washer; 13 — clamp clamp (tube from the bottle); 14—plate (steel, sheet s2,2); 15—horizontal axis intermediate the hinge III (M5 bolt); 17—shoulder top (plywood s5); 18—clamp the cord; 19—the cord; 22—the switch of the lamp; 23—the cartridge mount light bulbs; 24—bulb with fittings (ceiling lamp); 25—the base of the top hinge (steel, sheet s1); 26—ceiling lamp (tin); 27—gasket (steel, sheet s1,5-2); 28—M4 nut (2 PCs); 29—the axis V of rotation of the lamp (screw M4); 30—the lining of the upper hinge (plywood s5); 31 —gasket (steel, sheet s1); 32—rivet Ø4 (2); 33—plate of the upper hinge (steel, sheet s1); 35 — detent hinge V (screw M5); 36—the horizontal axis of the upper hinge IV (M5 bolt)
In the sale there are many different table lamps. However, convenient are too expensive, and cheap, usually can’t provide comfort when working. Here are the circumstances and spurred me to develop a lamp of his own design.
At the first stage studied the design of a large number of different lamps of industrial production, began from the products of Soviet times and finished modern.
In the result of the analysis determined that the design should meet the following technical requirements:
1. The lamp is rigidly and firmly secured to the table, allowing her a quick reinstall in another place.
2. Lamp—free and easy to navigate for a distance of at least 0.5 m from the fixing points; easy to change the height and angle at least 45° in any direction.
3. Swivel reliably ensure the desired position of the lamp.
In the next phase considered the design as a whole and its individual elements, and then manufactured a prototype.
As a result, I settled on the design shown in this article.
Design description
Lamp to the table is attached with a special clamp (this ensures that the requirement statement of work # 1). Clip clamp bent from 3 mm steel sheet. Through the threaded hole in the bottom shelf is the screw made of 4-mm nail length 150 mm. At a length of about 100 mm tapped M4, and the sharp end protochen up to a diameter of 3 mm. In the groove between the two washers installed and prikladyvaya clamp—shortened the cork from the bottle. Knob clamp is steel-wire (or nail) with a diameter of 2.5 mm. In the top shelf of the clamp is drilled and countersink the bottom hole with a diameter of 5 mm at the vertical axis of the lower hinge—screw M5. The screw head should be recessed into the shelf clamp is flush and locked from rotation when tightening by using core around the entire circumference or welding (with subsequent cleanup with a file or sandpaper small circle).
The next requirement is the ability to move the lighting device in vertical and horizontal direction to 0.5 m, implemented by means of hinges located on axes I, II and III. As can be seen from the drawing, the whole design of the lamp is based on the bottom bracket hinges, through which the vertical axis I (see above) and the horizontal axis II perpendicular to the plane of the shoulders.
The hinge allows you to rotate the entire lamp around the vertical axis, and the hinges III and II to move the lamp vertically and horizontally relative to the support (clamp) through, respectively, the upper and lower shoulders. Device hinges of the same type: hold down elements are positioned between two shaped Belleville washers, riddled with bolt-M5 axis and fixed nut-lamb (the hinge I role of one of the washers is played shelf clamp). To hold the hinge axis does not rotate together with nut-lamb, preferably as the axis to use furniture bolt with square tide under the head and washer in this case it is necessary to cut a corresponding square hole.
Such a connection axis with disc washer prevents it from slipping when twisting
Upper hinge:
1—base; 2—lining; 3—a rivet Ø4; 4—nut-lamb M5; 5—axis of the V lamp; 6—strip
Lamp:
1—shade (tin Ø100; Н120); 2 — armature; 3 — insert; 4—switch; 5—axis hinge V; 6—nut (M4; 2); 7—gasket (steel sheet 1,5 s); 8 — washer

Manufacturer of Cup washers
Manufacturer of wing nuts
The shoulders are made of 5 mm chipboard. The lower shoulder is composed of two identical elements, and the upper axis III is clamped between them. For all shoulder length center-to-center distance of 305 mm. On the console end of the upper shoulder is attached to the top hinge. Its purpose is to turn the lamp in any direction due to the hinge axis IV is carried out rotation in the plane of the shoulders, and on axis V in a perpendicular direction.
As the main element of the lamp used cartridge and fittings from the suspended ceiling; lamp shades, tin diameter 100 mm, height 120 mm; lamp with diffused light reflector (the bulb is less hot and gives a soft light). It was established experimentally that the lampshade is not heated above 50°C. It is safe in operation (does not burn your hands) allows you to place the switch directly on the lampshade and use conventional (not heat resistant) power cable. The shade to the swivel axis V is fastened with two nuts using M4 steel 3 mm shim from the inside and a 1.5 mm washer on the outside.
Wire is better to fix to the upper shoulder in three places with wire twist and the bottom bracket—a bracket.
Manufacturing technology
As follows from the illustrations and descriptions in the design of the lamp used is quite simple parts, and their manufacture and Assembly is hardly difficult to even very experienced homebrew. Therefore, I will not give detailed descriptions of all elements, and will focus on only two parts.
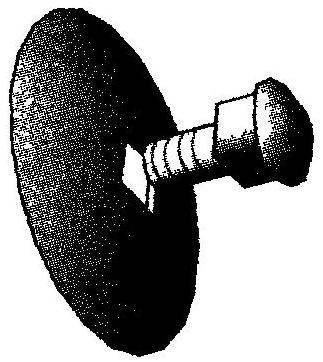
For the manufacture of the Belleville washer of 1 mm steel sheet cut a square billet with a side slightly larger than the diameter of the future goals. Placing the workpiece on a rubber lining, apply a blow with a rod with a spherical head to form the hollows disc-shaped. Then mark the center of the basin and a compass draw the outline of the washer. Center drill the hole for the axle, contour cut with scissors for metal, align it with a file and clean sandpaper. The last operation — painting (or better yet, if possible, a galvanic coating, for example, anodizing).
The other part—nut-lamb. If you are not ready, then you can make them yourself. Take steel (and preferably aluminum) area 15×15 or 20×20 mm required length (depending on the number of nuts). The sharp edge at the junction of the shelves carefully grind until smooth the flats with a width of 3 mm. this is best done on a milling machine (available in most school workshops). But you can use emery wheel or file. Next on the flatted with a pitch of about 10 mm mark and drill holes with a diameter of 4 mm and cut them, thread M5. Cut the workpiece into separate parts with a width of 8— 9 mm, dulls sharp edges, rounded corners and get comfortable nuts.
A. KONOCHKIN, Tomsk
Recommend to read
 THE SPRING — ON A LATHE?
Yes, on any lathe with a hollow spindle it is possible navit spring diameter up to 12 mm from the wire thickness of 0.1 to 2 mm. More than that — of any length. All this is provided by a... THE GAZEBO OF THE SLAB
In a quiet corner of the garden of his manor house planted Douglas fir. Three years have passed. The tree grew, grew. And then came the idea to build a small gazebo that over time, the...
