BOX FOR JEWELRY

BOX FOR JEWELRY
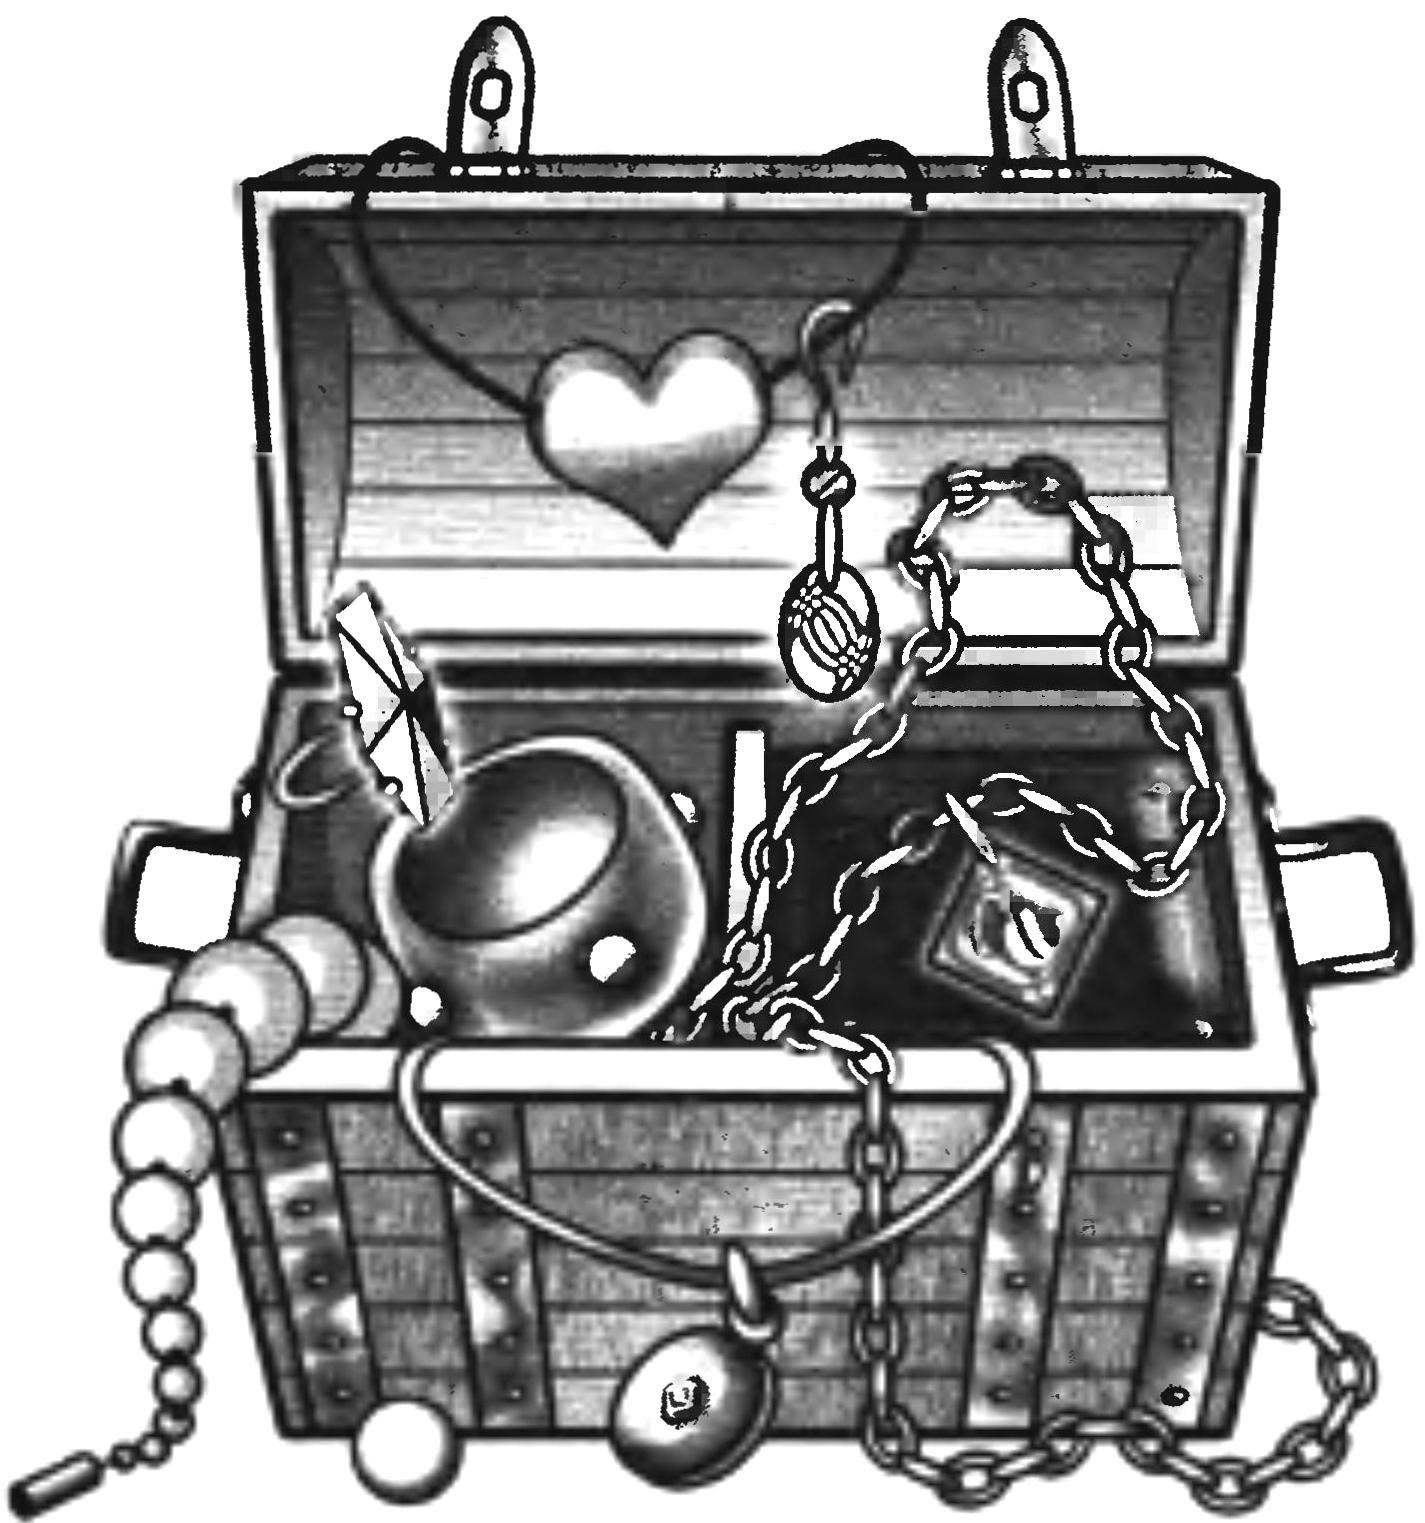
Of course, it’s not safe: it is not necessary to wall to wall to make this place a hanging picture, how often in the movies and that became fashionable in the homes of wealthy oligarchs. On the contrary: the proposed trunk paraded, therefore, has a decorative design. But not only to decorate the interior of his function. Having two locks, the trunk is designed to store at home may not jewels, but, for example, favorite jewelry hostess and host. For this, he made quite durable, but also beautiful and even elegant.

The trunk consists of two compartments that are separated by a partition. One of these compartments is designed for a small Deposit box for jewelry. This casket is made without a lid and is removed freely, which is convenient and allows you to move it closer to the try — on jewelry to a mirror or trellis.
 
Basic details
 
Material — 5 – and 8-mm plywood, which is made “internal” part of the trunk — in fact its body (Fig.1). These details must be carefully treated — in the success of the product.
The drawing shows the main dimensions of the housing parts and the order of its Assembly. First, you need to connect with a bottom (5) side compartment boxes (1), wall (2) and second sidewall (1A) with the holders (the legs 3) take out the casket. To bond them, use small nails and glue. Then both side panels and the partition wall connected to the front and rear walls (4).
 
While the glue dries, run the cover frame (an identical pair of parts 6, 7). The width of the straps 7 should be slightly bigger than the ends of the parts 6. After the glue has dried they will be cutting diagonally. In figure the parts will arch your profits and veneer top cap (8).
 
Fig. 1. Decorative
 
Fig. 1. Decorative
 
Fig. 1. Decorative “safe”-chest (A) and inset box (B):
 
1, 1A and the sides of the body trunk; 2 — dividing wall; 3—holder (backup) box (2 PCs); 4—rear and front wall of the housing; 5—bottom; 6—side panel cover (2 pieces); 7—front and back covers; 8—upper cover; 9—side panel of box (2 PCs); 10—front wall of the box (back is identical); 11 — bottom box; 12—soft handle boxes (2 PCs); 13,14,15,16,17—strap covering surfaces of the trunk; 18,22—details of boundary clamp trim (2 pairs); 19—anterior part of the middle clamp trim (2 pieces); 20—eyelet for the lock (2 PCs); 21 —posterior part of the middle yoke trim, with a loop-top (2); 23—upper section of the clamp upholstery with loop end (2 PCs); 24—the castle doggy (2 PCs); 25—the axle (4 PCs); 26, 27—shooter and star of the decoration of the trim (2 pairs) 28—loop handle (4 pieces); 29 pen chest (2 PCs.)

 
A separate box box assembled in the same sequence. First, staple the sides (identical 9, 10), and then install the bottom (11), sawn with allowance. After drying glue all exposed parts of the bottom grind flush.
 
How to decorate a box
 
All the parts of the casket, with the exception of the bottom (5), it is necessary to sheathe the decorative strips, the approach to valuable wood species. They have a thickness of 3 mm; each rail is fitted tightly and fastened closely to the previous one.
 
The edges of those slats need to round only the outer side.
 
Please fasten with glue to the sidewalls of the trunk of the slats 13, and then, stachiw flush with its larger side (front and back), glue the slats 14.
 
The covering cap is held in the same sequence. But the bottom of each strap to the rounded part of the cover necessary to whittle away at the chord — for example, using a semicircular chisel. So we will be able to obtain a curved surface is formed now by the rails 17. Incidentally, the convex part of the cover under them (8) can be performed not only out of plywood, but cardboard sheet, which will be reinforced by rods 17.
In the formation of the trunk it is advisable to use heated joiner’s glue or PVA. Received the box again carefully zakurim from all sides.
 
The surface of the removable box after carefully finished with a clear varnish. On the end walls of the top to fasten two handles (12) of leather or a substitute.
 
Hardware (clamps, handles, locks)
 
Proceed to the “edging” of the trunk. Material of metal parts — polished copper or steel strip thickness 0,5 — 0,8 mm and a width of 12 mm. bent Accurately to the body of the trunk extreme plates (18, 22) nailed to the box (stepping back from the edge by 2 mm) nails round hat.
 
Two medium clamps consist of several parts. First produce the top (23). At their ends it is necessary to bend the lugs, which will serve as a hinge cover, and hinge fasteners of the lock (24). On the front of the stirrup 19 is attached (by soldering or reklami) lugs 20. In the same way fasten the upper clamps figure 23 finish (26, 27). All connecting loops are held together by cotter pins 25, made of nails. The side walls of the box are attached to the handle 29 with the mounting clamps 28.
 
 
“Safe”-box in the collection
 
The finished box from the inside and outside should be covered with colorless nitrocellulose lacquer in several layers, and spraying. The left-hand section of the trunk, its lid and the box if you wish to plaster the inside with suede or velvet. To limit the tilting open lid of the trunk, it is sufficient to attach the inner side of a delicate chain.
 
So, providing the box with two locks, we can safely give this “unbreakable” Keeper of the jewels to the future owner.

Recommend to read

  • “GUN” TRASTOVIY“GUN” TRASTOVIY
    The command "Start!" and mixed performance on the race ahead on the highway. Very long lasting-in — 2-3 minutes, but during this time, the miniature machine will take hundreds of turns,...
  • CRUISER UNDER THE “TRIDENT MISSILE”CRUISER UNDER THE “TRIDENT MISSILE”
    Unlike Britain, the United States emerged from the Second world war, not only without any significant losses in the cruising part, but, on the contrary, with a fair surplus. Despite the...