Base you can perform a monolithic reinforced concrete (using a disassembled mobile formworks) or post it from matching the dimensions of the concrete blocks. Although the second method is simpler, the first is still preferable and more affordable. Besides, it allows to make not only strong enough base, but also to decorate the surface of the original finish. To do this in an external shield casing lay corrugated rubber mats, corrugated fiberglass or slate. Before installing the casing on the gravel pad should lay plastic sheeting — otherwise the liquid fraction of concrete will go into the gravel.
When the fill cap is recommended to use stainless steel rebar — cutting thick wire, pipes, pieces of old iron beds and other suitable scrap. In addition, it is necessary to provide produhi — vents to ventilate the underground space, as well as the holes for the threaded rods that will be attached to the base of support for sexual lag.
After pouring the concrete thoroughly compacted and processed bayonet shovel. If the weather is dry and hot for several days, the concrete should be close from the sun and water.
While pouring the basement by the garage door we recommend it along with the Foundation of bury, which will allow the car to freely enter the garage, not undermining with the basement and Foundation.
Walls of the ground floor can be put “one brick” — the thickness will be about 25 cm (the method of laying shown in the figures). The bricks are laid sequentially: first scheme of a number of I, then II, III, and then the cycle repeats. It is possible, however, to do masonry work at the I and II series — wall strength is not reduced.
Lately, the growing popularity of masonry in the way “zigzag”^ which is shown on one of the drawings. The merits of this wall a lot: it’s attractive appearance, high resistance, good breathability and, perhaps most importantly — brick it consumes less compared to traditional masonry “one brick”.
As for partitions, it is possible to build a “half brick” — the thickness of the wall will be about 120 mm. During the placing of walls and partitions, be aware of wooden tubes put in vertical pieces of door and window openings and designed for mounting door and window frames.
It should be noted that the brick walls of the ground floor is not the only material. You can make walls out of solid concrete, cast in home-made formwork of the concrete, and cinder block opilkobetonnyh — it all depends on your capabilities.
Masonry walls and partitions is best done in sand-cement-clay mortar. If you have a cement M300, for preparation of solution components taken in the following ratio: 1 part cement to 1.5 parts of clay and 10 parts of sand; the cement M400 — 1 part cement to 2 parts of clay and 12 parts sand. Such a solution has satisfactory strength, good ductility, and it can be used for 1-1. 5 hours. (By the way, the clay in the ratios can be successfully replaced with lime.)
Lintels over Windows, doors, and gates are the easiest to perform of reinforced concrete beams. However, they do not always have the appropriate sizes and lengths, so they can be made of reinforced concrete, erecting formwork over window and door openings or low tide beams separately with their subsequent installation on the relevant frame. A lintel of reinforced concrete less time consuming. It is only necessary in spans exceeding 2 m, to use high-quality steel rebars, having it mostly in the lower part of the casing. The fact that this part of the beam operates in tension, and tensile strength in this case will take on the reinforcing bars. Well, the load in the upper part of the beam (in compression) accepts concrete itself.
Length of beams of the basement ceiling and floor of the second floor is 5 m. In this case you will need wooden beams cross section 150×200 mm, provided that the distance between will be 1 m, and the total load on 1 sq. m floors — 250 kgf. The consumption of wood in this case is unreasonably high, therefore we recommend to make a prefabricated steel I-beam cross section. They are going from boards in the thickness 40…50 mm with nails and glue. It should be borne in mind that poorly bonded beam equivalent in strength and rigidity of the three put on each other’s boards, and this is clearly not enough. So I advise you to use epoxy resin, adding to reduce the fluidity of the wood powder, or cement. Suitable casein glue, to improve water-resistance and reduction in turnover it is also desirable to mix with the cement powder to the resulting mass resembled putty, medium density.
If the conditions do not allow for high-quality Assembly of beams, safer to stay on solid bars.
Before you lay the beams around the perimeter of basement walls, stick with bitumen two layers of roofing material.
Beams are stacked in such a way that the distance between them was about 1 m. it is necessary to consider the location of the stairs and start stacking those beams that will become the basis for inter-floor stair opening.
If the ceiling of the ground floor is brick, they may rely on partitions. The only place where such walls there is a garage; but above it is possible to lay one or two concrete beams, which will build floor beams.
It should be noted that the wooden I-beams allow to warm interfloor overlapping. It is only necessary on top of a heater to lay a layer of so-called vapor barrier of asphalt roofing material or synthetic films. As insulation using mineral wool, expanded polystyrene or expanded clay.
Having laid the beams, you can proceed to the construction of the actual house. It is frame construction with double-sided paneling moldings (boards) and sheet (plywood or hardboard) materials. I must say that the frame house according to the complexity and expense of materials is the most eco nominee, and using effective insulation is 1.5—2 times lighter and cheaper than chopped. But most importantly, the frame walls may build with their hands, even those who do not have professional skills of an experienced carpenter.
Frame exterior and interior walls it is best to collect from boards in the thickness of 50 mm and a width of 100…150 mm. of the same boards are constructed of rafters and beams floor slabs. Work on the construction of the framework begins with the installation of the waist of the beams over the basement floor. Skeleton racks are mounted on the lower harness, the optimal distance between the posts is 500 mm. the distance between the beams of the basement and floors 1 m of the frame allows to obtain the optimal power scheme with a clear transmission of loads on the supporting elements of the walls and floors.
For outer covering the frame it is best to use a “clapboard” or non-profiled planed boards. Those and other nail preferably horizontally: “bunk” — crest up, non-profiled Board — lapped, with overhang on top of each other. Such a casing protects the wall from rain — including misrepresented and skew. As insulation of walls is better to use mineral wool — a light, fire resistant, they are not destroyed by rodents and rot.
For upholstery frame, you can use almost any Board, fibreboard and chipboard, plywood.
To ensure durability of the future house, it is desirable to protect from insects and mildew, its main (and first load-bearing) elements. Currently, the industry produces a number of drugs, among which one of the most effective is liquid “Senezh”, designed for the impregnation of wood.
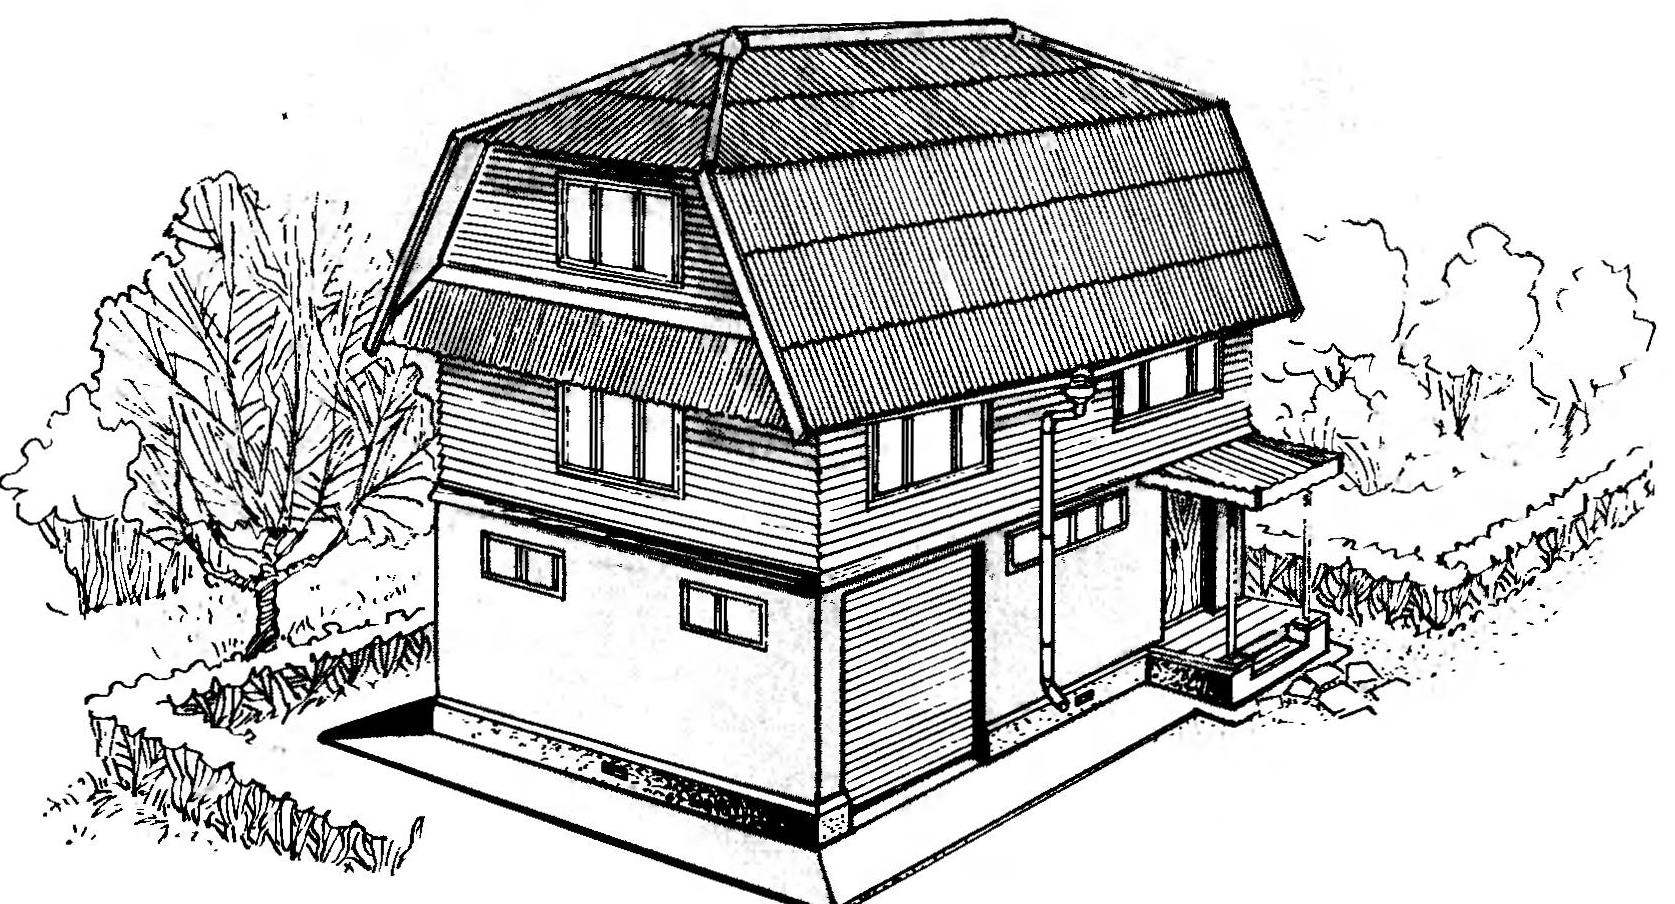
The roof of our “skyscraper” belongs to the category of attic, valmore-o. These roofs usually do in cases where attic space is used as a living room — attic. The absence of two small pediments above the attic allows for more economical use of timber and to protect the house from rain. The latter also contribute to significant (about 1 m) overhangs of the roof on the level of overlap between the second floor and attic. In addition, these overhangs visually reduce the height of the house, making it more harmonious proportions.
The rafters and other elements of the roof frame, as mentioned, convenient to carry made of boards section 5×150 mm. Design the main hubs shown in the drawings.
For the roof house will suit wavy asbestos-cement sheets, commonly referred to as slate. To calculate recall that the small sheets of the type IN (wavy vulgaris) have dimensions 680×1200 mm and a mass of about 9 kg, and each sheet covers an area of approximately 0.6 sq. m. in addition, they additionally produced asbestos items to cover the roof ridges, valleys and lining the flue and vent pipes. However, to acquire these elements is difficult, so it is better to focus on self-made from sheet metal, such as galvanized roofing iron.
The basis for the asbestos cement roof is the sheathing of wooden bars (cross-section not less than 50×50 mm), nailed across the rafters. The distance between the bars is (for sheet type) 500 550 mm….Good and solid sheathing edging boards in the thickness 20…30 mm. to achieve a snug fit of asbestos cement sheets to the sheathing, under the middle bar (of the three, which is based on the sheet), put a plywood strip of thickness 3…5 mm.
For more dense prileganija asbestos cement sheets to each other or they are placed with an offset on one wave in each successive row, or with the truncation of the adjacent angles, combining longitudinal edges of all sheets stacked above. This allows you to avoid the common error, when the corners formed by the four-fold overlap and the wide cracks through which the first slanting rain will fill your attic with water.
Laying tiles when it is best to start from the right side of the roof and move left, overlapping each sheet on the same wavelength. The top row should be laid so that the overlap towards the bottom was 120…150 mm.
To strengthen asbestos cement sheets to furring as a special nails and screws, passing them through the openings in the crests of the waves. Use the rubber washers and gaskets.
We do not touch the water, as they depend entirely on the presence or absence on a plot of centralized or local water supply. Laying pipes inside the home is straightforward, as it will provide water to a wash basin in the bathroom but the sink in the kitchen.
A few words about the structure of the Sewerage system. For our home is more suitable Luft cpuset with the cesspit. Structurally, it is an underground tank with leak-proof walls and bottom. It is best to do it from the concrete. In heaving soils, the depth of the tank should be below freezing. If the groundwater level is above the level of the bottom of the cesspit, at the perimeter of the exterior walls and bottom paving additional roll waterproofing. The most convenient form of cesspit — in the form of a cylinder. When the diameter of cesspit 2…2.5 m thick concrete wall is about 100 mm.
Cesspits must be equipped with ventilation. It is best to carry it through the inner ventilation channel. This would be not too difficult as the boiler water heating system you’ll likely place in the Studio room, close to toilet rooms.
Development I. EVSTRATOVA (foreign periodicals)
Recommend to read With water in the… wheels Original and practical designs by the Vinnytsia resident Oleg Andreyevich Ostapenko clearly appealed to the readers of our magazine. After a Central TV broadcast “This You Can”, in which... PODOGORICA Using the principle of producing hydrogen by electrolysis of aqueous alkali, as described in the journal "modelist-Konstruktor" No. 7 for 1980, I decided to make more simple and compact...