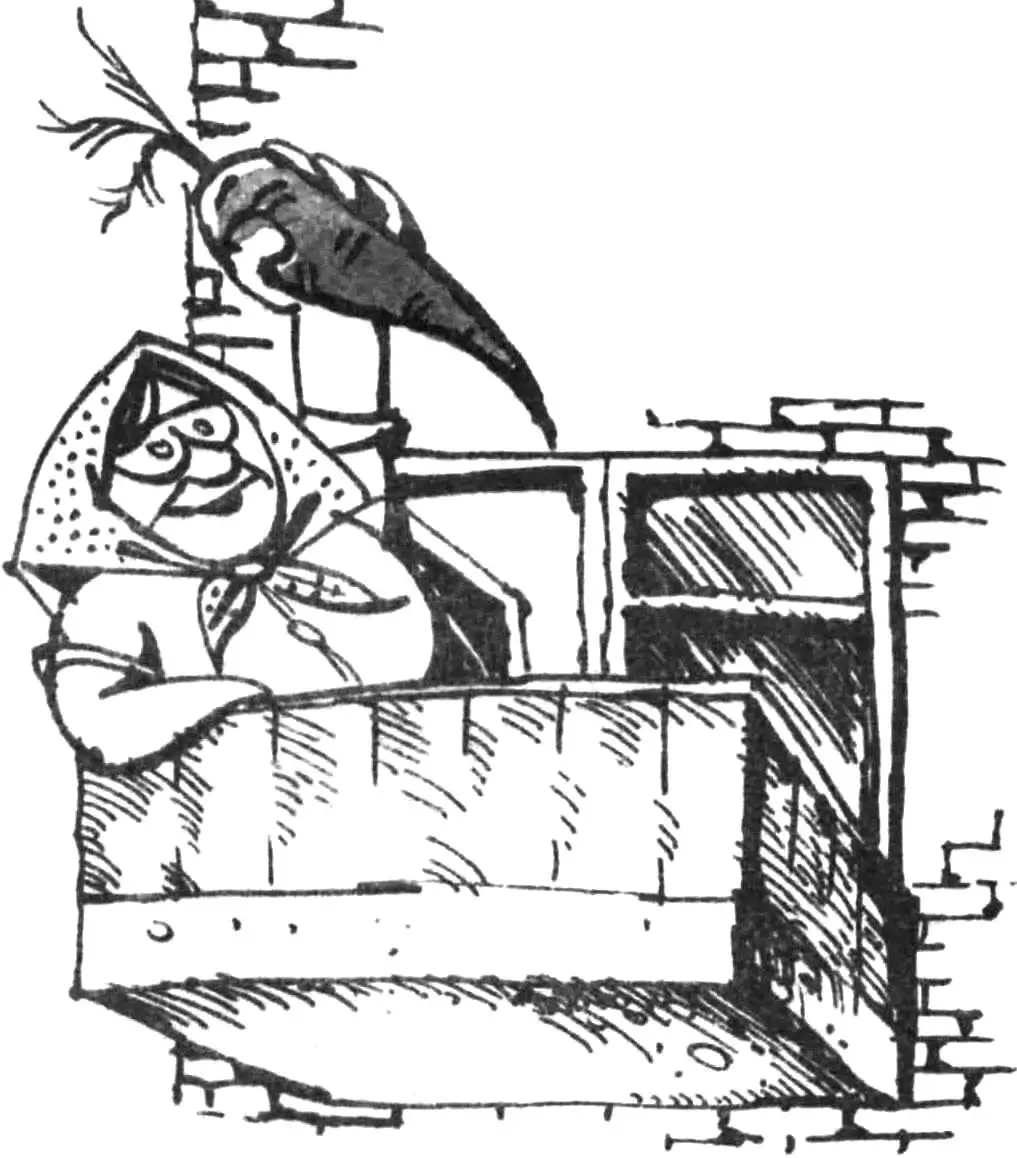
Long-term storage of fresh vegetables and fruits is quite a challenge, especially in urban conditions. After carefully studying publications on mini-storage units («M-K» No. 2, 1984, «M-K» No. 8, 9 and 11, 1985), I must note that all these designs have rather complex thermoregulation systems and are made from materials that are rarely available in regular stores. I propose my own version of a balcony “cellar”. To build it you will need simple, readily available and inexpensive materials: crate slats 10–15 mm thick, packing cardboard, sawdust, a sheet of asbestos-cement or slate.
The storage walls are double, made of assembled panels, with two sheets of thick cardboard between them and the remaining space filled with sawdust. Sawdust is also placed under the bottom, which is made from a slate sheet. A grid of 25×50 mm battens is placed 30…50 mm above the bottom. When assembling the walls, joints should be sealed with thin foam rubber for airtightness.
As operating experience has shown, a tight lid is not necessary at all, because the moisture contained in the vegetables and fruits is released as vapour during storage and condenses on the lid. The condensate then drips back onto the contents of the storage—a kind of “water cycle” occurs, which is very undesirable. So I place a grid flush with the body and cover it on top with a quilted cotton blanket made from an old padded jacket. Simple, convenient and warm!
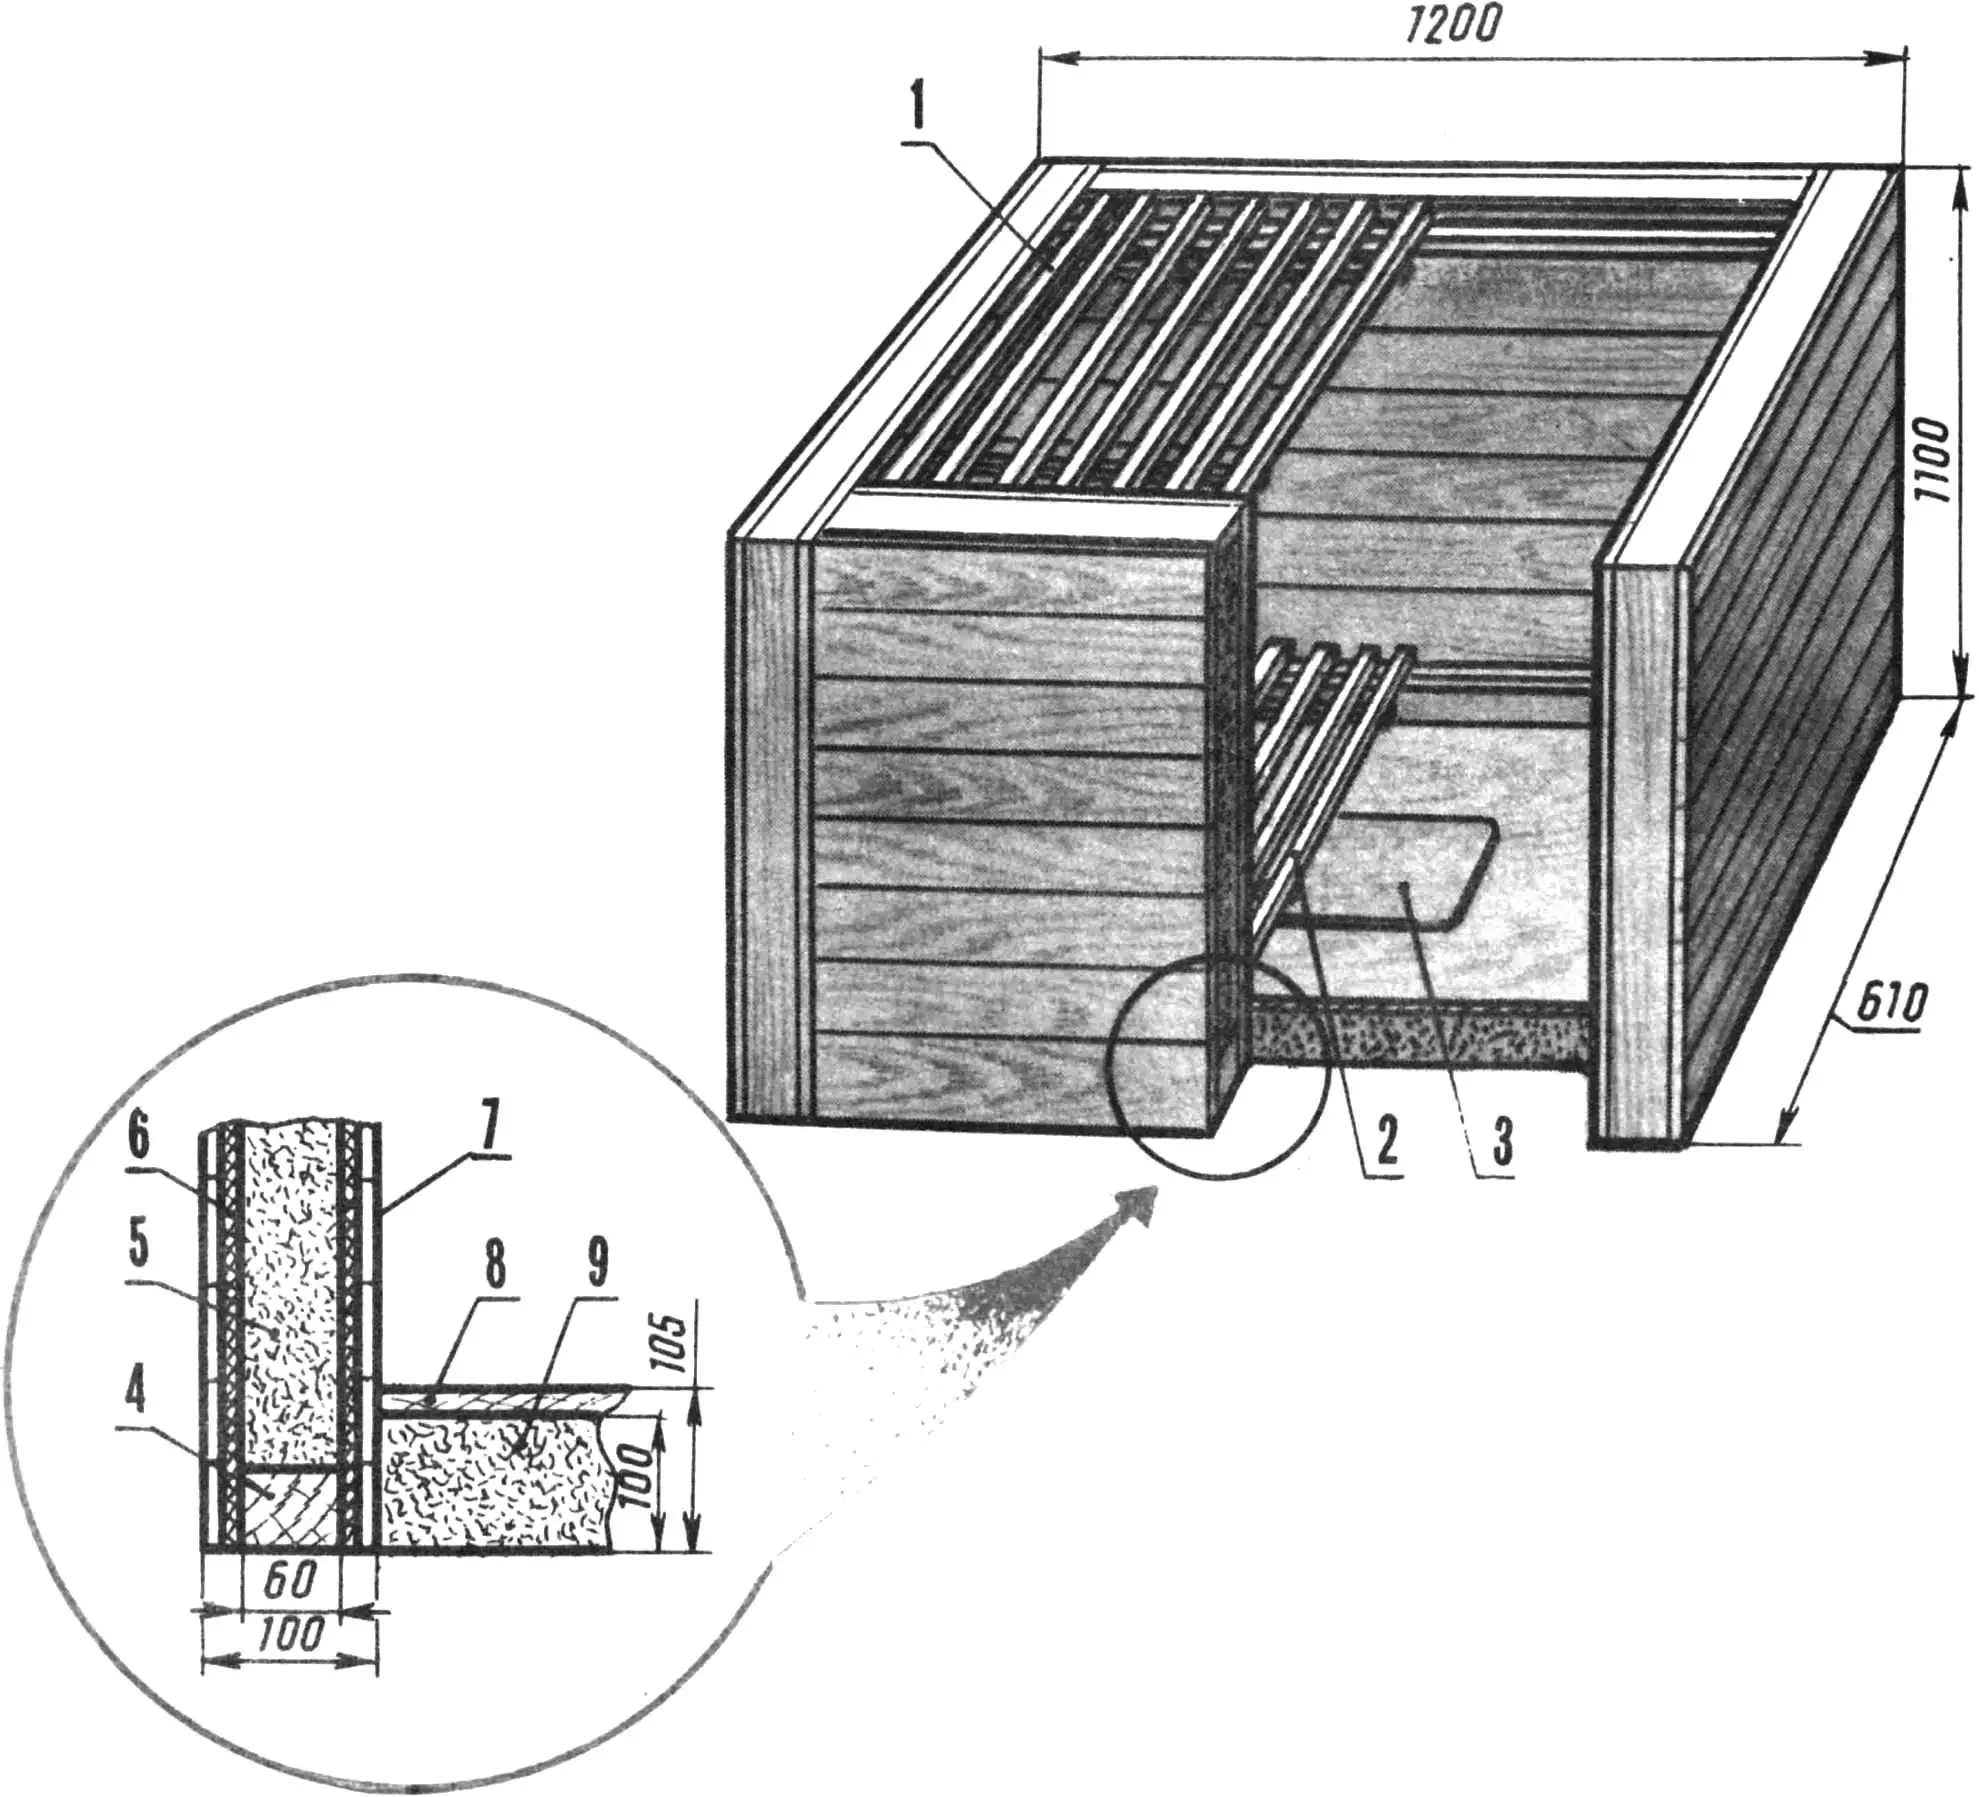
1 — upper grid, 2 — lower grid, 3 — heater (60 W, 220 V electric heating pad), 4 — 40×60 mm frame beam, 5, 9 — sawdust, 6 — cardboard, 7 — sheathing board, 8 — bottom (slate).
A few words about the heater. It is a common household 60 W, 220 V electric heating pad. The main advantage is that it gives off heat “softly”, moderately, unlike powerful heaters from electric fireplaces or light bulbs, whose use leads to local overheating of vegetables (this has been verified in practice). The built-in thermostat and two-stage heat control make it possible to maintain the desired temperature for a long time.
To achieve the optimal temperature in the mini-storage, the heating pad needs a slight modification—recalibrating the thermostat. To do this, carefully unpick the cover, remove and disconnect the thermostat. Then assemble the circuit (see Fig. 2). Slightly unscrew the adjustment screw (but not fully) and place the thermostat together with a reference thermometer in the space between the window frames, which allows you to reach a temperature of +1…+4 °C by slightly opening the outer frame and watching the thermometer. When the required temperature is reached, slowly screw in the adjustment screw until the indicator lamp lights. That screw position will be the working one.
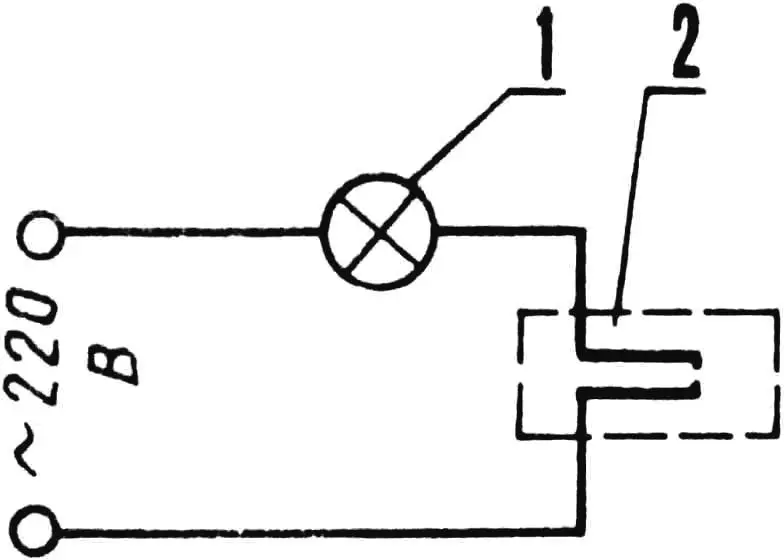
1 — 60 W, 220 V indicator lamp, 2 — thermostat.
After adjustment, the sensor is connected to the heater with 15…20 cm long wires. It is placed outside the heater—this is needed for more accurate temperature maintenance. All that remains is to tidy up the cover, and the modified heating pad is ready to be installed in the storage.
In regions with harsh winters, several heaters can be installed. The same can be done when increasing the storage capacity.
I recommend storing potatoes and apples in small boxes—this makes it possible to check their condition periodically.
«M-K» 9’90, U. KHASANOV
Recommend to read
 SHOES FOR MOTOART
In the Arctic tundra and in Antarctica, the snow-capped mountain slopes and in the forest most of the year working tirelessly snowmobiles — reliable support person. The combination of a... AND THE CARGO ON THE TRAILER
When there is a need in the trailer for transportation of household goods, there is the problem of choosing which trailer to buy, good this choice was. That's the only difference in...
