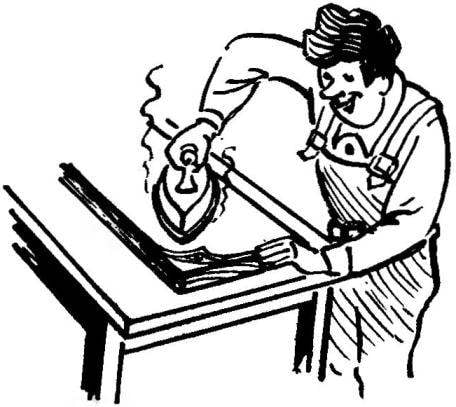
Furniture manufacturer of plain (uncoated ahah!), the DSP completes its finish. Although this is a simple, but important step, which largely determines the appearance of the finished product. For finishing can be used adhesive tape, textured paper, cloth (linen, cotton) and veneer. The veneer self-adhesive film the most simple. The workpiece is cleaned from dust. Cut a strip of “adhesive” with margins, 5-7 mm; it remove the protective paper and film is superimposed on the detail and smoothed to remove air with a rag or a rubber roller.
Trim textured paper or cloth a little harder. They can be glued to the details of the Wallpaper, carpenter’s glue or PVA, diluted with water in proportion 1:15. Detail smeared with glue of normal consistency with a spatula. Paper (fabric) is overlaid on the detail and smoothed. After the glue dries allowances are cut.
The veneer is more labor intensive, but the finished product look much better than the finished film, paper or cloth. The pre-billet is trying on items and are selected by the pattern texture and color. It should be noted that for the vertical pattern texture detail seems higher; but if the texture image is positioned horizontally, the part seems wider.
 Furniture manufacturer of plain (uncoated ahah!), the DSP completes its finish. Although this is a simple, but important step, which largely determines the appearance of the finished product. For finishing can be used adhesive tape, textured paper, cloth (linen, cotton) and veneer. The veneer self-adhesive film the most simple. The workpiece is cleaned from dust. Cut a strip of “adhesive” with margins, 5-7 mm; it remove the protective paper and film is superimposed on the detail and smoothed to remove air with a rag or a rubber roller.