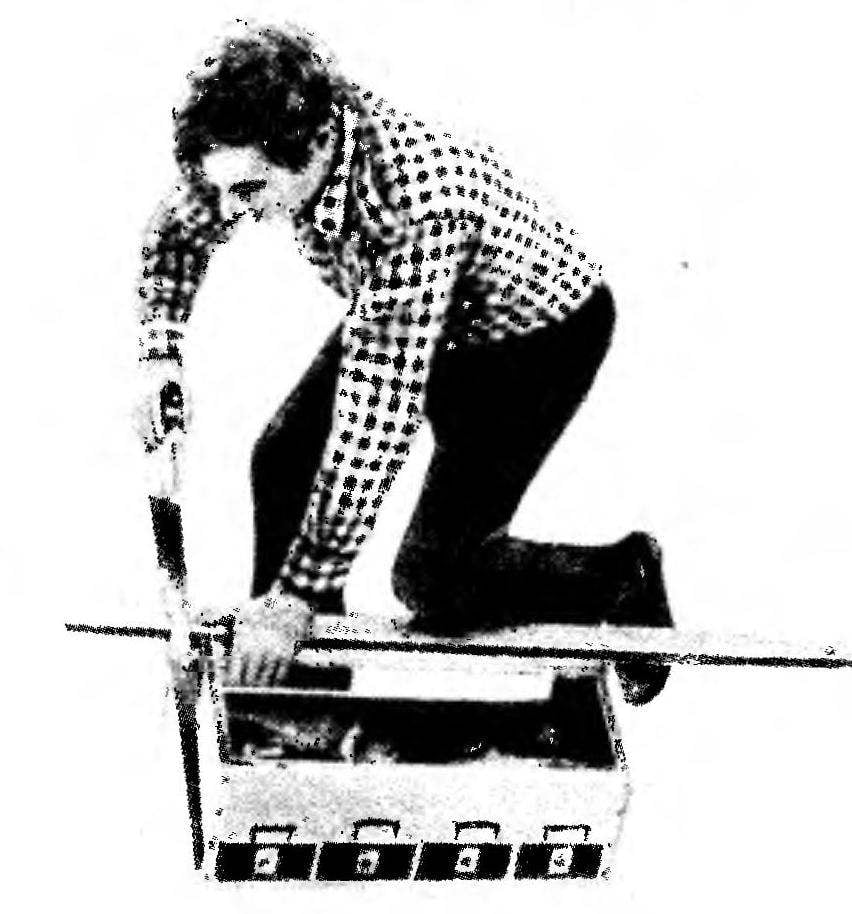
— upper panel can serve as a mini-workbench for a variety of carpentry work;
— provides storage space for carpenter’s handsaw;
— drawer equipped with a retractable stop for the marking and finishing operations;
— with a wide belt drawer you can carry on the shoulder;
— there are four drawers for small parts and tools;
— U-shaped groove in the glide position will help in the processing of round bars;
— the top bar like a small step.
For the manufacture of side, top, rear and front panels of the drawer, the retractable stop, as well as front panels of the boxes of 20-mm plywood. It is also possible the use of ordinary boards or chipboard. Bottom panel, shelf, drawer and the bottom of the drawers are made of 6 mm plywood, and the sidewalls and the back panel from 12 mm.
Carrying the box by hand.
Carrying box with shoulder strap.
Tool box:
1 — top panel 2 — side panels 3 — back panel (190X660 mm), 4 — guides for hacksaw (20X 20X 660 mm) 5 shelf (254X640 mm), 6 — bottom panel (254X640 mm), 7 — a retractable stop, 8 front panel, 9 — guides for the drawers (3X12X216 mm) 10 — screw (18 PCs), 11 — a wooden tube 0 10 mm (18 PCs.), 12 — bolt М6Х50 mm, 13 — wing nut, 14 — saddle ball striker.
Sealing belt on the side panel of the box:
I – belt, length 50 mm. in height, 2 wooden pin.
Processing of round rod in a sliding stop (which, by grooves adjustable height).
Pull-out drawer:
1 — side panel (62Х 254 mm), 2 — back panel (62Х 130 mm), 3 — front panel (62х 139 mm) 4 — pen. 5 — the bottom (127×242 mm), 6 — ball striker.
TECHNOLOGY OF MANUFACTURE AND ASSEMBLY
1. Cut out parts of a box according to the specified dimensions. The window in the front pan-PI for pull-out drawers are cut with a hacksaw with the utmost accuracy.
2. Cut slots and grooves in accordance with the thickness of the parts to be joined. Pre-assemble parts without Kea and adjust if necessary.
3. To connect with Kea side panels, back and bottom.
4. Cut from solid wood (oak, beech) guides pull-out drawers, to mark their position on the bottom panel and stick.
5. Using nails and Kea to collect the boxes.
6. Complete final Assembly of the box. To enhance the structural strength of the parts (front, top, rear and side panels), in addition to Kea, are connected by screws, the holes in the head which are closed by wooden plugs.
7. To prevent bias and svedeniya in the Windows of the front panel in the lower rear edges of the sliding drawers to cut the slots for the guides. To boxes when carrying was not raised in their front wall jelatelno to install ball latches.
The edges of the holes and the recesses for the hands in the upper panels round out napilnikom and polished with fine sandpaper. The holes for the mounting bolts to a sliding stop in one side wall and climbed for a handsaw in the other are arbitrary, depending on the size of the tool. NV has Pdreli the front above each drawer can be strengthened a sign indicating the type of tool or fastener. After Assembly, all the surfaces are covered by the pack.
The box is quite suitable to be used not only as a workshop or handyman with carpentry jobs in the garden — it can be a good helper and carpenter professional.
For materialam “Popular mechanics”, USA
Recommend to read RESISTANT PHONE Often the phone standing on the smooth surfaces of modern furniture, while the set of numbers 7, 8, 9, and 0 starts threatening to slide that in the best case ends with the wrong set,... REPLACE THE “FATTY” Now the industry offers tasty pots and pans with a thick bottom for even heating of products. However, the previous products should not be disposed enough to do the tiles here are stands... Scroll back to top
 For most carpentry work produce out the workshop requires a few common tools and materials: hacksaw, hammer, pliers, nails, etc. For carrying them, it is advisable to use a small tool kit. We offer to your attention the design allows to extend the usual function of such a drawer and has the following advantages: