With the help of stretched twine, and a level meter (3, 4) it is necessary to mark a place on the wall and the bottom of the first vertical row. A horizontal row is marked so that he was at a distance of tiles from the lowest point of the floor. From the tiles of this series need to cut extra pieces so that when laying edge (top) dealt with horizontal lines marked with string.
When cutting tiles, you must take into account the dimensions of the joint (5). For education the same stitches you can use standard plastic crestomanci or a spacer, for example, glass pieces in the thickness 1,5 — 3 mm or wood, plastic, rubber. When laying tile spacers are invested from the bottom and sides of the tiles (2). Those that capture vertical seam, you can remove immediately after tile installation; horizontal need to leave before full drying of a solution (the adhesive dries in 1 — 2 minutes, while the traditional solution for 24 hours).
Before labels of the tiles at both ends of range fit in one tile (4), and smooth placket. It controls the evenness of gluing each tile, which is regulated by tapping on it from the top down or from the bottom up, until then, until it is just below the strap.
Fig. 6. Notched glass cutter tile is easy to fracture placed under her on the web (e.g. pencil)
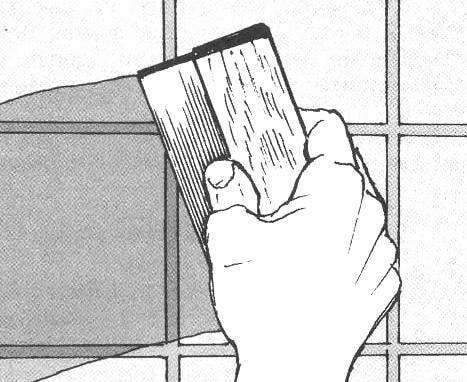
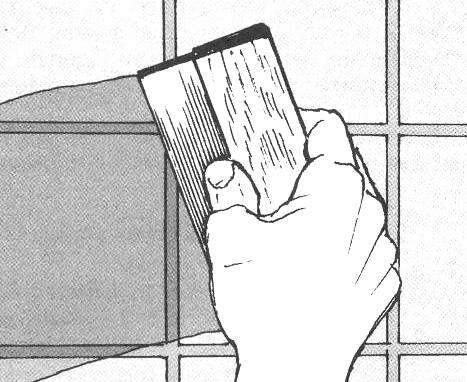
Fig. 7. The grouting mortar using a rubber spatula
Fig. 8. For replacement tiles, you must carefully remove the old mortar
Fig. 9. When applying the “patch” solution is applied simultaneously on the wall and the tile
The biggest difficulty is cropping tiles. To do this, use a special cutter or a glass cutter with a ruler. The tile overlaps the line, marked the line of the cut and then the cutter cut through the tile glaze. Several times to spend them on tiles, and then put it under a cut line lying on the table the pencil: just a small effort to make sure the tile has broken on the planned line (6).
A much more difficult task is cutting tile in a semicircle or circle. In this case, you need to cut tiles on both sides and then, working carefully with a hammer or tongs, to bite off small pieces.
Pasted tile if necessary, you can drill the drill (on the low speed) with a carbide drill, but to start drilling quite difficult: you first need to identify the core point and a little to deepen it so that the drill bit does not slip during the work.
Finishing seams. When the adhesive or mortar has hardened, you can remove from the joints of the strut and begin to fill them. This liquid is prepared grout consisting of 2 parts sand and 1 part cement mixed with water. She applied a special (7) rubber band (with a spatula) on a tiled surface, filling the seams. For the “whitening” of joints, you can use white cement. After drying this solution it is necessary to prepare a liquid cement mass, to apply it on the entire surface of the tile, then half the wet mass to remove.
If you are using colored tiles, in the solution to fill the gaps, you can add paint or paint cracks after drying of the filler.
After work excess tiles removed for storage: they will be useful later, for replacing broken or cracked.
The restoration of these tiles is simple. First with a sharp knife vykovyrivat putty from the cracks and gently pulled out the tile. Then removed the remnants of the solution (8), this place is filled with a new solution. On soaked in water tile is also placed in the solution and it is attached in place of the old (9).
 Laying tile without assistance. Those who build a new home or apartment equips with modern conveniences, it is necessary to take care of tiling. Work on tile laying with the use of modern bonding materials really is not something extraordinary that requires the intervention of external forces. However, installation of tiles with a pattern, requires not only skill, but patience. But this last quality, as a rule, with the plethora of individuals is working.