In small families, the kitchen is most often used for meals: it’s quick and convenient—everything is at hand. But most kitchens are cramped—you can’t fit a normal “family” table, say 900×900 mm, there.
It would seem that the solution is to use a folding (for mealtime) design. However, transforming such a table from small to large and vice versa is accompanied by significant inconveniences. For example, in the version where the folding tabletop lies on top, you first need to move all the items on it somewhere.
In another version, when the additional tabletop is lowered and hangs vertically, it interferes with the knees of people sitting at the table.
So, the first option is inconvenient if you want to make the table large, the second—if it remains small.
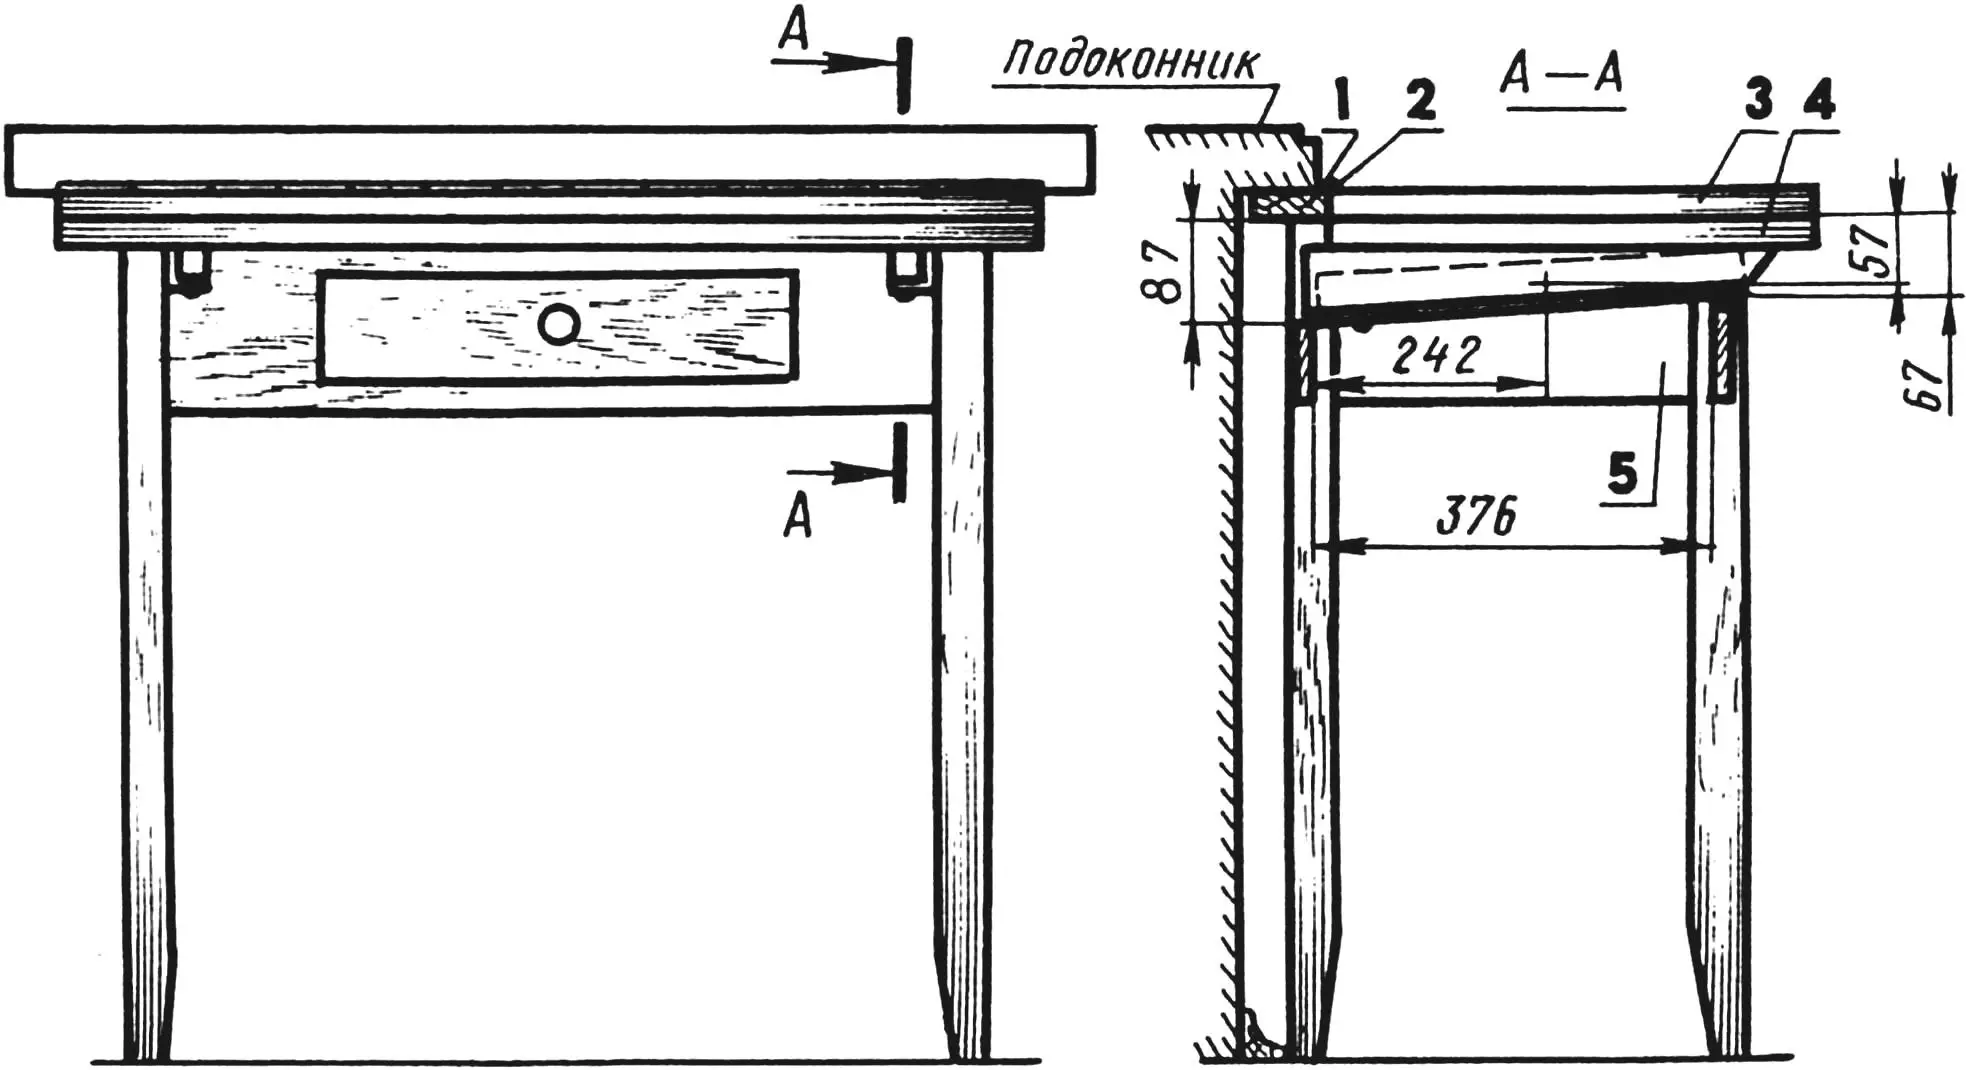
1 — base strip, 2 — piano hinge, 3 — main tabletop, 4 — additional tabletop, 5 — base.
I propose a design free from these drawbacks. The additional tabletop here slides out from under the main one so that both the items on the table remain in place and the space underneath is always free and accessible.
I chose the dimensions of the structure based on specific conditions. For our small kitchen, white plastic-coated tabletops measuring 920x460x24 mm from two discarded school desks suited best. I calculated the base and telescopic console parts to these dimensions.
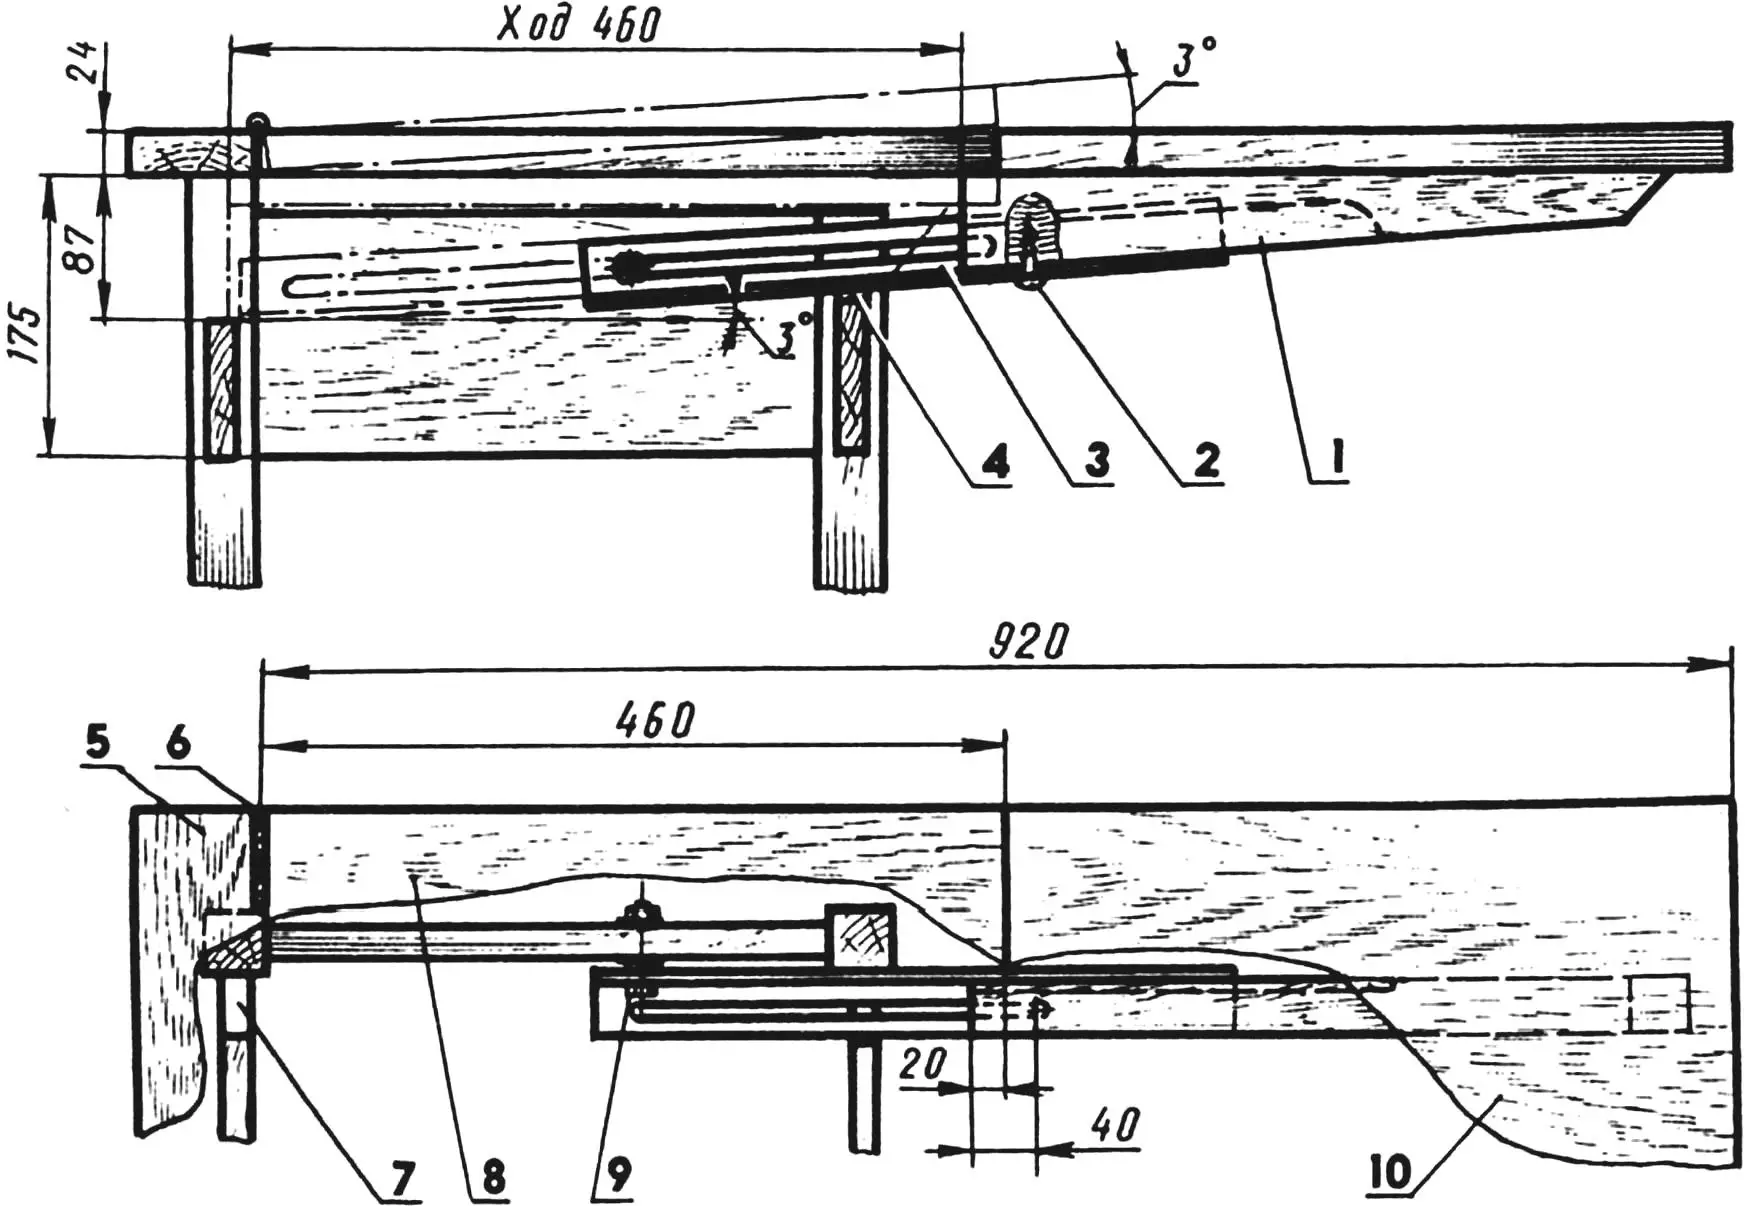
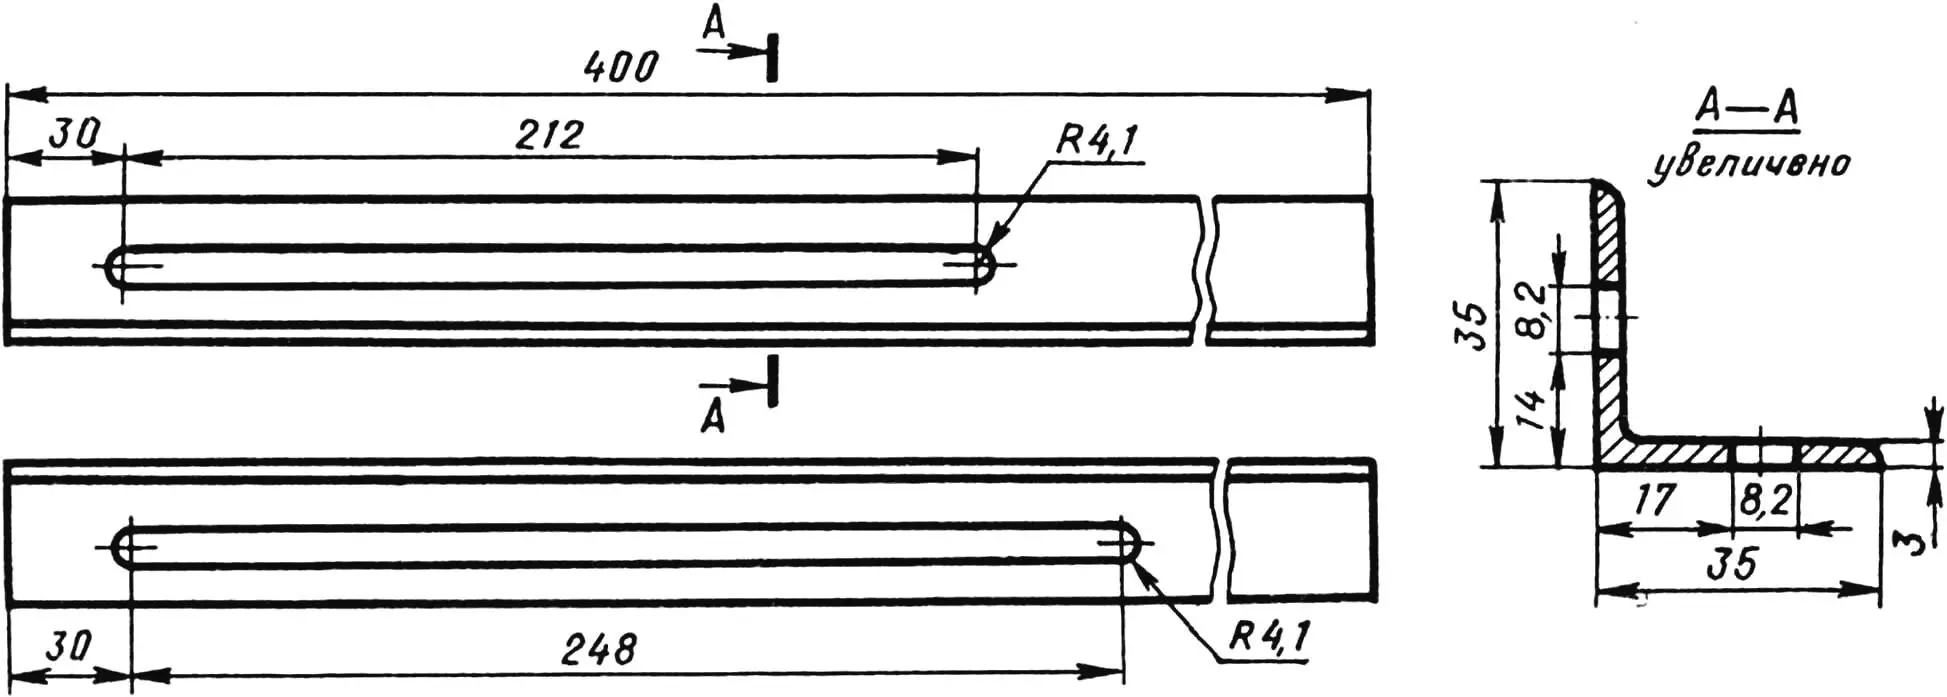
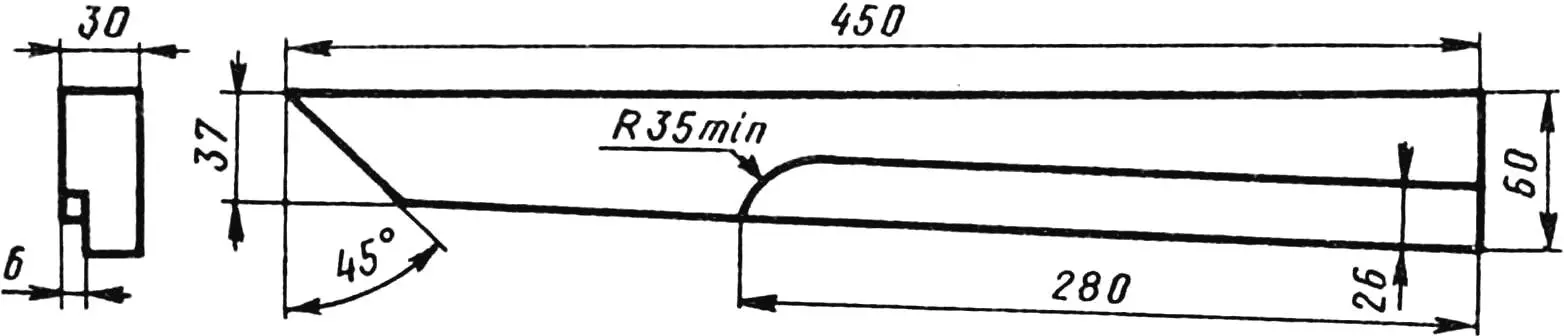
1 — wedge (beech, block 60×30, L450, 2 pcs.), 2 — screw 50×8 (2 pcs.), 3 — guide (steel angle 35x35x3, 2 pcs.), 4 — slot for screw head, 5 — base strip, 6 — piano hinge, 7 — cutout for wedge, 8 — main tabletop, 9 — axis (bolt M8, 2 pcs.), 10 — additional tabletop.
I placed the table near the window. To prevent it from tipping over when extended (there’s no additional support), I slid its rear part (the base strip) without a gap under the windowsill. I attached the main tabletop to the strip using a piano hinge: at the moment the additional tabletop is extended, it will slightly lift.
The extension mechanism is simple. It has telescopic consoles consisting of wooden wedges and metal guides that allow the additional tabletop to, as it were, crawl out from under the main one. The console parts engage in sequence: first the wedges slide along the guides until the screws take up the length of the horizontal slots in the angles, then the angles themselves begin to move, also until the length of the vertical slots is taken up. The combined length of the horizontal and vertical slots is sufficient for the main tabletop, raised (together with the tableware items on it) at a small angle, to return to its original position (now supported by the piano hinge and the rear ends of the wedges).
The reverse process is also simple: the main tabletop is raised and the additional one is pushed under it until it stops.
I sought out the strongest materials: for the base, base strip, and wedges—hardwood, for the guides—steel angle. I cut the slots with a hacksaw, first drilling two holes at the edges to thread the hacksaw blade through. I kept in mind: the combined length of the slots on each angle should equal the width of the additional tabletop.
I milled the recesses for the bolt heads on the wedges on a woodworking machine, although with some skill this can be done with an ordinary chisel as well.
And finally. Advice for those who fear that the angle at which the main tabletop is raised is still too large and the dishes may not stay in place: plastic-coated panels only 16 mm thick are sometimes available—use them, and the angle will decrease to 2°. And you’ll be able to double the area of your dining table in case of unexpected guests, without even spilling soup from the plates!
D. KUDRYACHKOV
Recommend to read
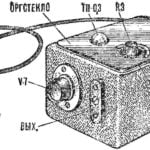 COMPACT POWER SUPPLY
What is the kit-the fan does not dream to collect small-sized power source? But here everything depends on the power transformer: it-largely determines the dimensions of the power...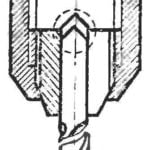 Insurance for drill
Drill chuck, in particular manual, is not always able to keep the drill from turning when machining hard metals or release of the cutting edges of metal. It solves the problem of the...
