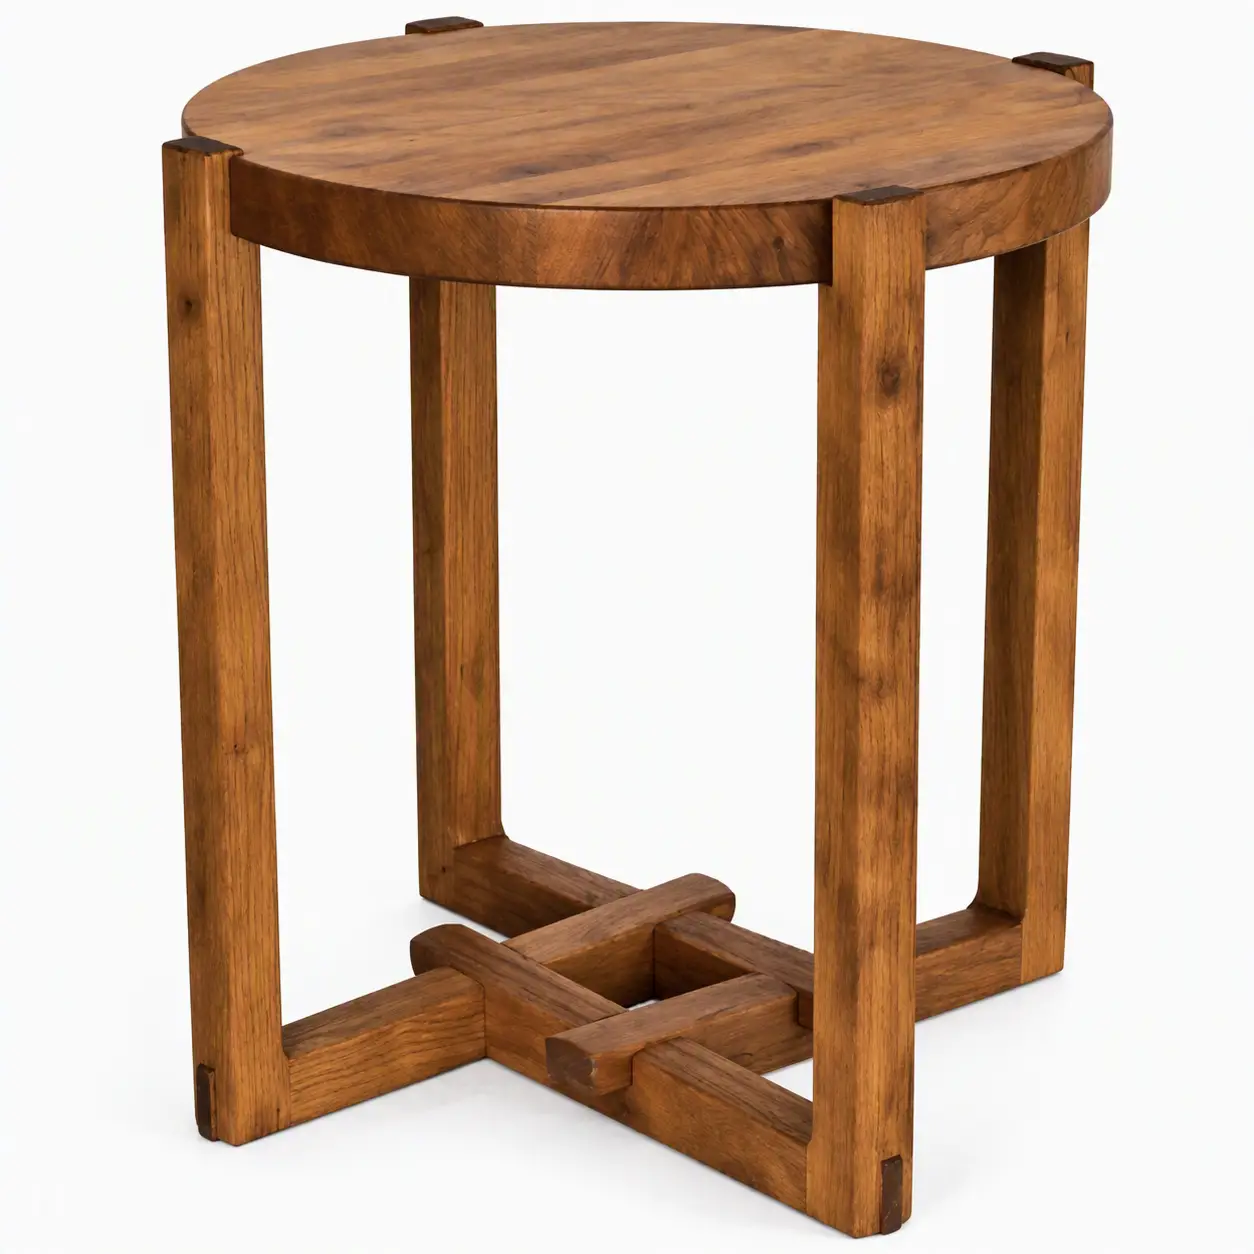
This small table with an original design will become not only a useful piece of furniture in any home, but also an element of its decoration. What sets it apart from ordinary tables is the lower parts of the legs “woven” into a knot. The resulting closed system is free from the drawbacks of traditional legs fixed to the tabletop at a single point. This arrangement is much stronger and more durable.
The table was designed as a serving table, complementary to the dining table, for use during formal occasions for drinks, fruit, sweets, gifts, and the like. At the same time, on ordinary days it will not be out of place by the bedside, to hold a clock, a night lamp, a phone, glasses, or a book. It will also come in handy for indoor plants. And if you apply some creative imagination, relying on the principles built into the design and recalculating some dimensions yourself — changing the length of the vertical and horizontal parts of the legs and increasing the diameter of the tabletop — you can get a handsome coffee table suitable for an evening tea by the TV.
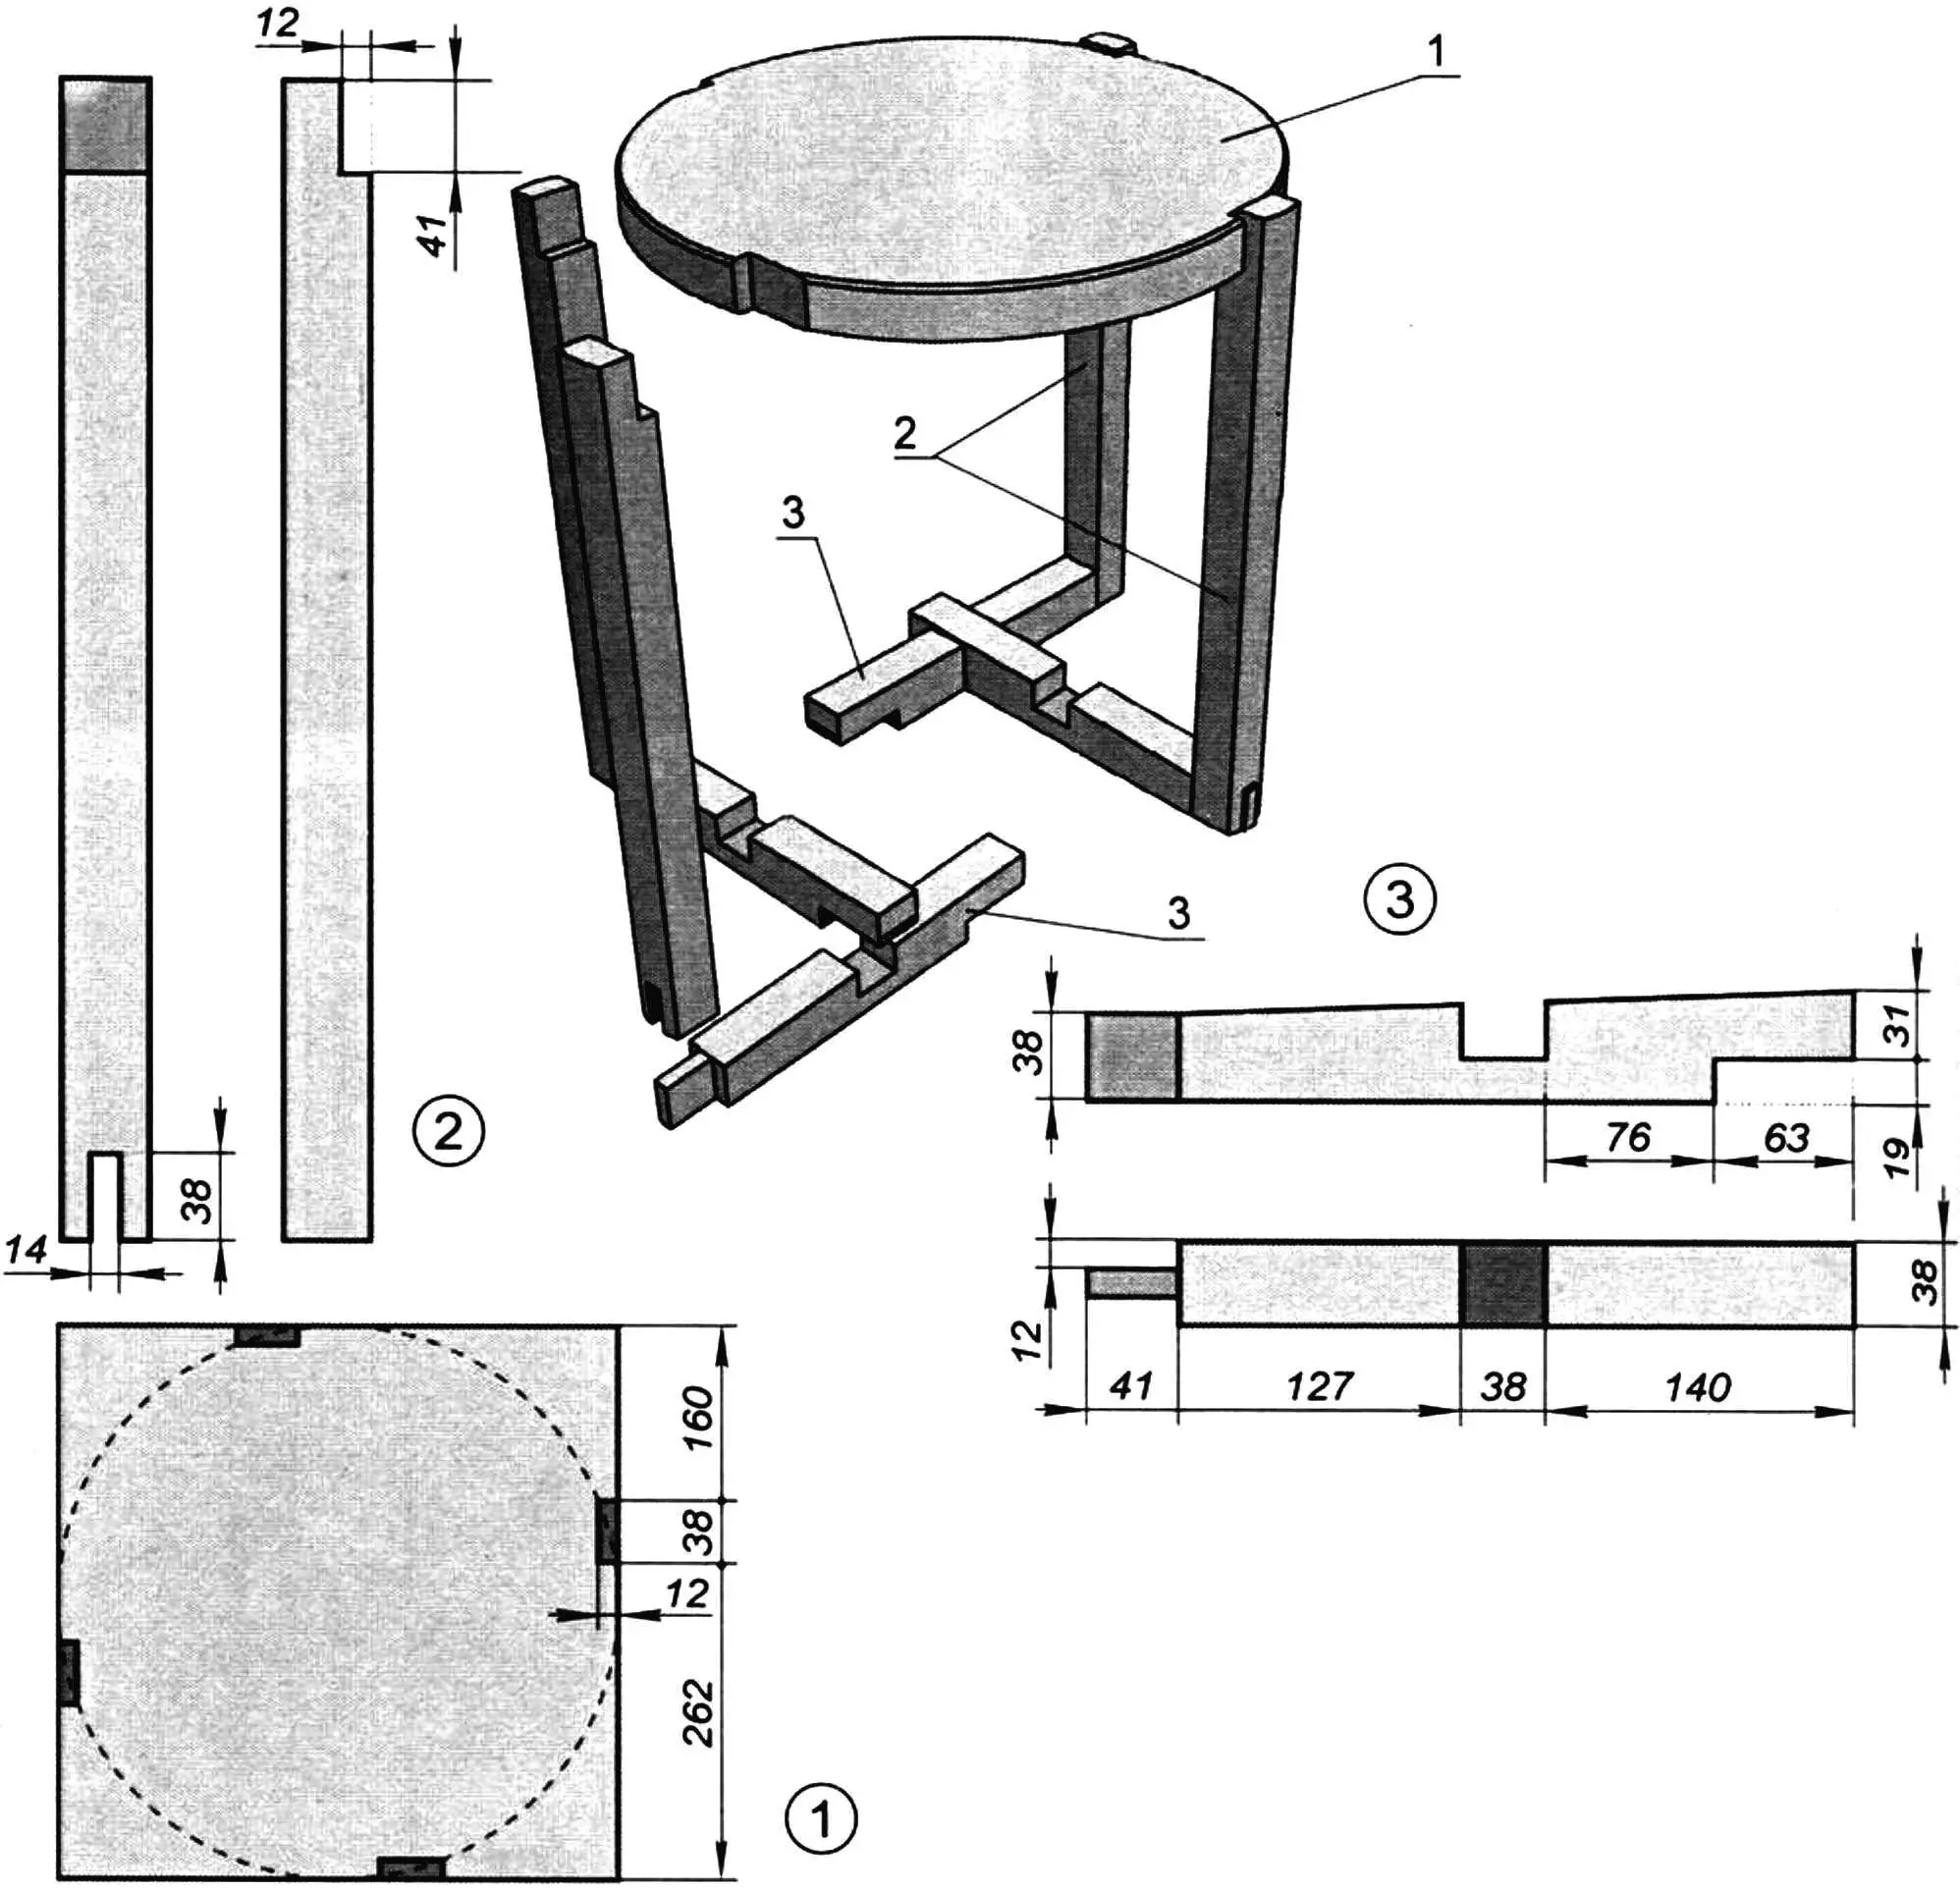
1 — tabletop; 2 — vertical leg part; 3 — horizontal leg part
Another distinctive feature of the design is its manufacturability. To carry out this project you will need blanks of only two standard sizes — bars with a cross-section of 40×40 mm (38×38 mm after machining) and 40×50 mm. There are, however, some “pitfalls.” For all its airiness and seeming simplicity, even primitiveness, the appearance of the finished piece will depend directly on the craftsman’s attentiveness and neatness. Do not rush: it is better to measure once more, and only then cut. In addition, experience in woodworking and the availability of power tools — a bandsaw, a handheld router, and a sander — are highly desirable.
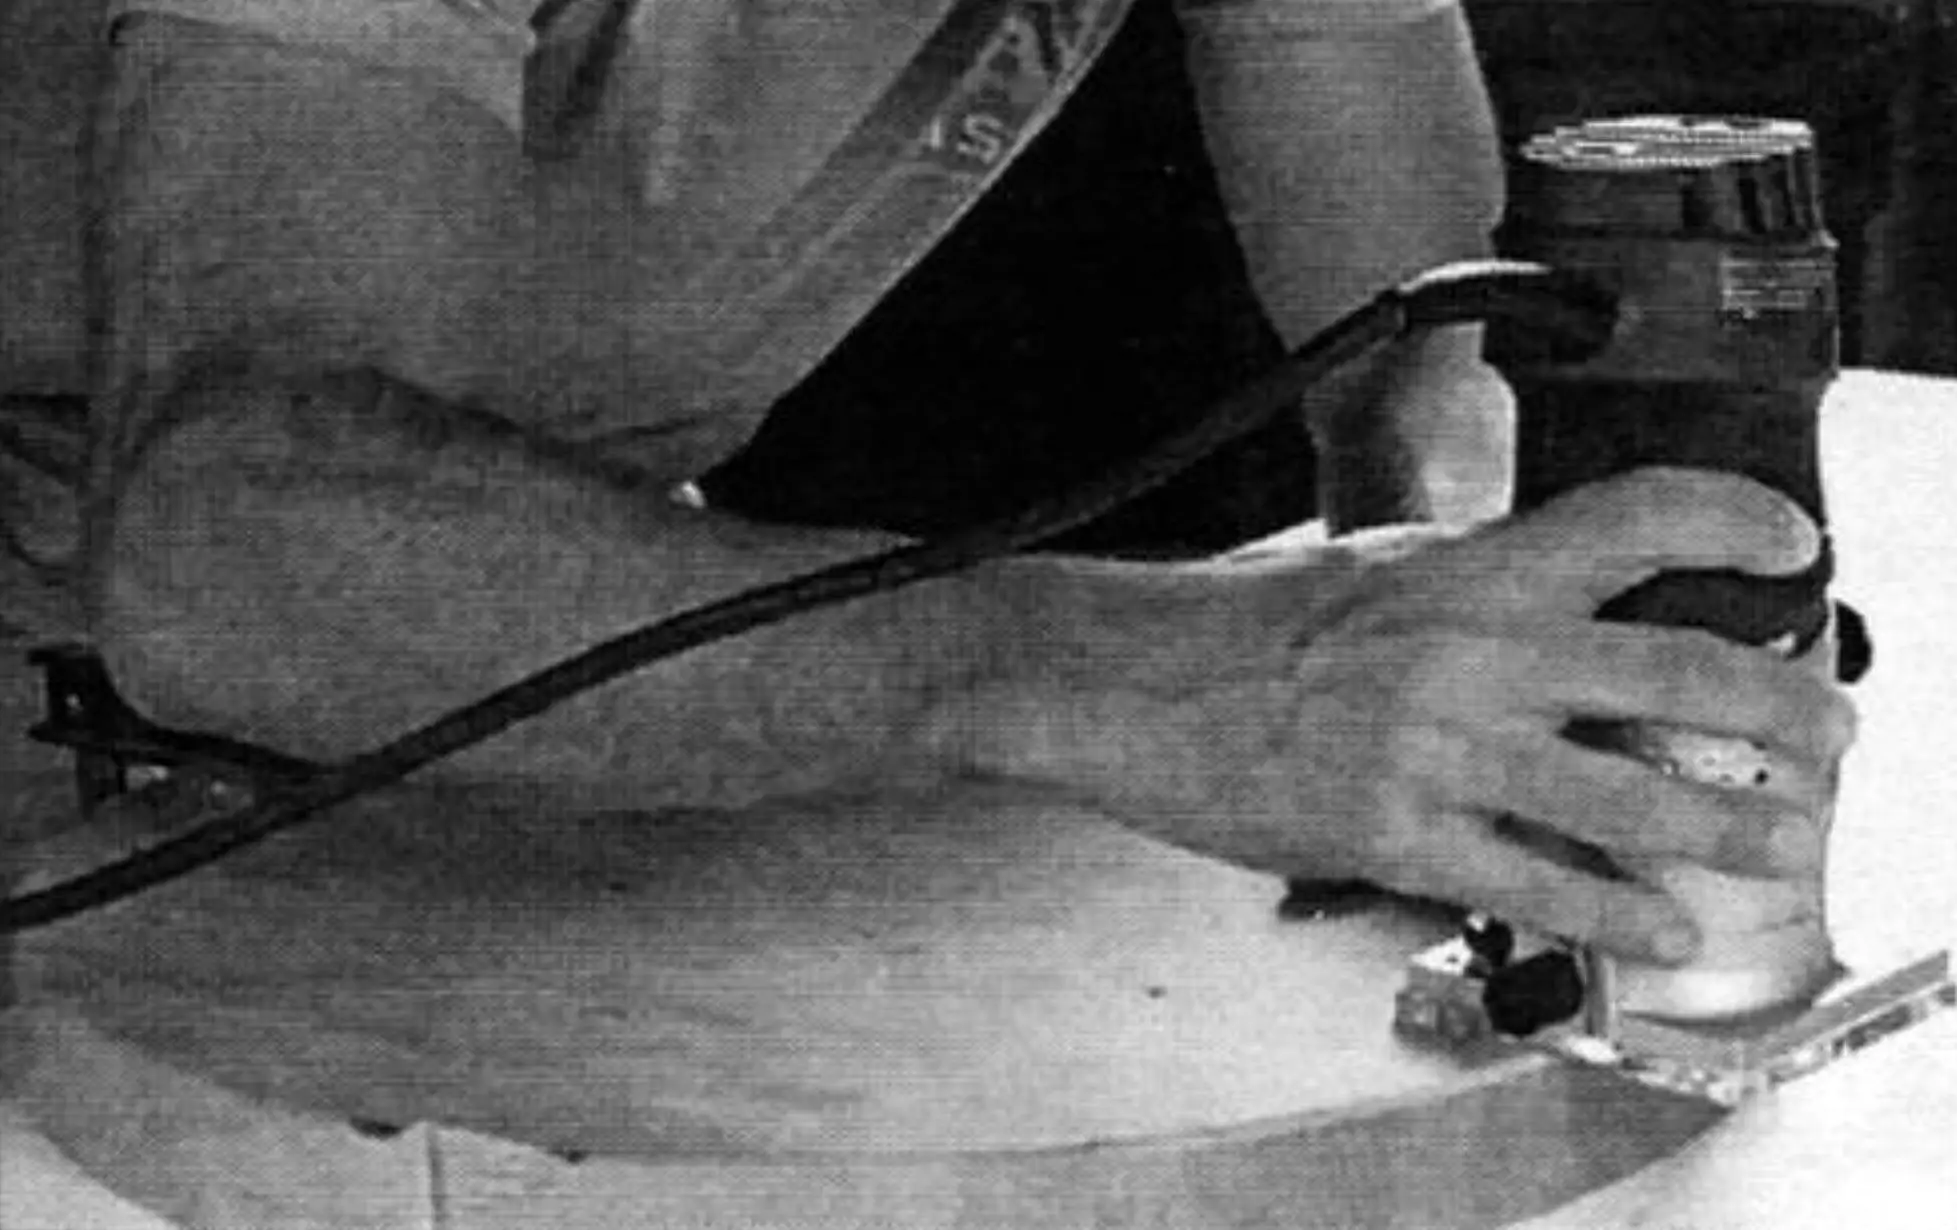
So, let’s start with the tabletop. It is built up of the already mentioned bars with a cross-section of 40×40 mm. The side faces of the planed and fitted elements are coated with woodworking glue and clamped with large clamps or homemade squeezers — boards with stops, between which wooden wedges are driven under tension. This process is called edge-joining (gluing up). After drying, having removed excess glue and achieved a perfectly flat blank surface by sanding, we cut a circle Ø460 mm from it. The edges are finished with a router. This is responsible work. Tip: if you are not ready, due to lack of experience, to make a good round tabletop, make it square 460×460 mm. Not the most elegant solution, perhaps, but quite acceptable and less labor-intensive.
Now we move on to the legs. Here the main difficulty for an unprepared person may be the joining grooves. However, as they say, “the eyes fear…,” — take sharp chisels, do not hurry, and everything will work out.
After another round of sanding the parts, we do a dry fit. If the “puzzle” comes together, we coat the mating surfaces of the leg parts with glue and join them. Having once more made sure there are no misalignments or other defects, we install the tabletop.
To keep the joints from loosening over time, we drill through holes at the leg joint locations and reinforce these nodes with wooden dowels Ø8×40 mm. Their protruding ends are cut flush. We do the same at the places where the legs are glued to the tabletop.
Parts list
| Item on drawing | Blank sizes, mm | Quantity |
|---|---|---|
| 1 | 40×460×460 | 12 |
| 2 | 40×40×500 | 4 |
| 3 | 40×50×346 | 4 |
The final stage is decorative finishing. Everything here depends on the overall look of the home and your preferences. You can, for example, choose a calm retro style and finish the table with a dark stain. Or simply apply several coats of clear varnish to show the handwork. Another option is to paint the structural elements with bright, rich enamels of different colors.
“Modelist-Konstruktor” No. 9’2025, Semen TIKHONOV
Recommend to read
 ON THE “TRAMP” – IN CYCLING
Our family vehicle — a three-wheeled velotandem "the Vagabond" — designed by me for tours. From the same konstruktsii it is distinguished by the absence of any irreversible... HOW TO MAKE “ZIMMERIT”
Anyone interested in the history of armored vehicles is well known that highly characteristic feature of the external appearance of the German tanks since 1943 was an anti-magnetic...
