Students use all kinds of “containers” for textbooks on their way to school — from fashionable backpacks and briefcases to canvas sacks and plastic bags. But while older students are allowed to do this without any restrictions, young children still have clear recommendations from pediatricians: only a rucksack! Because when worn on the back, it provides an even load on the spine, protecting it from harmful posture distortion that is inevitable if you carry, for example, a briefcase in one hand.
However, among the expenses associated with preparing first-graders for school, the cost of a rucksack (and most of those sold are imported and expensive) amounts to a considerable sum. But parents have a typical reserve option for such cases: make the rucksack themselves, especially since, as the Hungarian magazine “Ezermester” reports, it is not difficult: the design of a back-worn satchel is quite simple, and there is no particular shortage of materials or hardware (in my difficult post-war years, my father made me a rucksack from thick layered resinous roofing felt — or cardboard with thin slats at the corners).
Material and cutting
Choosing dense fabric for the rucksack body is no problem today: there are fabrics laminated with a plastic layer, and stiff options such as canvas. In addition, you will need any (preferably wide) straps and simple buckles.
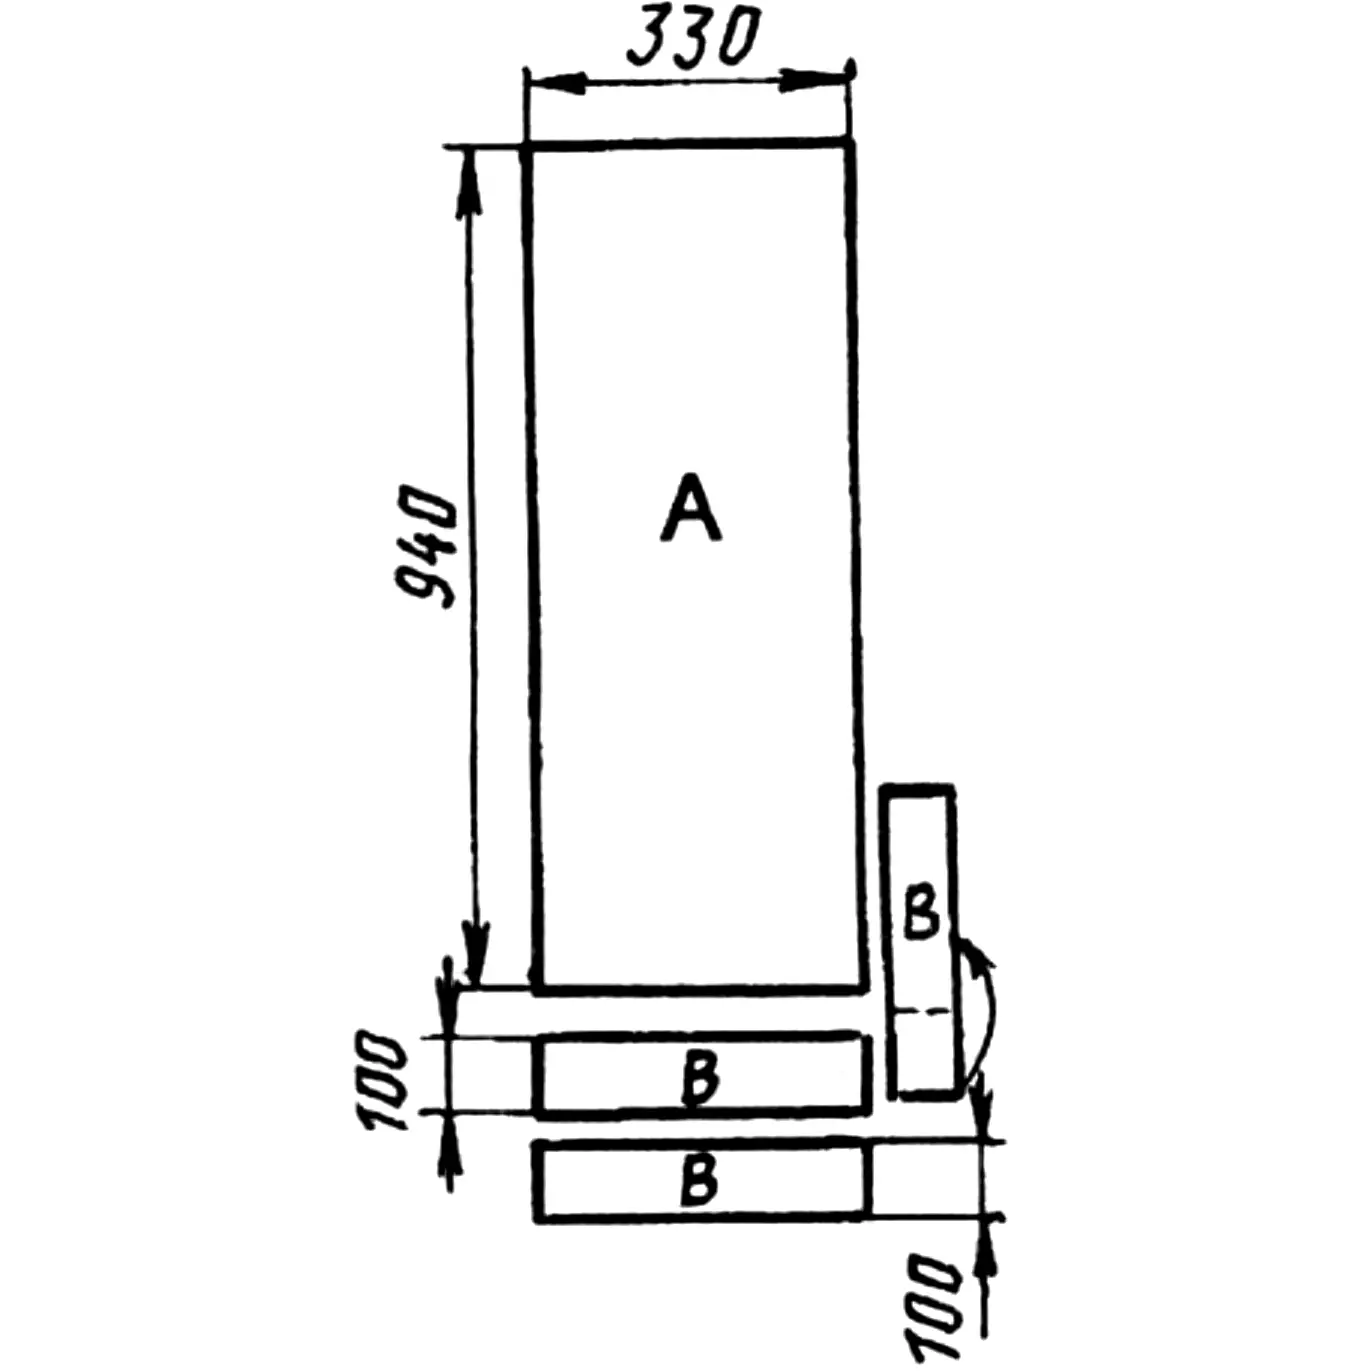
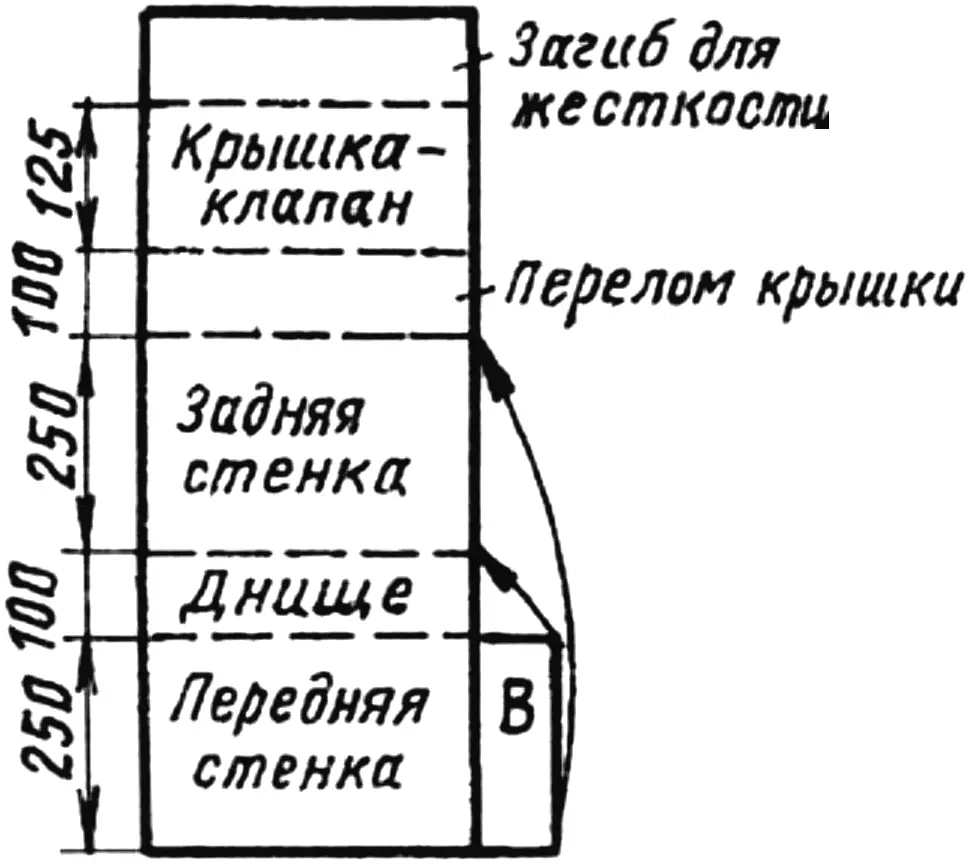
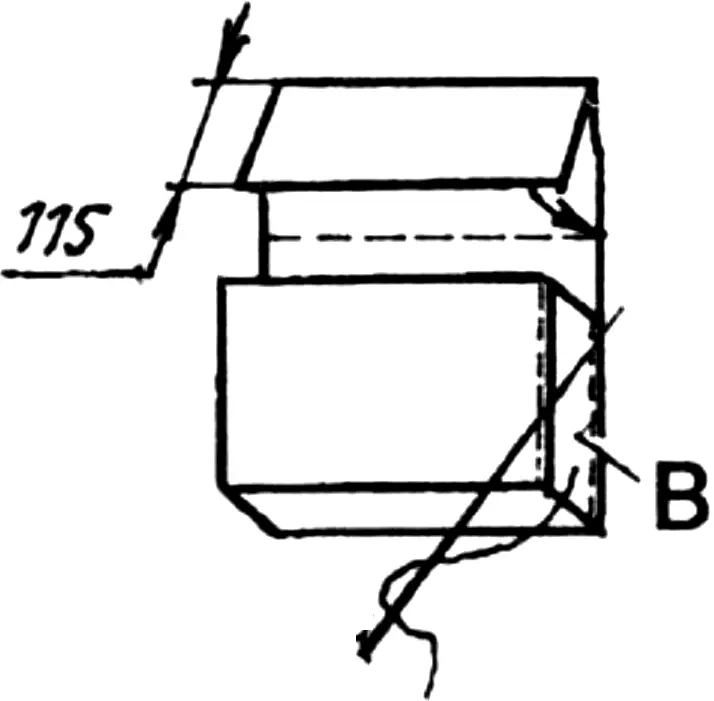
Practically no special pattern cutting is required: the body is formed from a piece of fabric measuring 940×330 mm; thanks to appropriate folding and stitching of the folds, both walls of the rucksack (front and back), the bottom, and the flap lid are formed from it. Only for the sides will two additional strips of the same or stiffer fabric be needed.
Assembling the body
Stitching the main piece of fabric and attaching all other parts to it does not necessarily have to be done on a sewing machine — it can also be done with a hand stitch, which, if done neatly, will also look like a decorative finishing element. Sewing in the sides is also acceptable simply along the edge, because visible seams at the end of body assembly can be covered with a sewn-on or glued decorative strip (for example, made of faux leather or any braid).
Hardware
It is not enough to assemble the body itself — the rucksack must become back-wearable. For this, it needs to be fitted with straps.

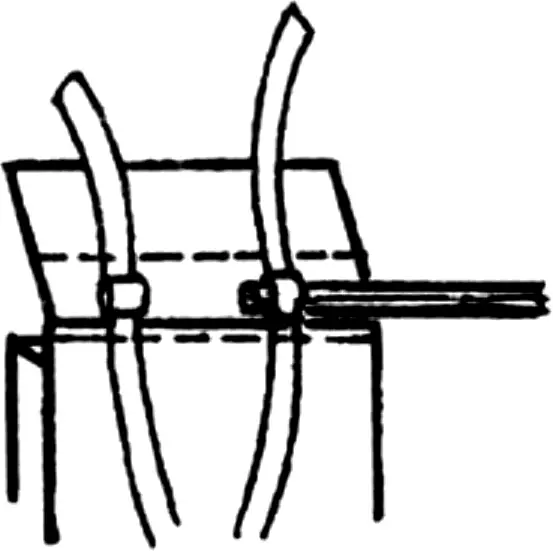
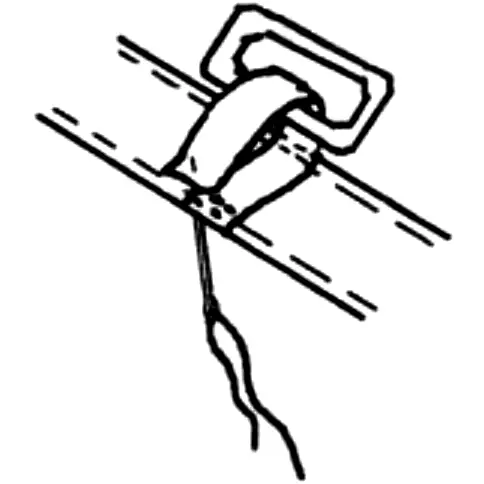
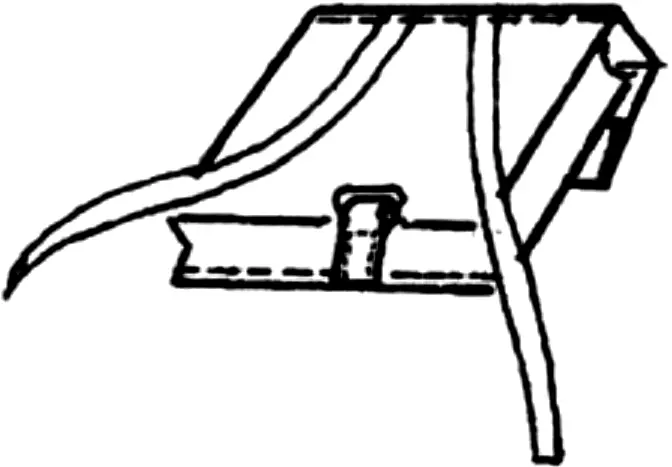
There are two of them: they can be fabric, like car seat belts; thin leather or faux leather. For them, two metal buttons (like on modern jeans or jackets) or Velcro-type strips are sewn or attached to the front wall of the rucksack body. Accordingly, the ends of the straps must have matching parts: Velcro or a wire loop.
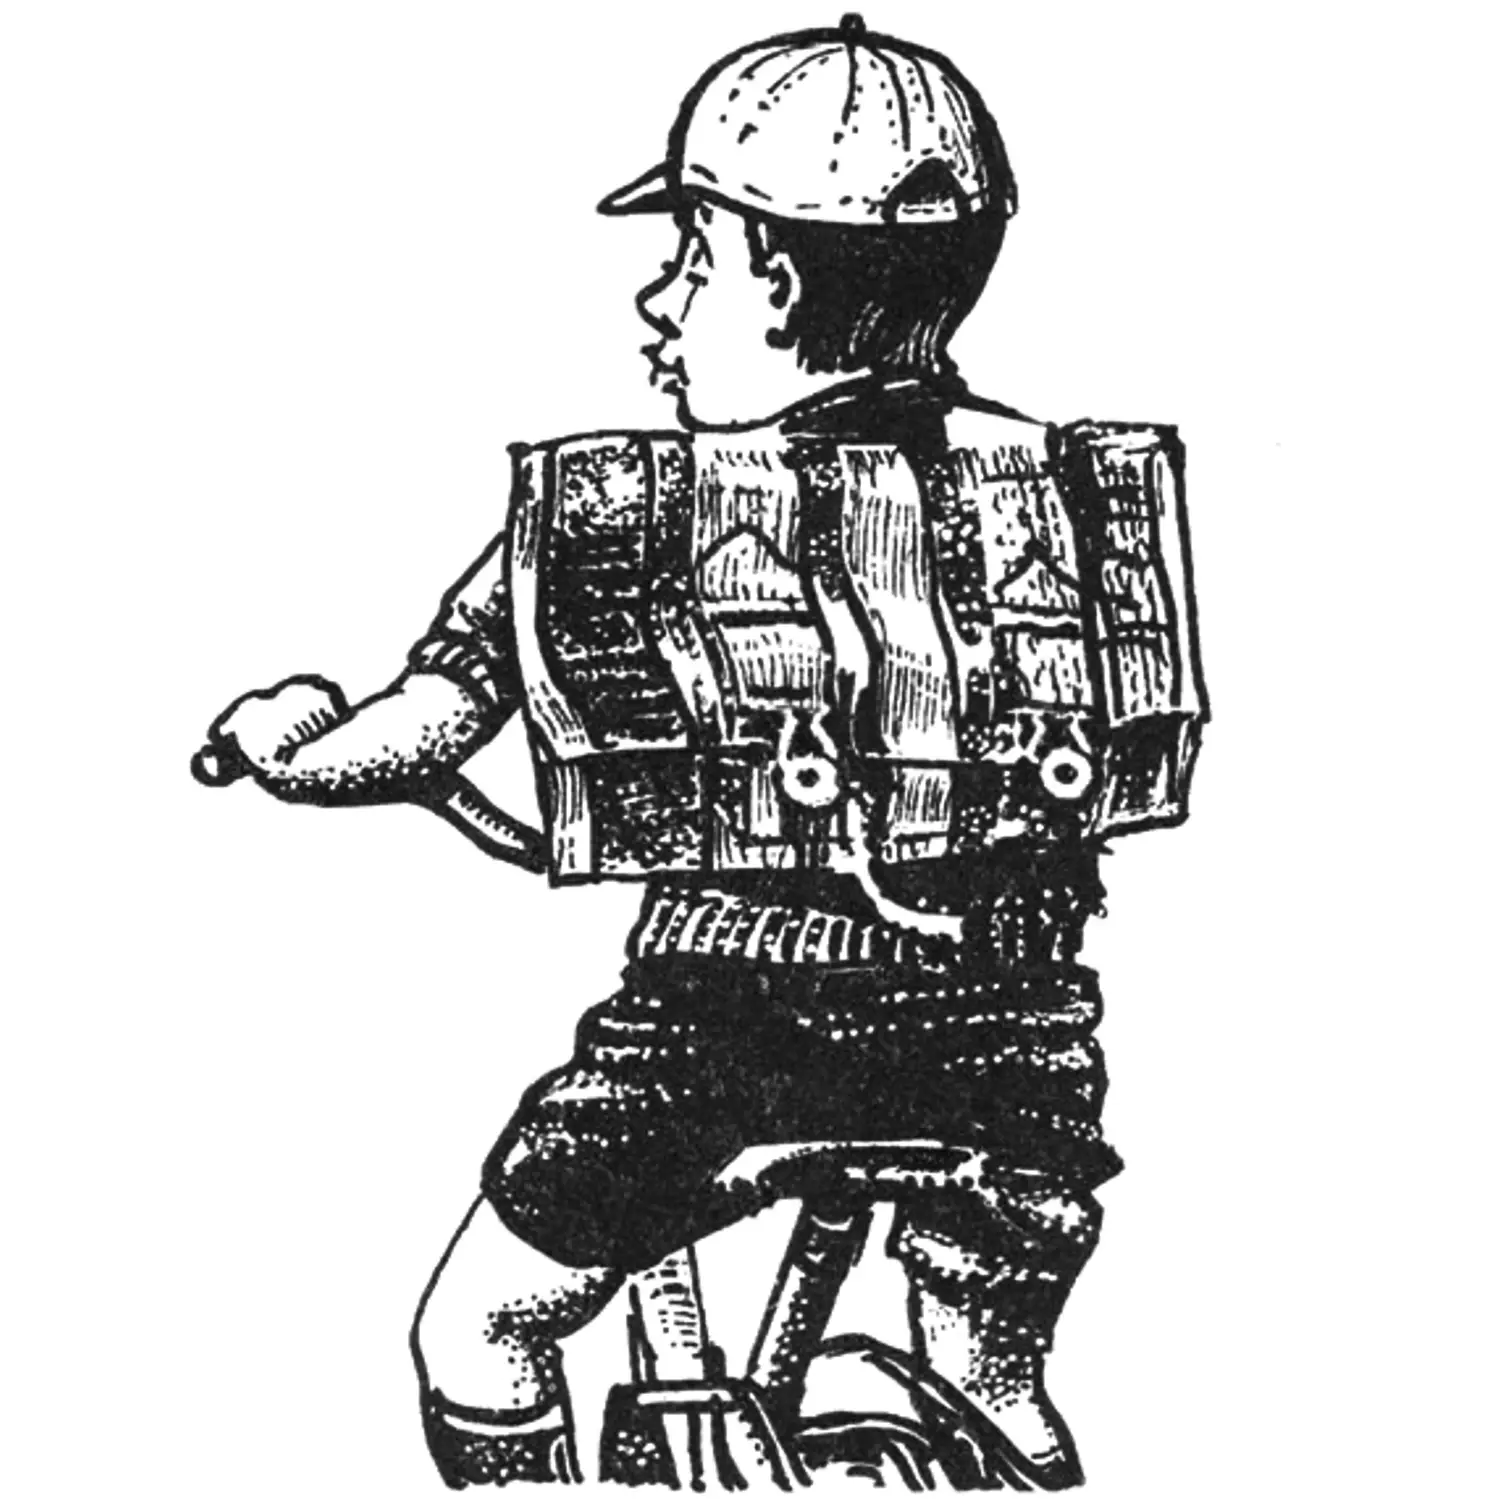
a — with a handle; b — with back straps
The straps themselves are sewn to the fold of the flap lid. There is also a version in which they form two loops into which a wooden rod-handle is inserted. The free ends become shoulder straps, passed down the back of the rucksack through a buckle sewn to the bottom and secured in two additional buckles at their midpoint. Fastened differently, the straps turn into one large loop, allowing the rucksack to be carried not on the back but over the shoulder — something older children will certainly prefer.
“Modelist-Konstruktor” No. 1’2007, B. VLADIMIROV
Recommend to read
 POPOSKI-CLAMSHELL
In small, especially one-bedroom apartments, at least not serious to look for such functional separation: living room, bedroom, children's. But because there is a special approach,... IF THE APARTMENT IS CLOSELY
They are large and small, foldable and "monolithic", table and floor - the different designs, but with one common shortcoming: require space for storage. We are talking about Ironing...
