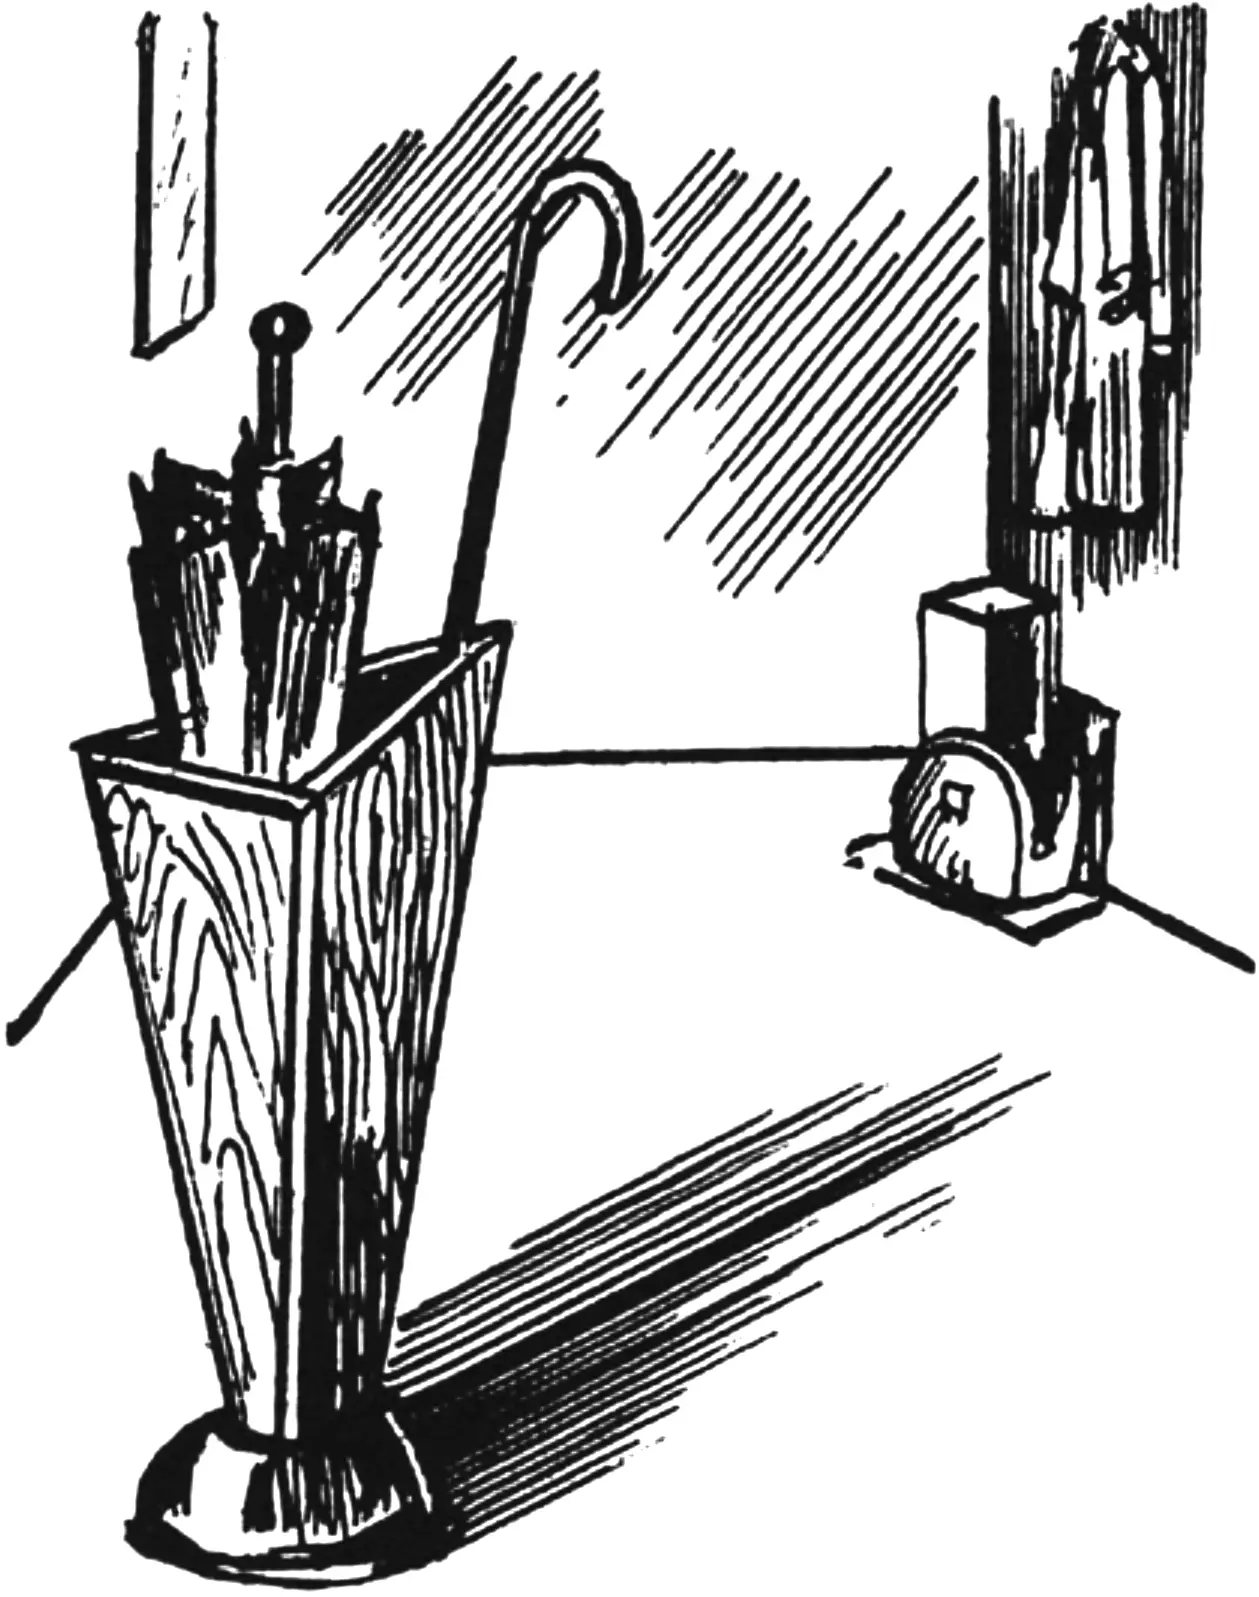
In a hallway, even the smallest one, there is always room for clothes — a hanger of any design — and for shoes — a special floor rack or galosh stand. Even scarves, hats and gloves can be put away. Only umbrellas always seem out of place, especially after rain, when they are wet: where to put them? — a puddle is bound to form underneath.
The problem is solved quite simply by making a simple and very convenient umbrella stand proposed by the Hungarian magazine “Ezermester”: occupying a minimum of space (literally a tiny footprint), it can hold the umbrellas of the whole family. The stand is shaped as a truncated inverted hollow pyramid. Umbrellas are dropped into the upper wide part, while the narrow part with an extra hemisphere at the base is the support.
The umbrella stand can be assembled from boards or plywood. For greater mass and thus stability, particleboard (chipboard) blanks can also be used. An elongated handle is fastened in one of the corners of the stand — for convenience.
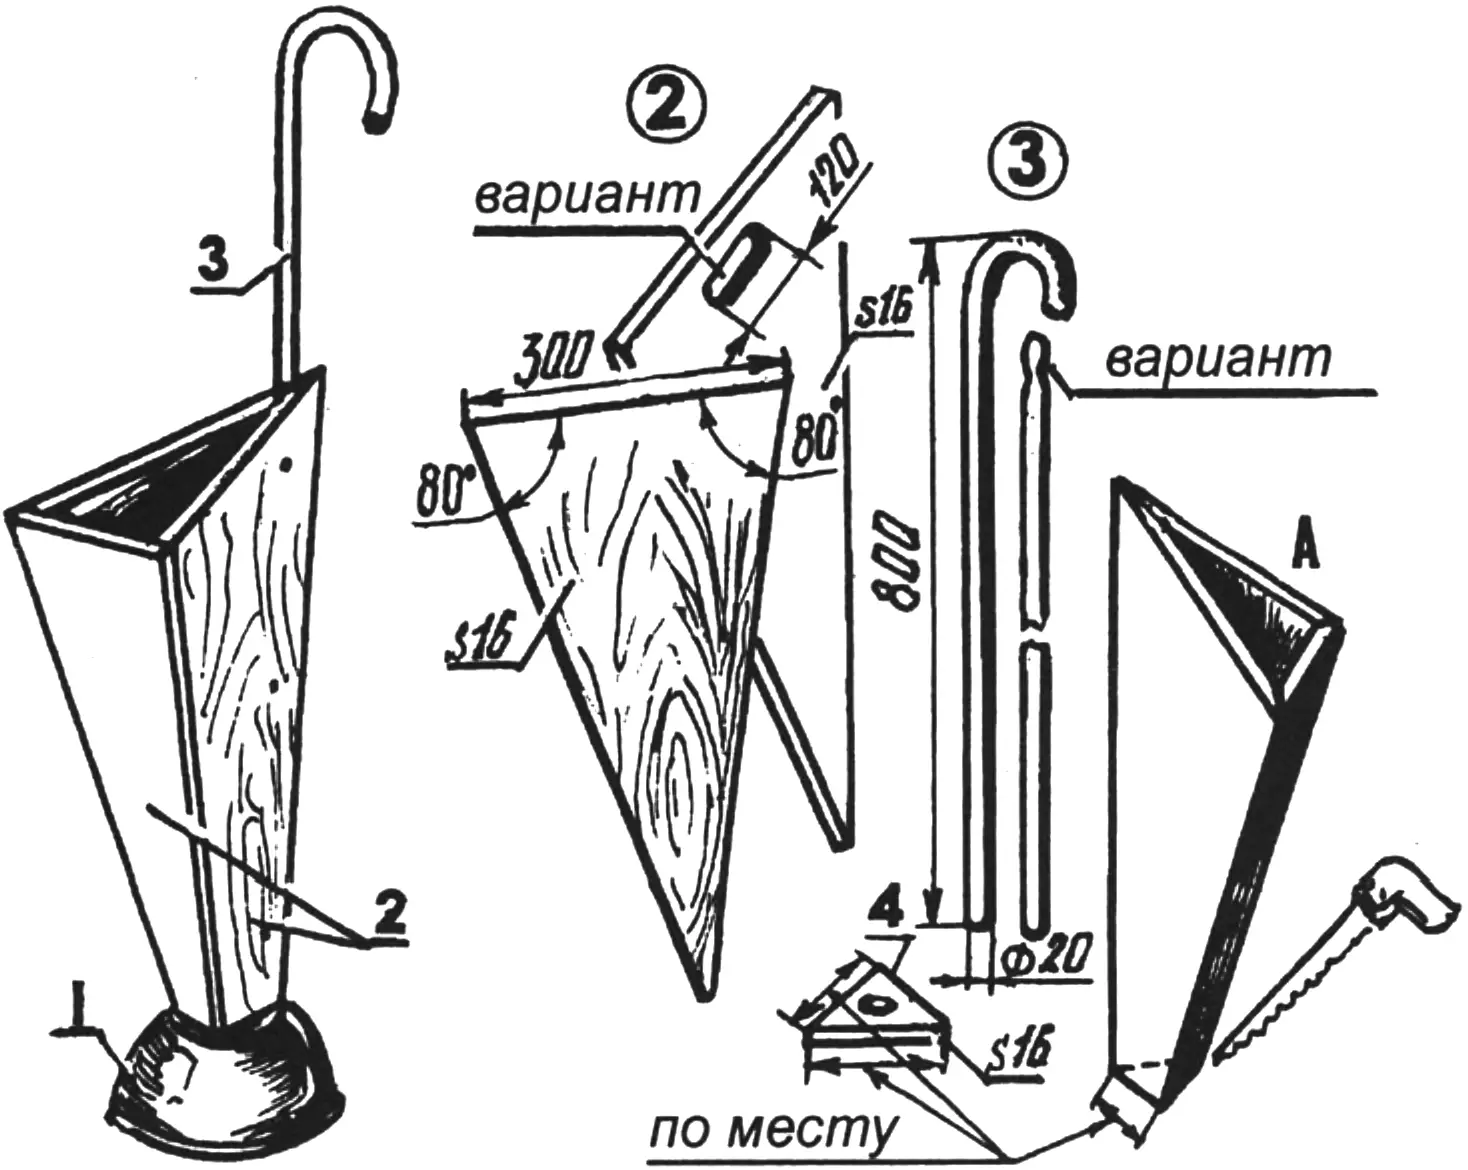
1 — base support; 2 — stand panels; 3 — handle; 4 — stand bottom;
A — panels assembled, with the apex cut off
The drawing shows a particleboard version of the stand. First, three identical panels are prepared as elongated isosceles triangles. For joining them together, the edges of the mating sides are dressed with a rasp or a coarse grinding stone so that the edges fit tightly against one another.
After a preliminary fit, the panels are assembled. The simplest way is to use nails. The apex of the resulting pyramid is cut off with a hacksaw. Then a small piece of particleboard is placed against this opening and the inner contour of the hole is marked on it (with the necessary allowance) — this gives the layout for cutting the bottom of the stand. It is desirable that the bottom fit the opening as tightly as possible. It is installed with glue and additionally secured with nails as well. First, a hole is drilled in the center of the bottom for the bolt that joins it to the support base. A wooden rod handle is inserted into a corner between the panels and fastened with nails so the stand can be moved conveniently. If no suitable rod is available, a hand slot can be cut in the upper part of one of the panels for this purpose.
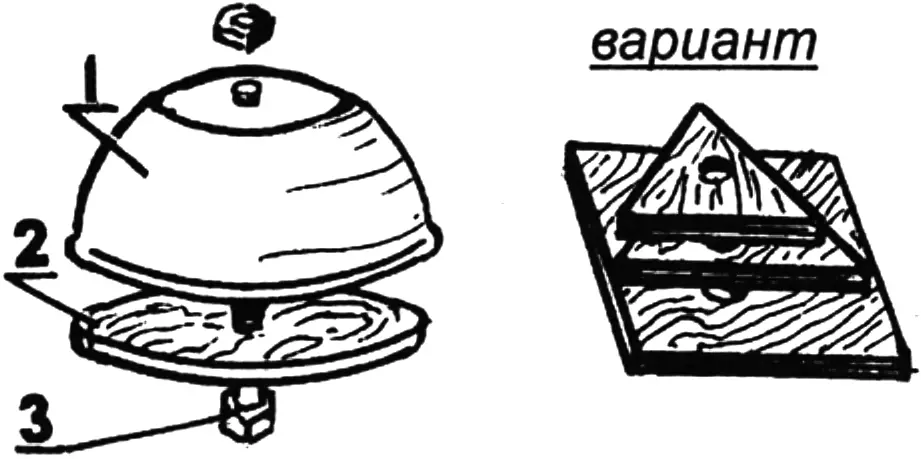
1 — body (any ready-made hemisphere); 2 — insert (auxiliary disk); 3 — connecting bolt with nut
It remains to attach the support base. The drawing shows a version using a ready-made plastic or metal hemisphere (for example, a bowl); another, built-up option is also possible: from a rectangular blank and several triangular or rectangular pieces stacked in a diminishing pile.
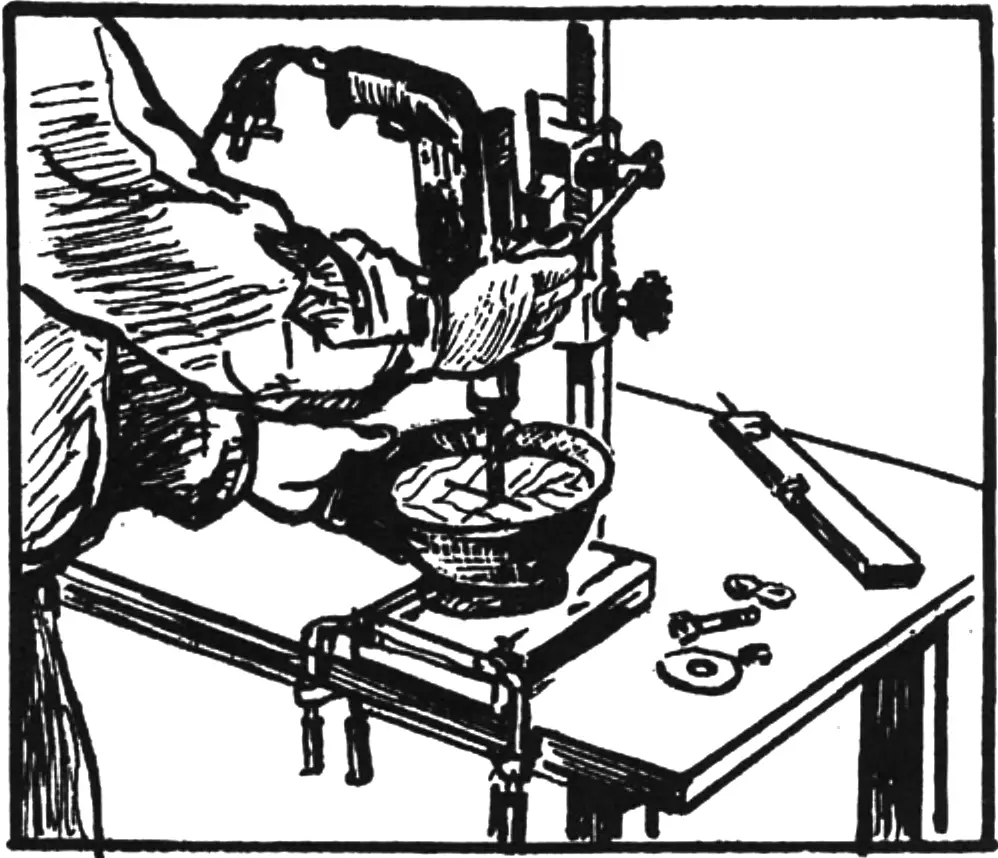
In the first version, an insert (a wooden disk) must be fitted into the hemisphere from below — for the bolted joint of the support base with the stand bottom. To improve the stability of the umbrella stand, any ballast (metal parts, sand, etc.) can be added into the cavity of the support during assembly.
If faced panels (so-called furniture board) were used to make the stand, the finished piece can be additionally coated with varnish; if the particleboard has unfaced surfaces, they must be painted in several coats both outside and inside with bright oil or enamel paints — so the umbrella stand looks attractive and, most importantly, does not fear moisture.
“Modelist-Konstruktor” No. 8’2003
Recommend to read
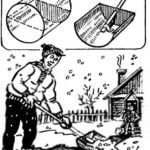 FROM THE BUCKET — SHOVEL
Leaky or cracked plastic bucket and the metal is also a suitable basis for the manufacture of shovels for snow removal. Enough to cut half and attach to it any way the wooden handle. GOING FROM THE AIR
Photo these aeroamphibious — archive edition. They, along with some technical characteristics of the machines, sent some time ago, Vladimir Pichugin from Kizel, Perm region. The...
