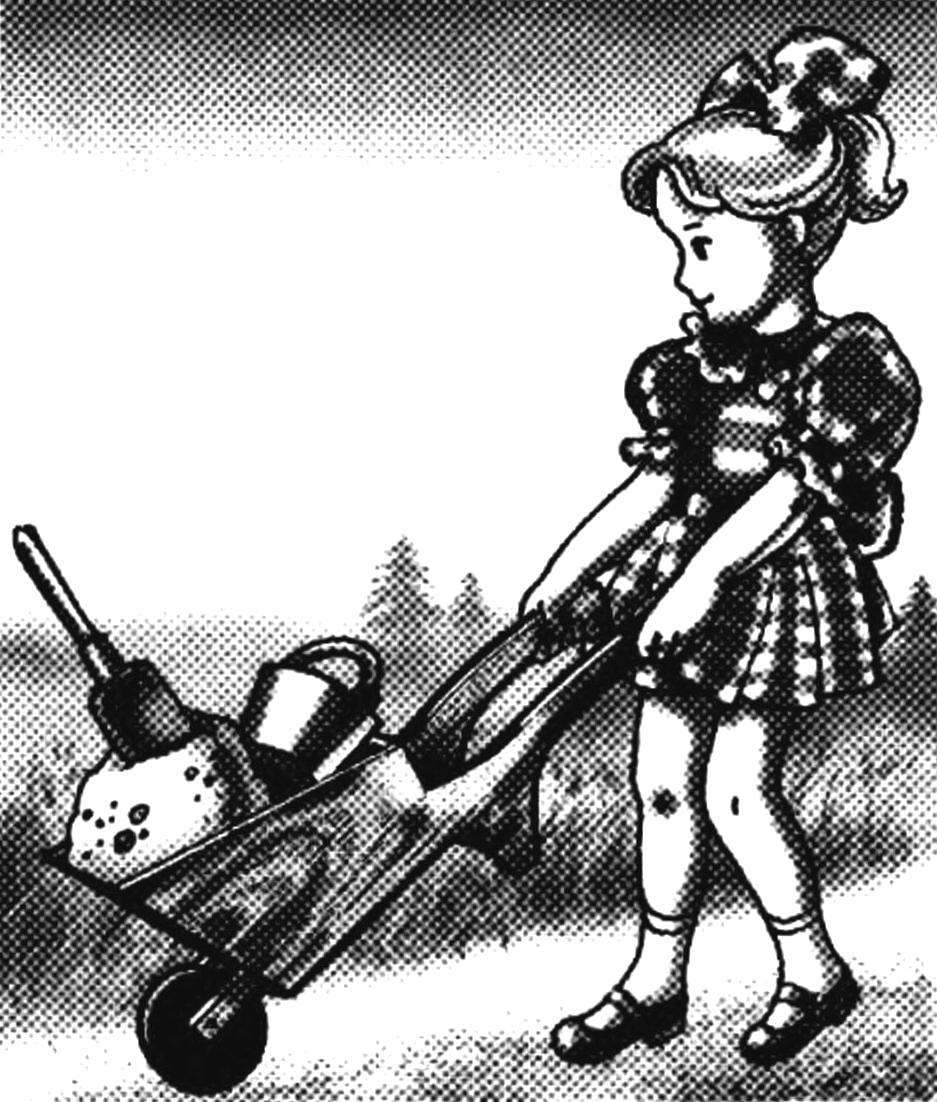
 Even the youngest children enthusiastically playing every day in the sandbox, after a while it becomes not enough pail with shovel and molds for “baking” kulichiki. A large variety in their troublesome classes bring different cars and other appliances parents purchased a toy.
But, oddly enough, even more fun kids deliver homemade products, like this wooden mini cars, offered its readers the magazine “the Technician” (Germany). To make it no more difficult than usual to put together a birdhouse, especially that of parents or older boys can take part in and the kids.
Material
For mini-cars will not need to purchase specially any material or tool will be sufficient that there is in each house. The Board (or the appropriate thickness plywood) Yes, handsaw, hacksaw, a hammer and a few nails is all that is required for the manufacture of toys.
What to collect?
Mini car consists of only six parts: two side panels, representing a single whole with the handle; the bottom part, turning the notched end to the wheel bracket; the front and rear wall and the wheel. All items are made from boards in the thickness of 10 mm, only the bottom bar is 20 mm.
To facilitate obtaining the notched side should use figure 2, which can easily be copied to prepared (planed planed) surface of the boards (also shown is the scheme of combining some of the details on individual boards with a view to their more economical usage).
Manufacturer
The sides with handles conveniently combined on one Board, and are cut with the orientation shown in the figure template (some variances, as they do not interfere with subsequent Assembly).
Both walls can also be obtained from one of the boards because they were not shaped and formed by a simple sawing — with the only requirement that they would have the same width equal to the width of the bottom part.

Fig. 1. Mini-car:
1,2 — sides; 3 — bottom; 4 — front wall; 5 — back wall; 6 — wheel

Fig. 2. The unification of parts for cutting saves material
The latter should be placed on a par with the wheel, as they should be slightly thicker than the other parts: wheel — less “sinking” in the sand, and in the bottom have to drill the hole for the wheel axle. Curly side bottoms get with a hacksaw and post-processing of coarse-grained emery paper. For the holes for the wheel axle do not have to have a brace or drill, you can just burn it red hot on a gas stove or fire nail.
In the same way, you can get the wheel and a hole in it.
All pieces of wood are carefully processed and polished with sandpaper, and then painted with oil paints in bright colors (e.g., orange or red).
Final Assembly is carried out on nails or small screws.


