Manufacturing furniture from ordinary (non-laminated) chipboard is completed with its finishing. Although not complicated, this is a responsible stage that largely determines the appearance of the finished product. Finishing may use self-adhesive film, textured paper, fabric (linen, calico), and veneer.
Facing with self-adhesive film is the simplest. The workpiece is cleaned of dust. A strip of “self-adhesive” is cut with allowances of 5—7 mm; the protective paper is removed from it, and the film is applied to the part and smoothed — to remove air — with a cloth or a rubber roller.
1 — furniture part; 2 — veneer sheet No. 1; 3 — overlap of veneer sheet No. 2; 4 — iron.
Finishing with textured paper or fabric is slightly more difficult. They can be glued to parts with wallpaper, carpentry glue, or PVA diluted with water in a 1:15 ratio. The part is coated with glue of normal consistency using a spatula. The paper (fabric) is placed on the part and smoothed. After the glue dries, the allowances are trimmed off.
1 — furniture part; 2, 5 — veneer sheets; 3 — knife; 4 — ruler.
Veneer finishing is more labor-intensive, but finished products look significantly better than those finished with film, paper, or fabric. First, the workpieces are fitted to the parts and selected to match the grain pattern and color. It should be noted that with a vertical grain direction the part appears taller; if the grain is oriented horizontally, the part appears wider.
1 — furniture part; 2 — veneer sheet; 3 — iron.
After selection, blanks are cut from the veneer sheet with scissors with allowances of 15—20 mm and numbered. Their back side and the part are coated with a thin layer of PVA glue using a spatula; everything must be allowed to dry for 10—15 minutes. During this time the glue will turn from white to transparent. Then veneer sheet No. 1 is placed on the part and smoothed with a hot iron set to the “wool” position. The 15—20 mm edge that will join sheet No. 2 is not pressed smooth. Next, veneer sheet No. 2 is placed on the part with a slight overlap on sheet No. 1 (Fig. 1), and its center is lightly smoothed with the iron. This is needed to prevent shifting of the second blank. A metal ruler is placed on the overlap of sheets No. 1 and No. 2, and both veneer layers are cut through with a knife (Fig. 2). After removing the veneer trimmings, the joint is also carefully smoothed with the iron. It is not a problem if the edge of sheet No. 2 slightly protrudes beyond the plane of the part — it can easily be removed during final processing. If a gap no wider than 2 mm forms between veneer sheets, it can be eliminated by flattening the sheet edges. But if the gap is wider, it is better to redo the joint. All veneer sheets are glued in this way, one after another.
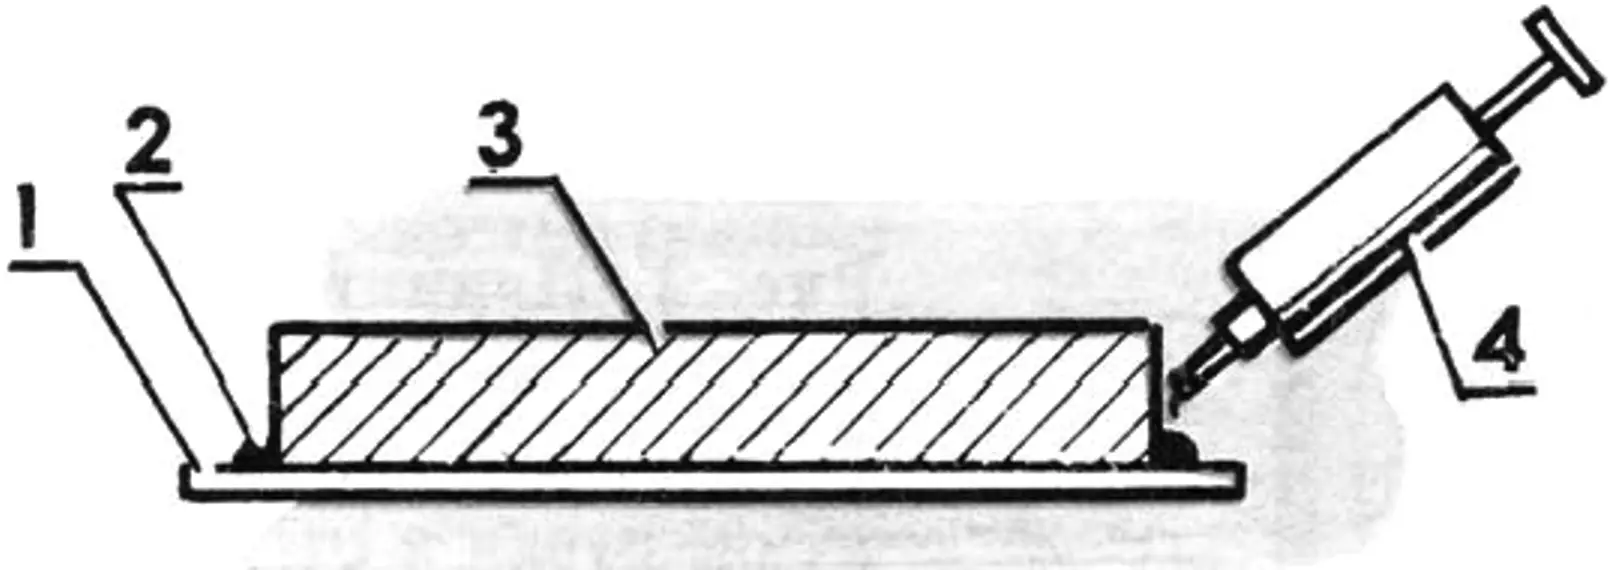
1 — veneer sheet; 2 — glue seam; 3 — furniture part; 4 — syringe with glue.
Special attention must be paid to gluing the edges. The iron should be held at a slight angle to the plane of the part (Fig. 3). Unbonded areas of veneer and the part at corners and edges (Fig. 4) are additionally coated with glue using a disposable syringe and pressed smooth. If necessary, the end faces of the part are also veneered using the same technique.
After the glue has fully dried (4—6 hours), protruding parts of the veneer are removed with a knife and a plane. The finished product is sanded with sandpaper and coated with varnish.
“Modelist-Konstruktor” No. 1’2000, V. TEREKHOV
Recommend to read
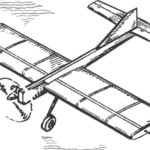 WEAPONS AIR FIGHTERS
The followers of Cordoba modeling we offer today a selection of two closely-related within the meaning of materials. In the first of them tells of a very successful training model, which...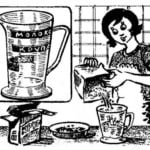 TO MEASURE, NOT MEASURING
If you have a lot of time to measure the volume of the same liquid or granular materials, make the appropriate mark on the measuring circle, glued at the right level strips of adhesive...
