TRUCK FOR THE FARM
Shopping carts have become part of everyday life and become the necessary cargo vehicle for many people: gardeners, artisans, small merchants, but more often from retirees and people with disabilities. Enterprises have established their production in the range of not less than vehicles from toy-like to heavy (matched to those used by porters at railway stations), from tatty to gleaming chrome. They are made and the craftsmen from readily available materials — mainly of steel pipes. But these pipes need bending (not so easy), sometimes welding (not everyone has the opportunity), and even appearance not to forget (a chemical treatment or painting require thorough preparation of the surfaces of the material).
I also made for household cart, but without the above transactions because the material for it was the dural tube from the old clamshell (only the ones without holes under the springs).
In the end, foldable trolley turned out lightweight, durable and quite beautiful, although the quality of the product is unlikely to be decisive.
The next stage — cutting pipes dismantled the bed. To make them full of the arc — be it a frame, platform or support without bending of workpieces is not possible. So I made each arc component, the gathering of the two (frame four) parts with inserts and rivets. Insert I cut from an old tubular thin curtains, but the other (better steel) pipe, just insert tightly into the inside of the halves of the arcs. After that, both sides of joints in arches drilled through holes with a diameter of 5 mm, inserted rivets and bonded elements. Closing the rivet heads from the cots did a secret, pre-razzenkovku with the corresponding side hole in the tube.
All arcs are the same width — 332 mm (axes). About the same width and length of the platform, that is, it is almost square. The length of the frame — 950 mm — selected according to the corresponding truck manufactured in the factory. For this arc of the frame is extended straight extensions. The joint between the parts closed brackets of the upper cross member.
Further, the half-arches of the frame and platforms were connected by cross-beams with brackets with rivets (the first two and the second a crossbar). As brackets I used the tees, but if not, then brackets can be made of a plate of steel or dural strip thickness 2 mm.
Suspension height of the platform on the frame determined by the diameter of the wheels: lowered in the working position the platform should be slightly above them. On this basis, the appointed and the height of the reference arc: the vertical position of a frame bottom of the support should be 20 — 30 mm below the wheel.
The ends of the arcs of the platforms and support drowned out the wooden plugs and April the profile of the outer semicircle tubes.
All Assembly units (arc) shopping trolley (a frame with a platform and platform support) connected between a hinge with corner brackets and rivets. Part of the brackets used from a clamshell, others made them from steel strips with a thickness of 3 mm. If someone decides to also make a similar cart, the brackets better to do different: for the frame and platform, with perpendicular beams, and platforms and support — with the rays at a slight obtuse angle.
The final node — truck wheel. Four of them — plastic with rubber tires — bought on the market, but it would come from old strollers. Axis of twin wheels is not quite normal – tees. If I had welding, to make such it was no problem. To me, after a long search, had been able to find from the suspended monorail. However, these axes cross. I cut them from one beam, and on the other wearing a tight sleeve — cuts pipes from the legs of the old chair. Sleeve secured landing without clearance of the axes to the ends of the arc frame. Each axle secured by two rivets drilled diametrically through the corresponding holes.
Shopping cart:
1 — frame-arc; 2 — jumper frame (2); 3 — bracket jumper wire (12 PCs); 4 — axis-tip (2 PCs); 5. a cargo platform; 6 — arm folding support; 7—wheel (4 PCs); 8 — bracket platform (4 PCs); 9—jumper platform; 10 — mount bracket (4 PCs); 11 — washer (nylon s2, 8); 12 — connecting insert (steel tube 19×1, 3 PCs.); 13 — rivet (d5);
The wheels on the axle to put on, installing on both sides of nylon washer, and outer — and even steel. Slippage of the wheels from the axle is prevented by the same method used by our ancestors on these carts — linchpin. As a check, using conventional pins, which are inserted into the holes at the ends of the axes.
And the last one. The handle of the arc frame during Assembly it is advisable to wear a suitable plastic or, in extreme cases, rubber case. It will protect your hands in winter from hypothermia, and in the summer from plaque metal oxide which instantly forms on the surface of aluminum. And while talking about the case only came at the end of the story, make it stretching immediately after docking the two parts of the arc frame. If for some reason the cover on time was not worn, then it can be done at the end of the Assembly. Used this hose will have to first cut lengthwise, and then put on the handle and wrap PVC tape.
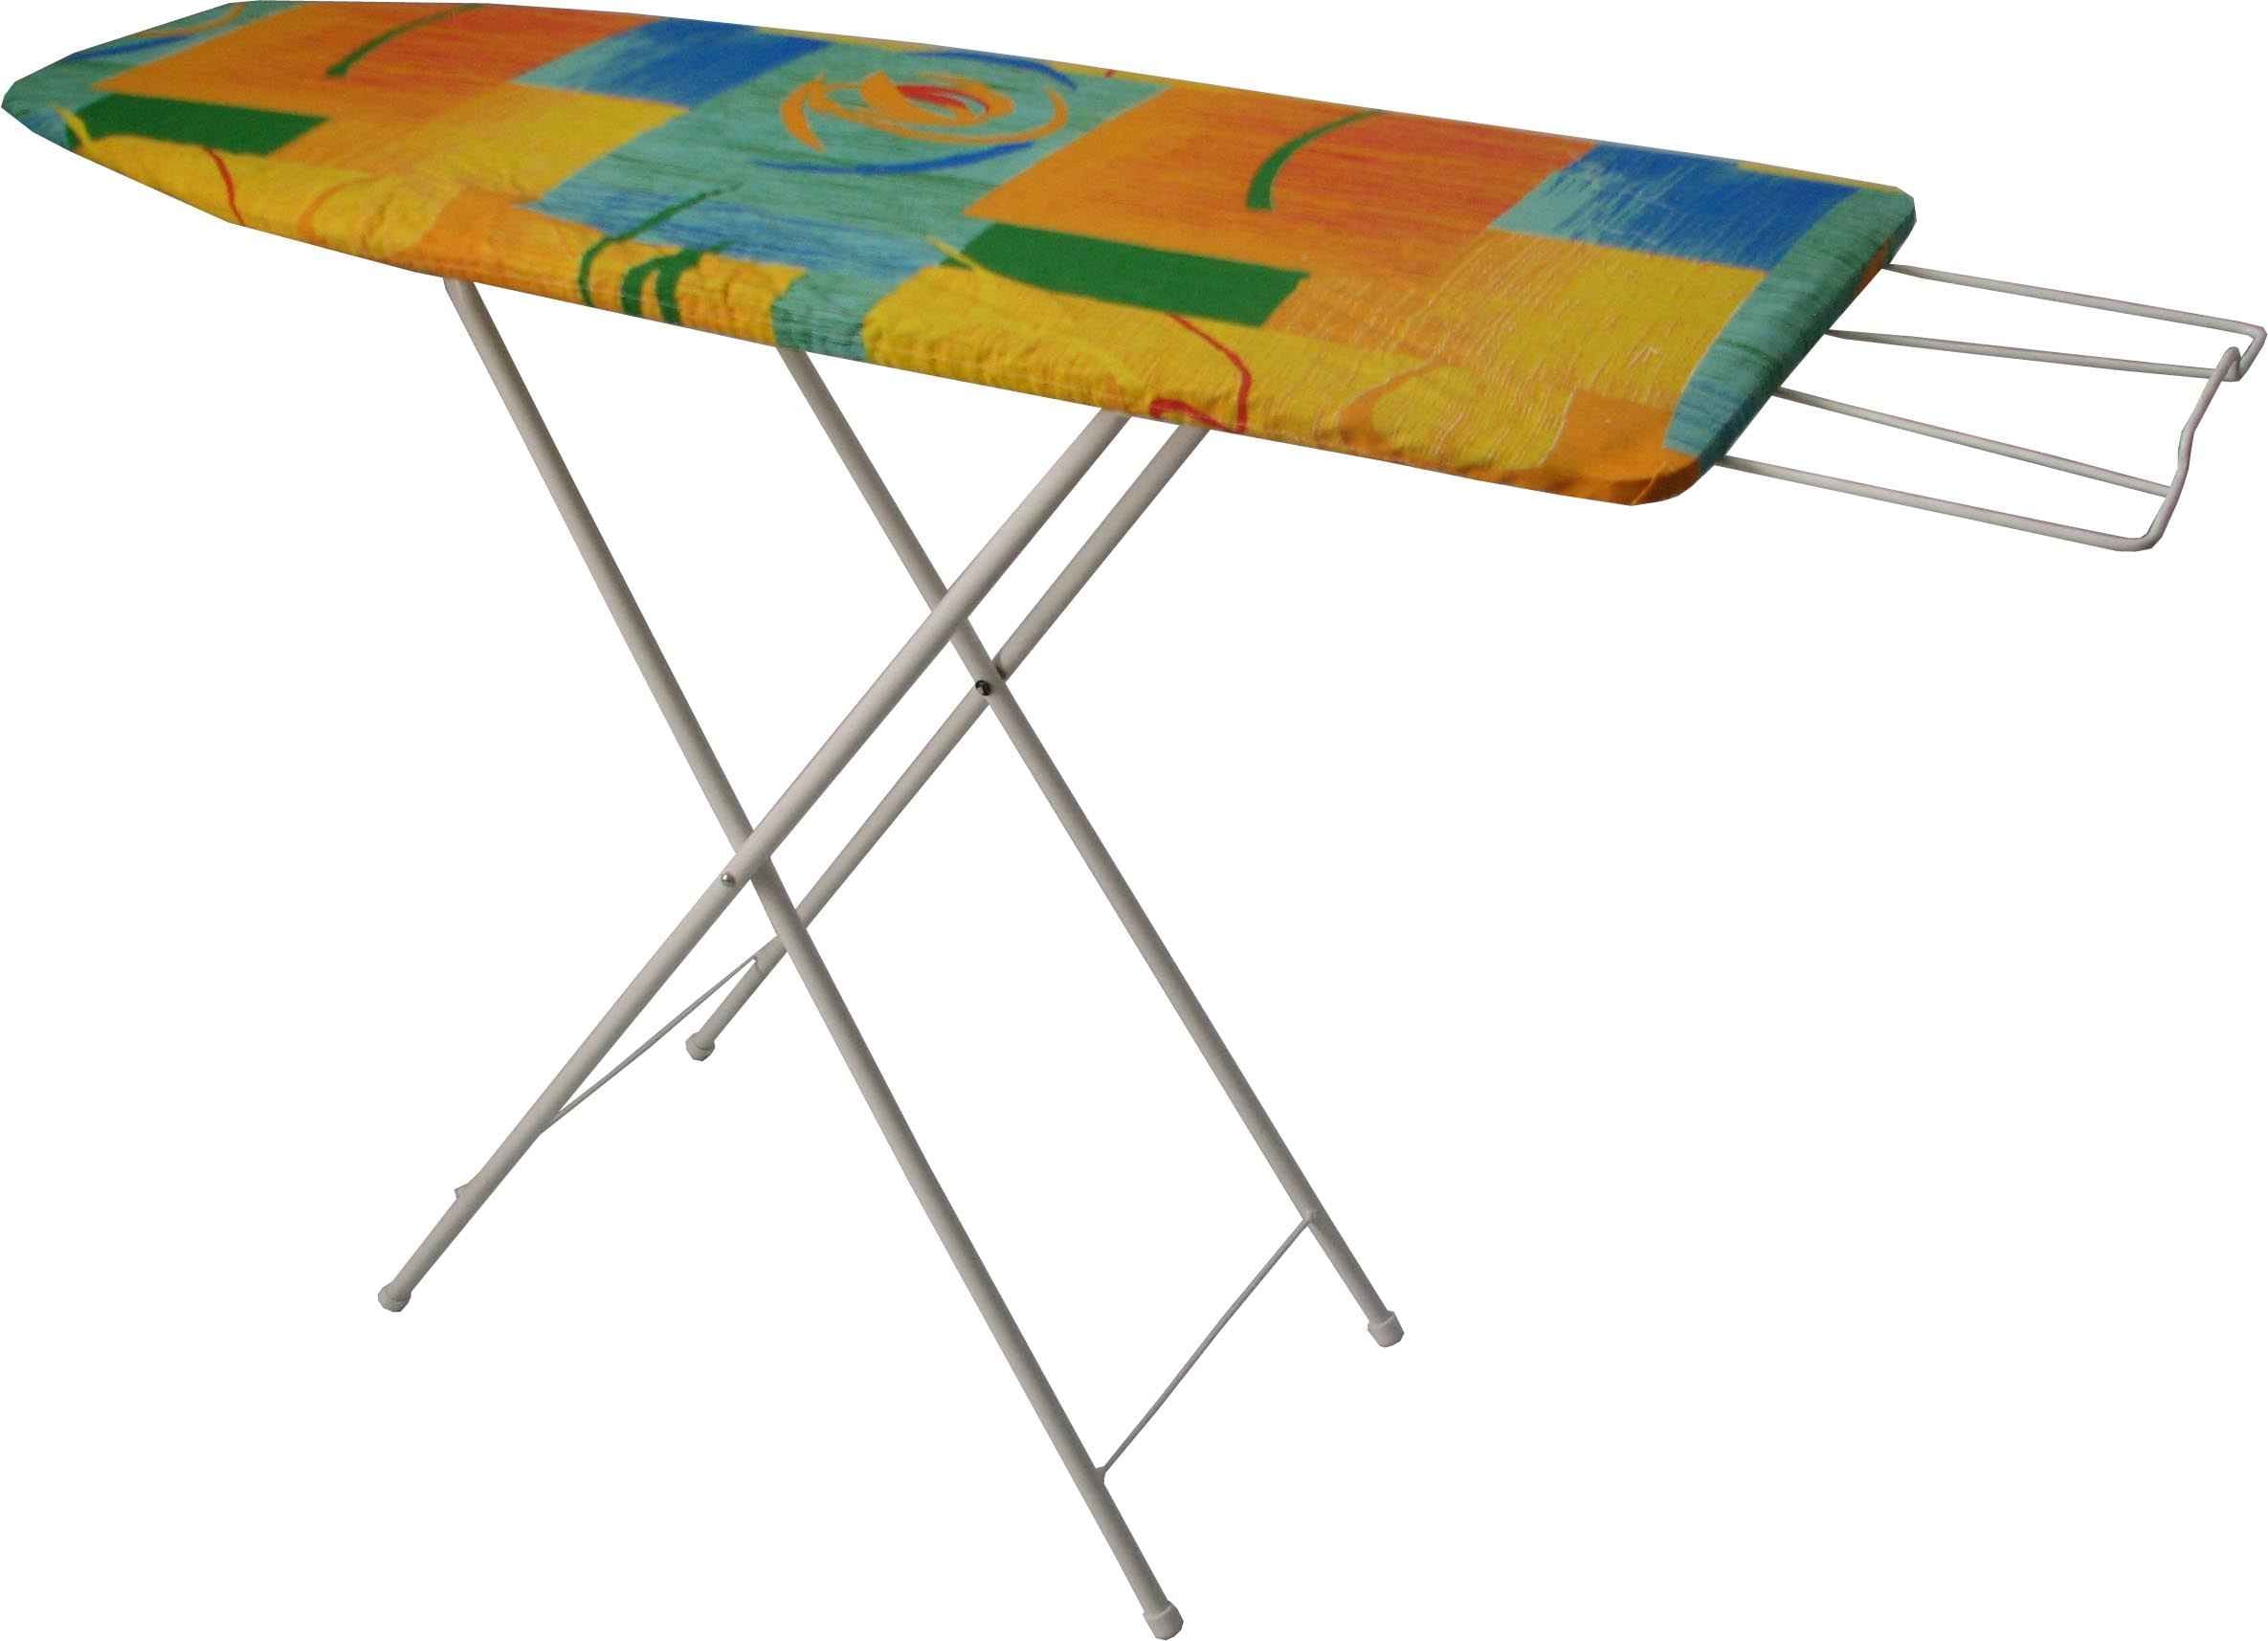
TABLE FOR IRONING
Another one of the old clamshell I used for the manufacture of a useful product for the house — folding Ironing Board. So this thing is called, apparently because its working surface is quite long, but narrow. In the sale Board, of course, available, but the manufacturers, as if by agreement, make them about the same size. But that’s exactly what I did not like — very uncomfortable to stroke her broad things — they reset the time left more than for the process of Ironing. Besides domestic products too heavy, but import is too expensive.
For cover (tabletop) Ironing table picked up the sheet of multilayer 12-mm plywood size 900×400 mm. But you can use a panel of chipboard, or (even better) furniture panel of slats (boards) with a thickness of 15-20 mm. starting from the selected sizes of plywood sheet, focusing on the acceptable mounting height work surface (700 mm), selected and length of legs.
Table legs made according to the type of industrial — intersecting arcs of the two figure. For arcs used a dural tube frame mentioned old clamshell. But such tubes in the frame without holes for the springs only four. In order not to bend the tube legs had to do a composite of each of the four l-shaped parts. To do this, cut the tube frame as shown on the drawings.
Table for Ironing:
1 —inner leg (dural tube 22×1,5 from a clamshell); 2—outer leg (dural tube 22×1,5); 3 — spacer (steel pipe); 4 — axis (steel, circle d5); 5 — washer (nylon, sheet s2, 4x); 6 — bracket (STZ, strip 30×2, 2); 7 — iron stand for (dural area 20×20, Micarta s2); 8— loop card (2 PCs.); 9 — bracket (the curved area 20×20, strip 40×2); 10—edging strip (the plastic strip 10×2); 11 — a nail with a decorative head (30 pieces); 12 — cover (thick cotton cloth); 13 — batting; 14 — panel tabletop (plywood s 12); 15 — clip (STZ, strip 40×2); 16— bolt M10 moulded under a square head; 17 — wing nut M10; 18 — clip (STZ, strip 40×2); 19 accurate loop
Doug cutting tubular clamshell:
and — for the upper part of the legs of the table; b for the lower part of the legs of the table
Assembly of the outer (inner) leg of table:
1 — top paladugu legs (2 PCs); 2 — upper connecting sleeve; 3 — aluminum rivet (d5, 6 PCs); 4 — side connecting sleeve; 5 — lower legs (2 PCs.) and 1.5 parts made of dural tube 19×1 from a clamshell; parts of 2,4 — steel thin-walled tubes 19×1
The scheme of laying poludov feet ia the lower side of the panel countertop for joint ottiliana tips:
1 —half-arches of the outer legs (4 PCs); 2—panel countertops; 3 — latch; 4 — inner leg; 5 — half-arches of the inner leg (2 PCs); 6 — washer (sheet s2, 4 PCs.)
Docked parts with tubular steel sleeves and aluminum rivets from the same cot in the same technology as in the manufacture of the truck.
Both legs connected at the place of intersection, axis of steel wire. To make the legs did not converge on the axis put a spacer sleeve of thin-walled steel tube. Connected to the outside ends of the axis clench. Mount the outer legs to the underside of a panel made two brackets with screws. Staples arched in semicircle tube from steel strip 30×2 mm. cross-section the Clamps are pushed to the edges of the panel, but so that no bending of the tube. Mount inner legs to the panel — with just one clamp, but folding. Therefore, one end attached to one card the hinges, and another card was fastened with screws to the panel. On the other hinged end of the clamp cut the groove under the bolt. To bolt in the cage does not rotate, his head grind a square and concluded in the clip, which attached the same as the loop to the bottom of the panel. To build the table, put the arch legs to the panel, covered it with a clamp and the end screw the wing nut to the clamp bolt head.
The lower ends of the legs, to prevent them from scratching the floor, put on suitable plastic bottle caps.
And another site—iron stand for. Its frame of duralumin 20×20 mm area and the bottom of the piece of Micarta. Stand made of folding, so to the end of the table, attached it with two card loops through the bracket — a bent sheet steel area.
At the working (outer) surface of the top put a layer of batting, and closed his thick cotton fabric. The edge of the fabric buckled and attached to the edges of the plastic strip 10×2 mm and carnations with decorative caps.
When folded the ends of the legs a little beyond the edge of the Ironing table. It would seem that this should not have to do. But in practice it turns out only to win. In the working position at the table very good stability, and when storing folded when you install the table on an edge it rests on the floor now is covered with a cloth Board, and the ends of the legs.
MARTYNOV, G. V I t e b s K, Belarus
Recommend to read MY HOME IS MY CASTLE Regular subscribers know that the individual building our edition pays a lot of attention. Regularly posting a variety of projects of houses and thereby communicating with... RELIABLE LOCK My house — my fortress. And the fortress must be strong lock. It is clear even to children. An example of this is Evgeny Lebedev, the pupil 3 classes of school № 3 of the city of...
Scroll back to top
 Things, household items, furniture break down over time and deteriorate, or gradually wear out and become obsolete. And if in first two cases, all the property owners are trying to save (restore, repair), in other circumstances the majority of things are just thrown away. After all, to give old things a second life, not everyone can, but only people with a creative imagination and skillful hands. About such useful things made by the workman man of old fold out beds of duralumin tubes, and will be discussed.