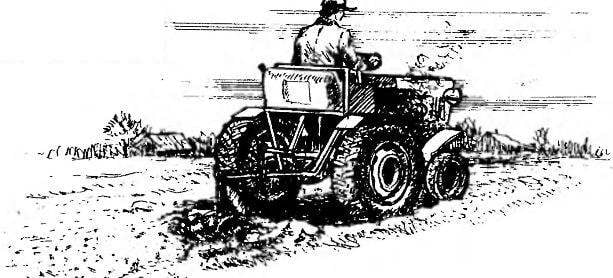
The soil in our garden plots so that during ploughing conventional ploughs formed lumps that require further a lot of time and effort preparing the land for sowing. But people don’t get lost. Many people not only prisposobleniya, but also inevitably become innovators.
One of my neighbors, for example, transformed the body of the plough, setting the right hand a ploughshare for subsurface tillage of the soil. Convinced of the benefits of such modernization, others followed, including me.
The case of a conventional plow consists of a stamped rack, blade, blade and mounting casting. Converted installed additional shield bulge out. In the middle of the working part he has toe depth, resembling a triangle.
Attached additional shingles on a support screwed to the casting of shaped nut. And to exclude here even the slightest crank, a stop.
Additional width is 80 percent of the capture of the main blade at the same depth. The total tractive resistance of the plow is reduced by 30— 40 percent. Increases significantly, as practice shows, and the lifetime of the blade.
Converted the plow:
1 — stand; 2 — blade; 3 casting; 4 — shield; 5 – bearing; 6 — thrust; 7 — blade core; 8 – nut shaped, “stuck” welding.
The improved harrow:
1 — harrow-base with grooves on the teeth; 2 — discs of the cultivation (up to 25 pieces).
The usage pattern of angular sections in the interior:
1 — in the corner (one section); 2 — at the walls (two sections); 3 — speaker’s corner (three sections); 4 — middle of the room (four sections).
But most importantly — significantly improves the quality of ploughing. Layer of the earth, trimmed of extra shingles, loosened. Turning back the next day and plow the soil becomes fine-grained. The root system of the weeds are destroyed, crop residues are closing on the bottom of the furrow.
I took into consideration another neighborhood innovation — the harrow with the means of the cultivator and cultivator. Do this for each tooth harrows made by five rings of recesses (the number of teeth in the direction of motion). Groove — seats for additional working bodies, each of which is astrosat-cluded a steel disk. In the center of the disk is a hole with a diameter slightly larger than the diameter of the circumference circumscribed around the cross section of the tooth.
From the center of the disk depart three radial groove of a width slightly greater than the diameter of the recesses on the tooth, but less than the diameter of the circumscribed circle.
The workpiece — precision
Racks are cut on a circular saw or with a hacksaw. For the production of blanks shelves prima-t is used a handsaw with a narrow blade or microRNA a hacksaw. This operation should be given special attention, as saws arc should not be broken, and all four segments of each section to be exactly the same. Then sawed workpiece shelves fold stacked and fixed clamps. In this state, their edges are convenient to handle a rasp, and then smoothed out with sandpaper until smooth.
On the racks is marked with the location of the segment in B Lok. The lowest of these should be located at a distance of 100 mm from the bottom edge of the uprights. The rest of the shelves can be spaced at a distance of 450 mm from each other. Each side shelf is secured by two push-pins. First drill the holes for the spikes in the stands; then use a template or a marker, the location of the holes marked at the ends of the shelves.
Before Assembly, the open edges of the uprights and shelves are pasted over the end of the film.
Assembly
Perpendicular to each other and the rack are joined together by inserting the studs, the location of which will be mark. (1450 mm length, enough for 6-8 spikes.)
First, all the spikes are inserted into the adhesive in a rack with a width of 430 mm. After complete setting of adhesive on those spikes to put on the shelf. When that connection is ready, fit strut width 450 mm, for which its holes are injected with glue all the spikes narrow racks and shelves. Light blows with a rubber hammer wide front is installed in its place.
If all connections turned out dense, without gaps, the assembled angular section can be left to dry in the supine position. After one or two days the surface of section is recommended to cover the stain, and furniture Polish.
When drawing together several sections it makes sense to connect them to each other by screws that are located under the shelves, where they will be inconspicuous. Thanks to this sectional table will become monolithic.
Recommend to read VEST PAINTER Anyone who had to work with a spray, and even a room, knows how harmful "for the respiratory system. Meanwhile, the problem of protection is not too complicated. We only need to create... The HUT In the folk tale "the Fox, the hare and the rooster" says: "Fox has built himself a hut of ice from snow and ice, and honey - bast, of sturdy twigs Yes dostochek...". However, although... 

