Features of these, alas, are many. To understand them is hardly possible without understanding the device and principle of operation of commutator motors (Fig. 1). It is useful also to recall that in accordance with the laws of physics on a conductor carrying a current I in a magnetic field of strength H. the force F, whose direction is determined by the so-called left-hand rule. And if to judge under the simplified scheme, the greatest torque is generated when the contact potential is located exactly between the poles of an electromagnet.
However, the actual engine develops a maximum output at the location of the working coil (loop coil) under the lead angle (switching), which drills approximately 45°. When this alternating current after the solenoid comes on the brush And goes to the lamella And of the collector and further, according to the turns of the loop section, lamel B. But the latter is electrically connected with the antithesis of the lamella B’, which is current through brush B, and goes into the mains power supply.
Fig. 1. Scheme of the simplified design of the commutator motor:
1 — the South pole of the electromagnet stator; 2 — Estiva the rotor winding (“+”—the conditional image of a current directed to the plane of the drawing,and ” – “from it); 3 — the North pole of the electromagnet stator; 4 — copper-graphite brush; 5 — bar; 6 — slat B; 7 — a block B’; 8 — copper-graphite brush B; 9 — a rotor;
Single-phase commutator motors of the majority of manual machines — non-reversing, that is, rotate only in one determined by a specific circuit. Brushes are shifted geometric neutral on one or two collector division. The shift angle is specified experimentally for minimum sparking at the working surface of the collector at rated load for the required direction of rotation. At the reversing of the engines, usually used to drive isibonakalisi machines, brushes set on geometrical neutral.
Beat the surface of the collectors is controlled during engine maintenance by a dial indicator with a slow turning (by hand!) the armature or rotor of electrical machines. If the engine is in a disassembled state, the armature or rotor set in the centers and also turn. The measurements of the dial indicator is set perpendicular to the surface of the collector. Runout (and it is, as a rule, should not exceed 0.05—0.06 mm) is determined by the difference between the highest and lowest readings.
Profile monitoring is also a very important element in determining the technical condition of the collector. Do this visually, paying attention to depth, micanite strips between the slats, which should be in the range 0.3—0.5 mm.
Violations of soldering or breaks is usually determined by the measurement of the voltage drops in the joints of the collector plates with the armature winding (Fig. 2). The connection of the conclusions of the loop windings with the respective manifold plates shall be considered satisfactory if voltage drop in the soldering does not differ by more than ±10 percent mean value.
Fig. 2. Diagram of electrical connection of the collector plates with a loop windings of the rotor:
1 — electric probe (4 PCs); 2 — collector with fins; 3 — check the loop winding; 4 — needle millivoltmeter; 5 — galvanic battery; 6 — variable resistor; the values of the elements 4-6 are specified during the preliminary design settings
It happens that the windings themselves are so bad that it is appropriate to replace the entire rotor (armature) to a new one. Well, if this is not possible, you have to go forward even in a home workshop. It is very troublesome; for its implementation it is necessary to have relevant tools, fixtures, supplies and, of course, scheme-scan (preferably with a pie chart) winding.
For example, rewinding to the rotor of the electric drill ИЭ1035Э1У2. He — XII grooves (hereinafter for brevity — p) and 24 of the lamellae (l).
To be sure, armed with a pie chart (Fig. 3). Let the brush is in contact with the lamella 1. So, we need to lay the coils of the sections so that they are made with the magnetic flux angle. Are пVI and pH or n/ p and the commutation angle will be approximately 45°.
Winding must be performed in accordance with the scheme a-scan (Fig. 3). That is, with the coil L1 must be in p, then пV1 and come to L2. L2 coil is directed through the slots I and VI of the lamella 3 and from it (via PC and пVII) — L4 where (using PN and пVII) — lamella 5 and so on.
In conclusion, a few tips. As already mentioned, specification of the angle and allows to minimize sparking between commutator and brushes during operation. Increase this angle up to 75° almost no effect on engine power.
To isolate a loop of the windings (sections) from the “hardware” of the rotor is quite acceptable to use (instead of scarce plantatation) silk. Having laid in the grooves of the third winding, it is useful to insure from the interphase circuit. It’s enough to put between the coils of another layer of insulation. For example, from the same silk.
It happens that “priyatnie” hooks on the slats break off. But the profile of each of these parts is such that allows, slightly nagrubil soft base without difficulty to equip them with new equipment in the form of hooks. And subsequent soldering to ensure high quality, it is reasonable to make subiram indent on the respective slats.
Fig. 3. Pie chart and diagram-scan winding rotor for electric drill ИЭ1035Э1У2; the slats are conventionally numbered in Arabic, and winding— Roman numerals
Fig. 4. Scheme-scan winding of the rotor for the popular hand drilling machines of the type ИЭ1008
Fig. 5. Scheme-scan winding of the rotor for the popular hand drilling machines ИЭ2201 with left rotation of the rotor
If you cannot establish how dilapidated it was winding turns and what wire to perform repair and recovery operations can be guided, for example, a typical characteristic of electric ИЭ1035 data. This means that suitable wire ПЭВ2-0.2 (although better in silk insulation, type PELCO-0,2). Winding at 40 turns per section.
Performing the winding, note that during the operation of the load they have to try pretty hard. For every gram of the wires of the rotating rotor a force acts at 15 g. Hence requirement of updating the coil, it is necessary to impregnate it in the grooves with epoxy glue.
If after repairing the engine, the drill began to rotate in the wrong direction, you must change the direction of the current in the windings of the rotor in the opposite direction. And for this to change each other the two wires, so that the current coming from the stator And brush (Fig. 1) go to the brush B.
V. ZORIN, Krasnodar Krai
Recommend to read TRIO FOR DISH In the modern interior of apartments, cafes, offices are often used as decorations painted decorative plates. Often the reverse side of them there is a hole or eyelet for hanging. If... “SOFT” SHELF For many it will remind imperceptibly supplanted by modern interior bookcase. And for those who had to glue holiday garland chains of colored paper strips, it will immediately become...
Scroll back to top
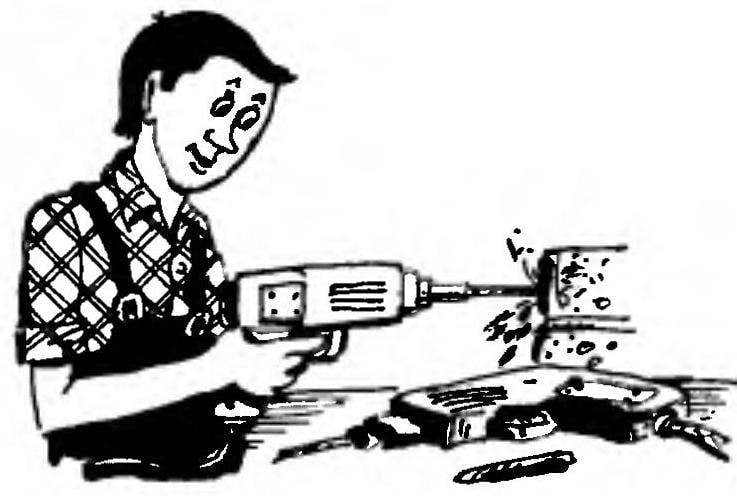
 Sometimes even reliable drill goes down. Statistics show that failures occur not so much in its mechanical, how many electrical parts. But if tips on restoration of cable, replacement of worn brushes, bad switch or the elimination of other simple malfunctions of home appliances posted a lot, including in the pages of “Modeller-designer” (see for example, № 9’95,6’96,2’97), what about more complex kinds of repair are not. In particular, there is a clear lack of material about the peculiarities of maintenance and feasible (in terms of home Studio) fixation of the rotor manifold of the engine, usually installed in the drills, wrenches and other manual tools.