
 Throwing glider pioneer. Non-motorized model glider is very popular among modelers. Made in the form of models of monotypes, throwing gliders allow for fun competitions on the range, while models in the air or on landing accuracy.
We offer our readers a “Modeller-designer” developed in our aeromodelling circle throwing the glider, it is highly technologically advanced in manufacturing and high aerodynamic qualities.
First we need to make the main parts of the model. The bow section is cut by a fret saw from pine or spruce boards with a thickness of 5 mm. When cutting, leave a small allowance, which zashlifovyvayutsya file and “sligoville” wood block with pasted on his skin. The diameter of the holes for the fiberglass (or beech) pin of the wing is 3 mm.
Tail boom the airframe is a pine rail cross-section of 5×5 mm and a length of 500 mm.
Loads for the front portion of the model are also cut from the rails with a cross section of 5×5 mm and their length is respectively 250 and 170 mm.
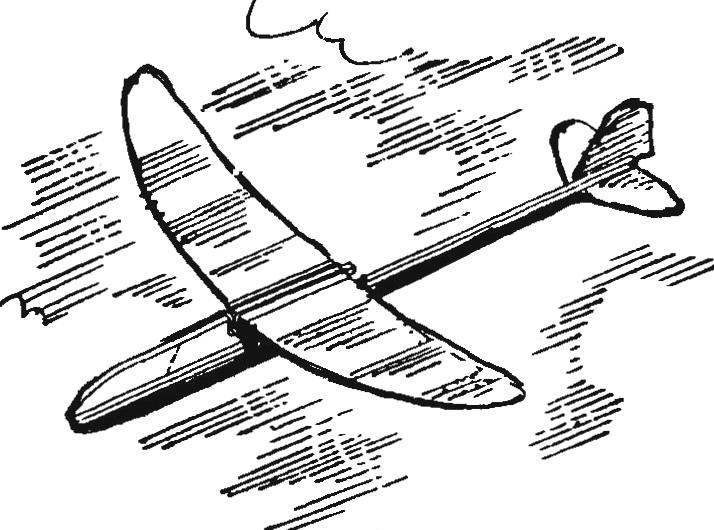
Model throwing glider type “pioneer”
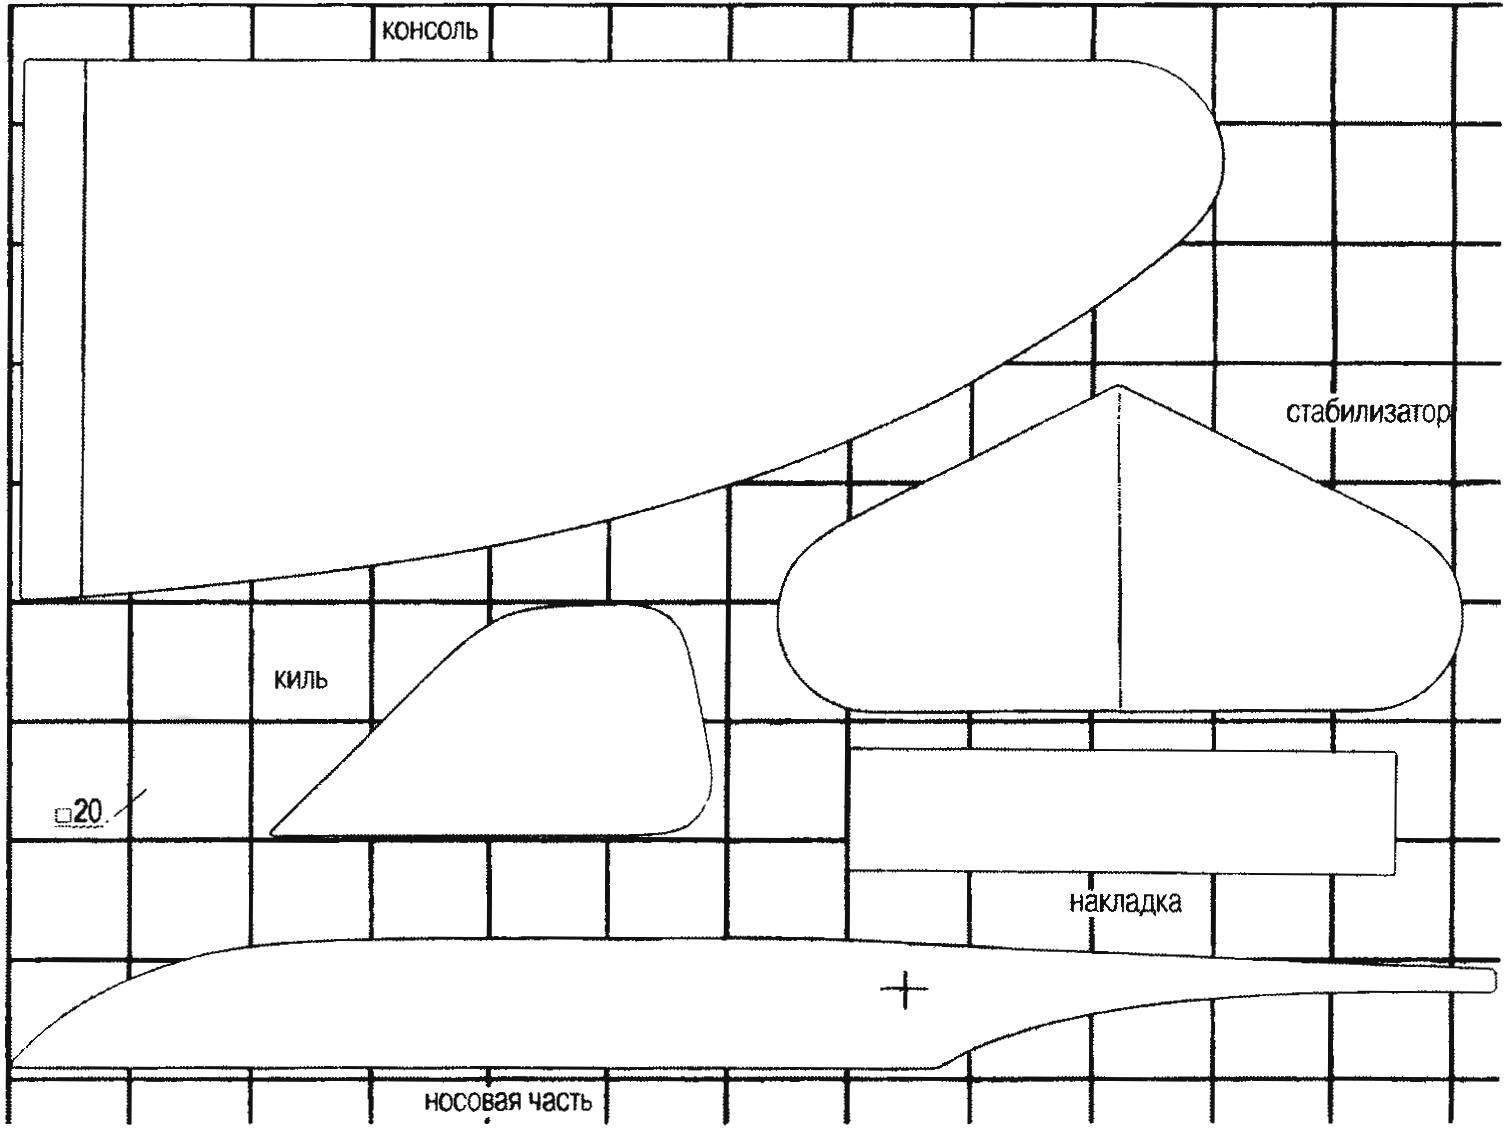
Outlines key elements of the model
For restrictive slats will need a billet cross-section 3×3 mm. Important in the selection of material — absence of knots and ROE; moreover, wood must be carefully dried.
The wing pads, the stabilizer and fin are cut from cardboard with a thickness of about 0.5 mm., the grain Direction of the material along the long side parts. Ready cardboard elements, it is desirable to paint two layers nitroemali — this will increase their resistance and make the appearance model more advantageous.
Before assembling all the wooden parts should be carefully viscuit with “Slivovice”. The mounting of the glider is recommended to make with the help of glue “Moment-1”, strictly following the instructions on the adhesive tube. However, note that the adhesive layer cures after 24 hours earlier this time to run the model should not be.
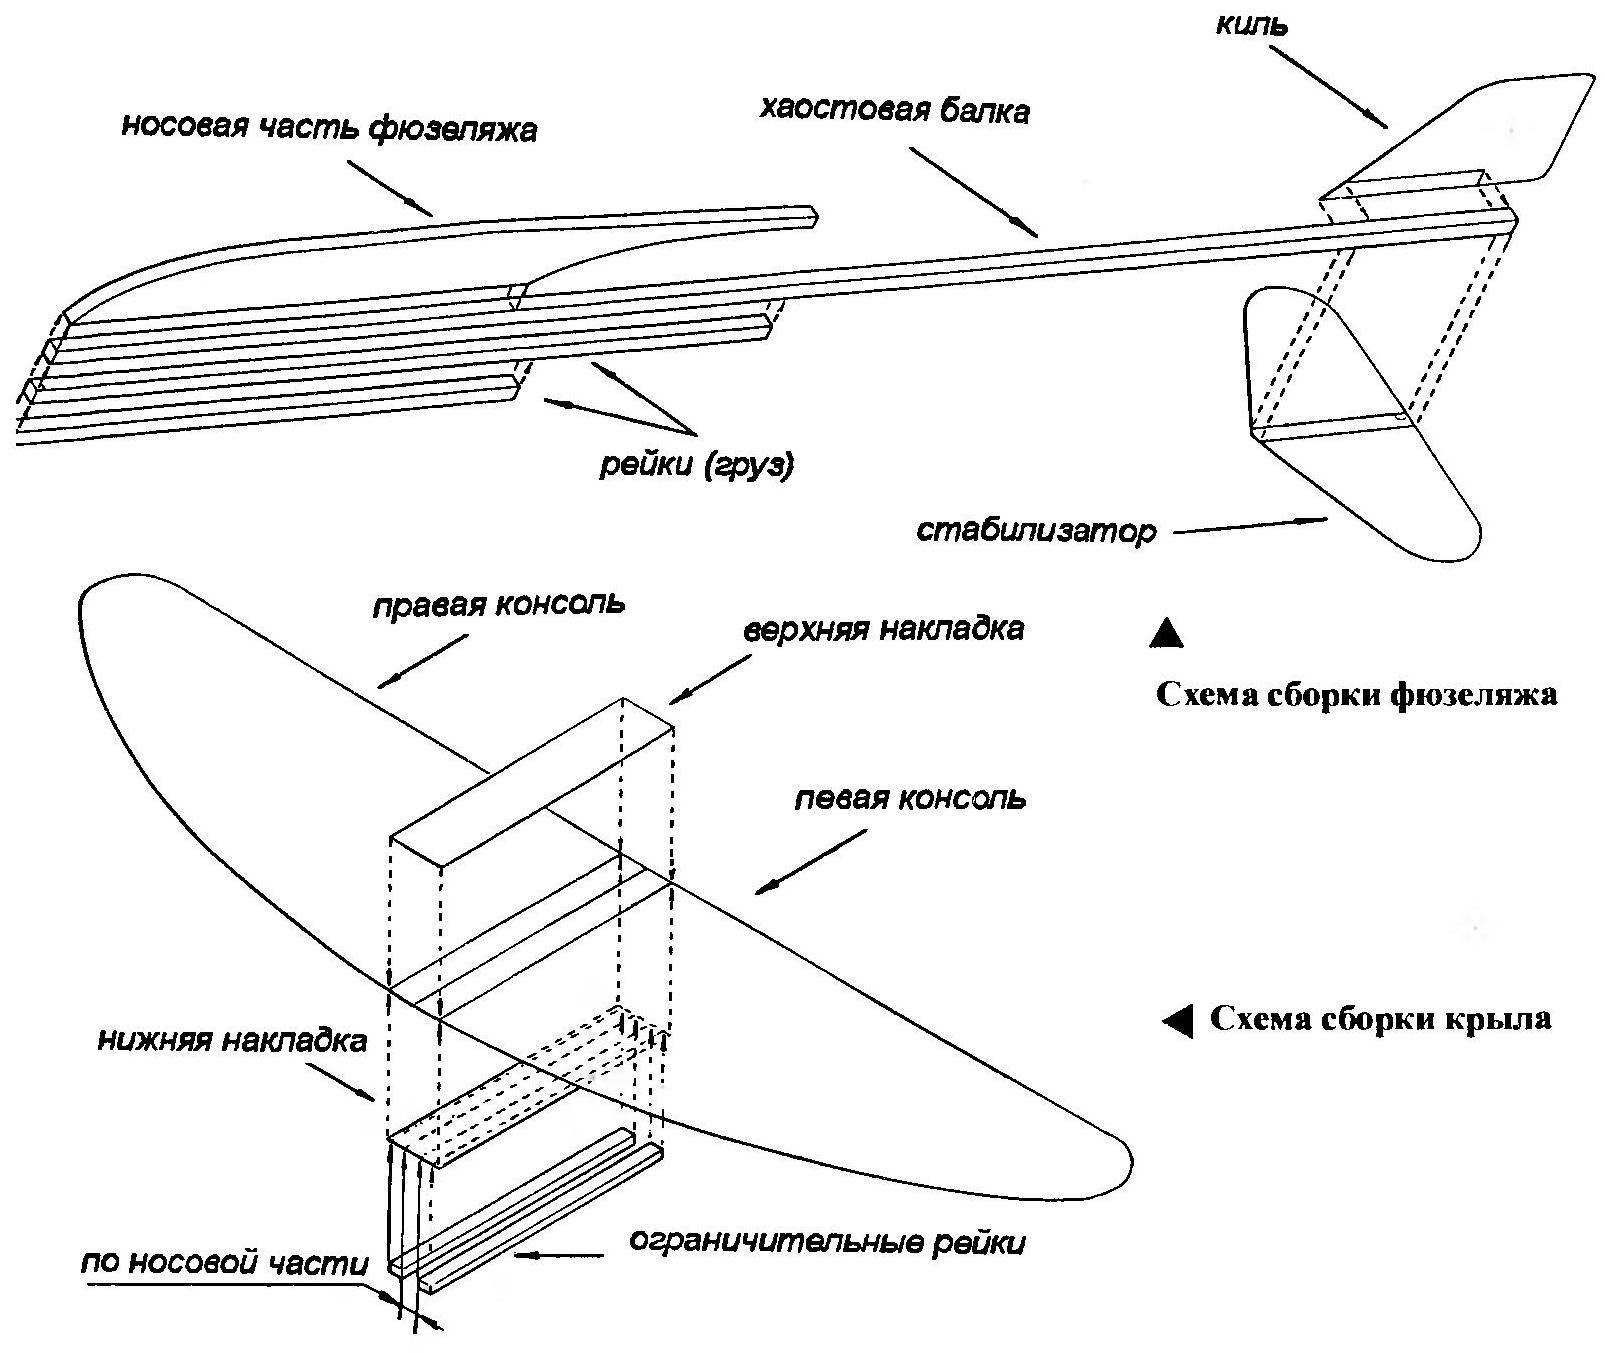
Wing when you look from the front has significant curvature to create a form, the workpiece should be placed on the edge of the table slightly to press her hand to the edge of the countertop and pull towards yourself. Attaching the wing to the fuselage by means of rubber ring — retaining adhesive is not necessary.
The center of gravity of the finished model must be at a distance of 40-50 mm from the leading edge of the wing. At excessively the front alignment needs a fret saw or knife to cut the nose of the fuselage, periodically checking alignment. Note that after this operation the fore part, should adopt a streamlined shape.
The model runs recommend in calm weather. The glider is flying through a rigorous throw your arm up at an angle of 10-30 degrees to the horizon.
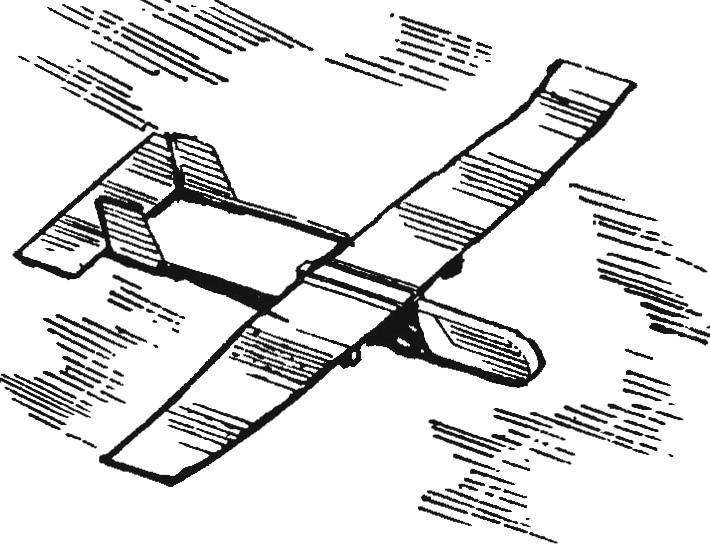
Throwing the glider “Junior”. Another simple model of the missile airframe, very popular with our members. Arranged by two-beam scheme, it is a simple “volatile” and quite spectacular in flight.
The nose part of the model is cut using a jigsaw from pine boards with a thickness of 8 mm. it is necessary to leave a small seam allowance, which is removed with a file and “Slivovice”. In the designated drawing place savelives hole with a diameter of 3 mm under beech or fiberglass pins for mounting the wing.
For the tail beam and restrictive slats need pine billets of square section of 3×3 mm. make Sure that these slats were straight and had no knots and ROE.
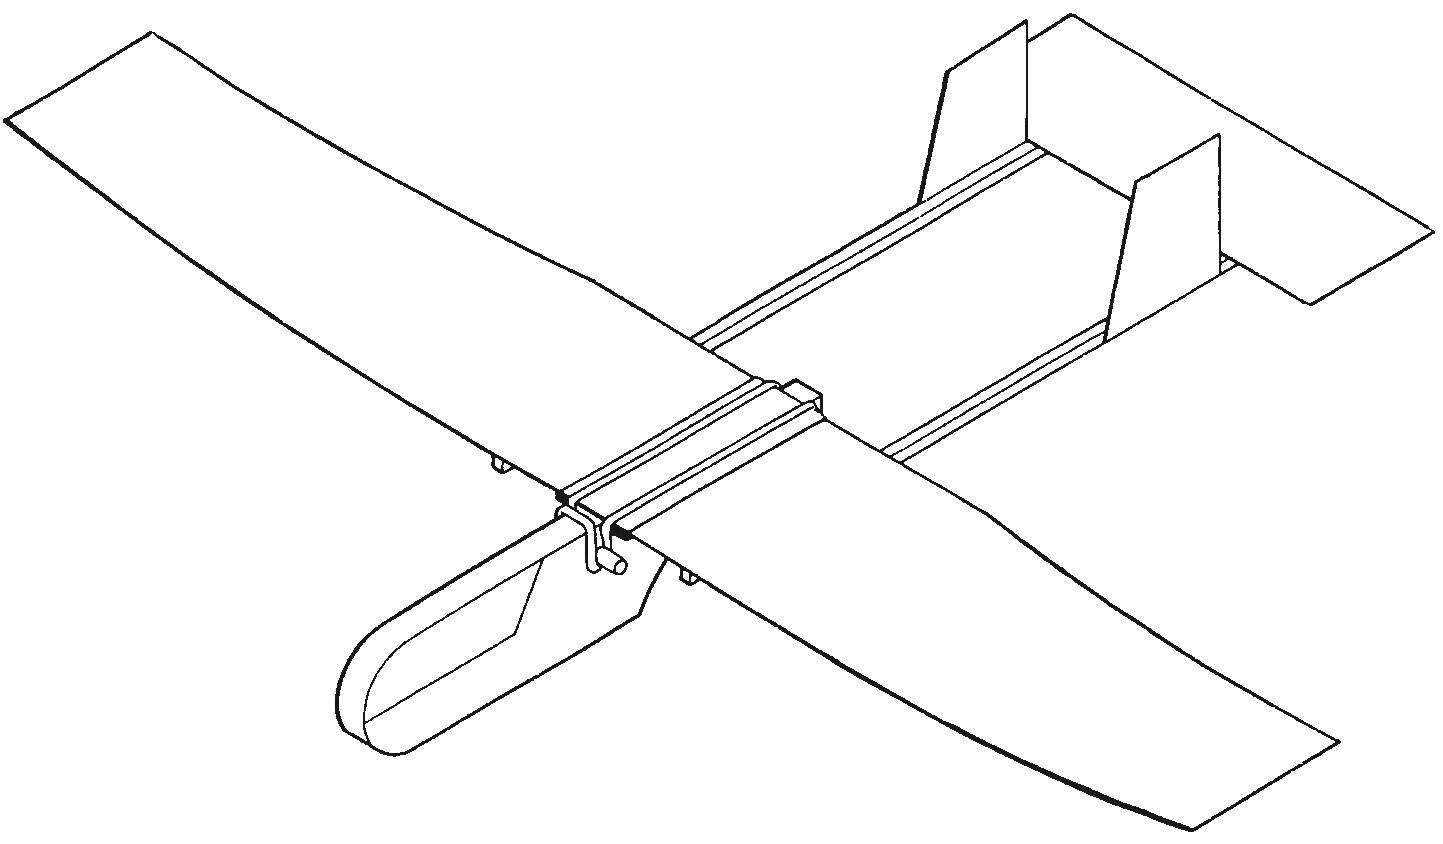
Model throwing glider type “Junior”
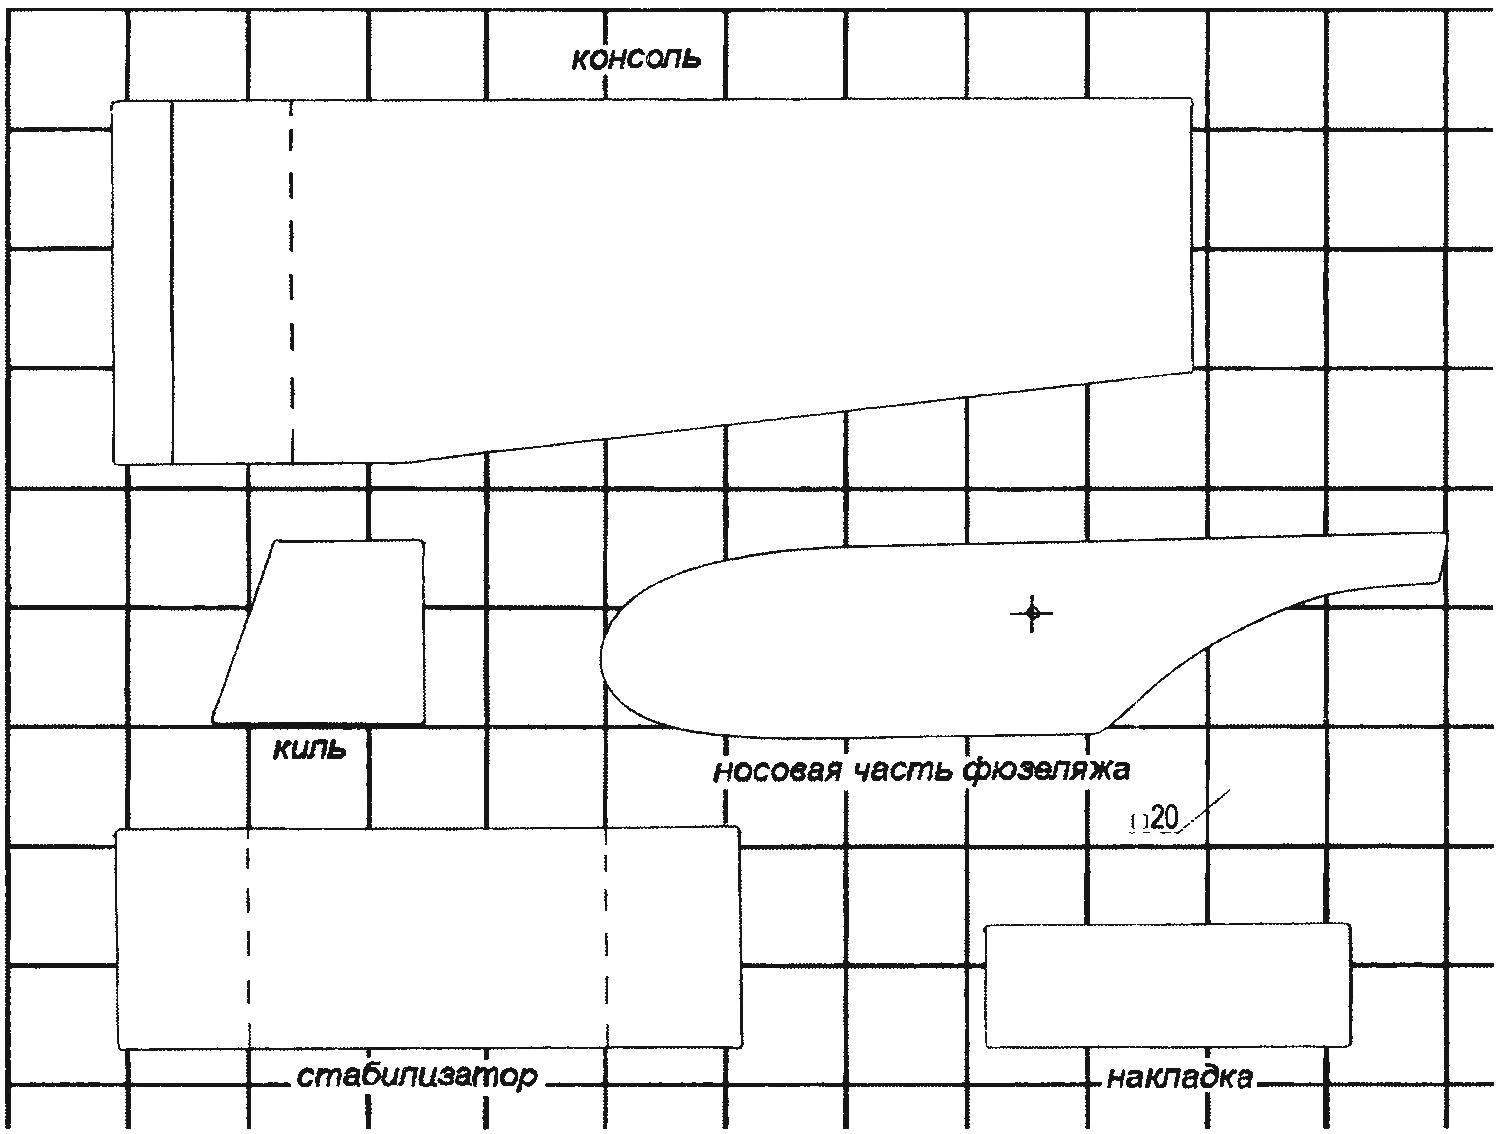
Outlines key elements of the model
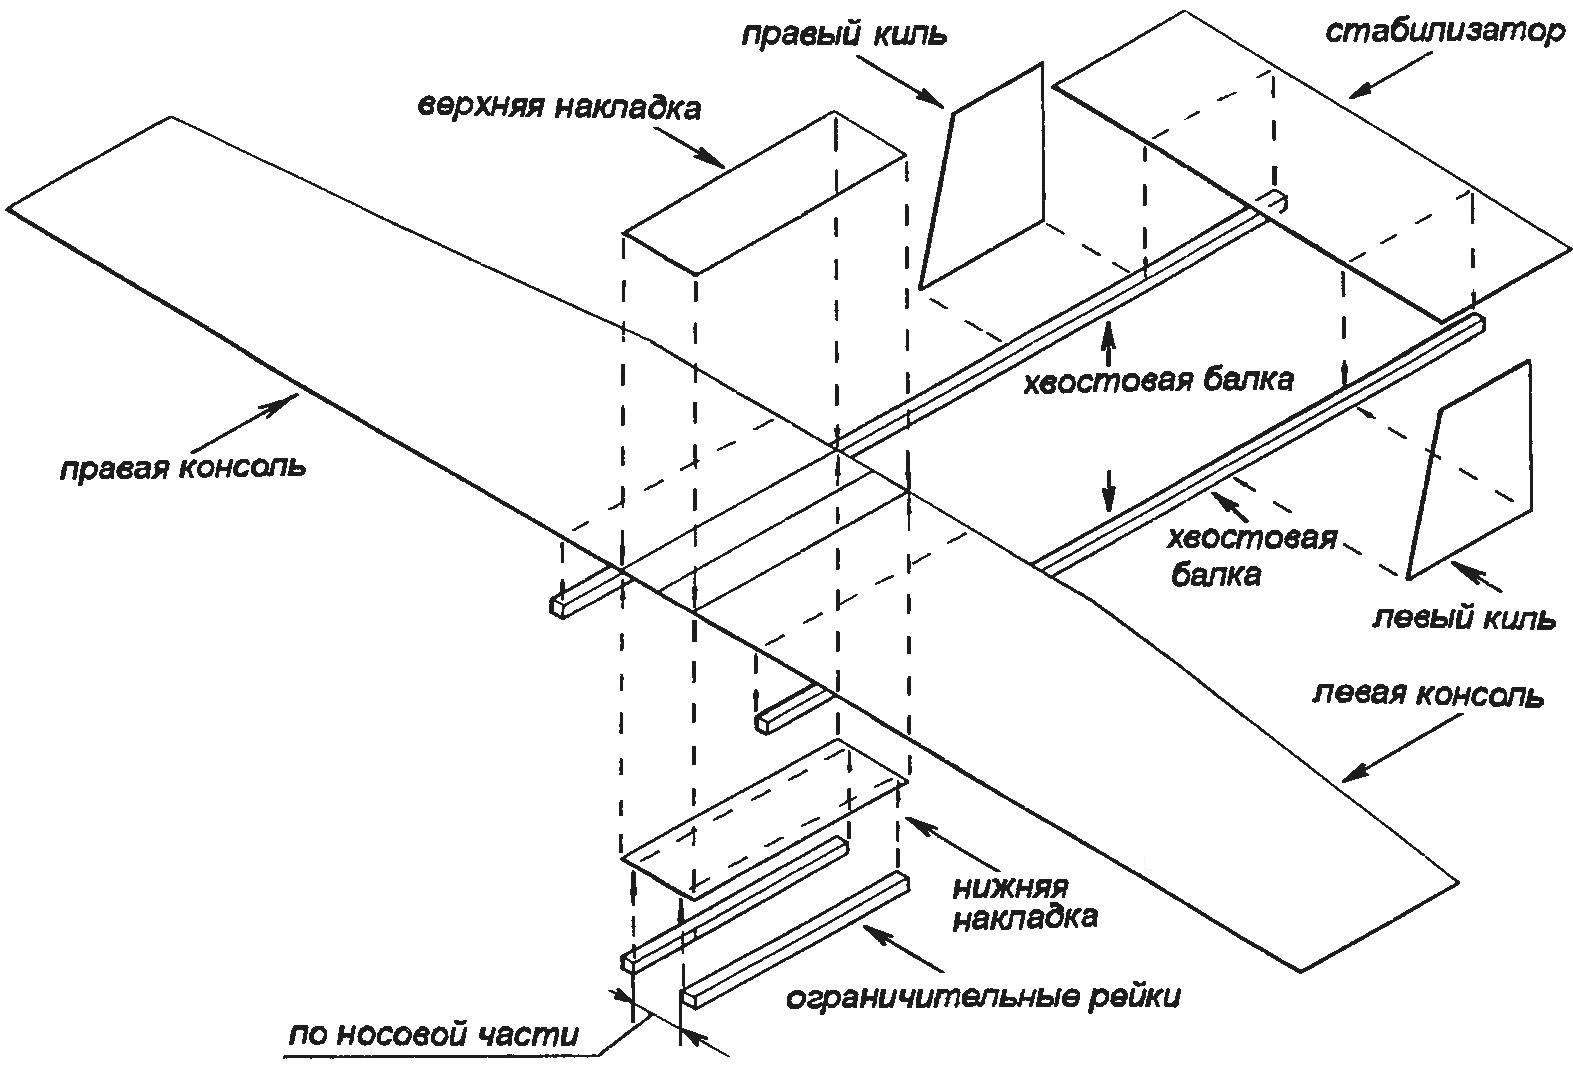
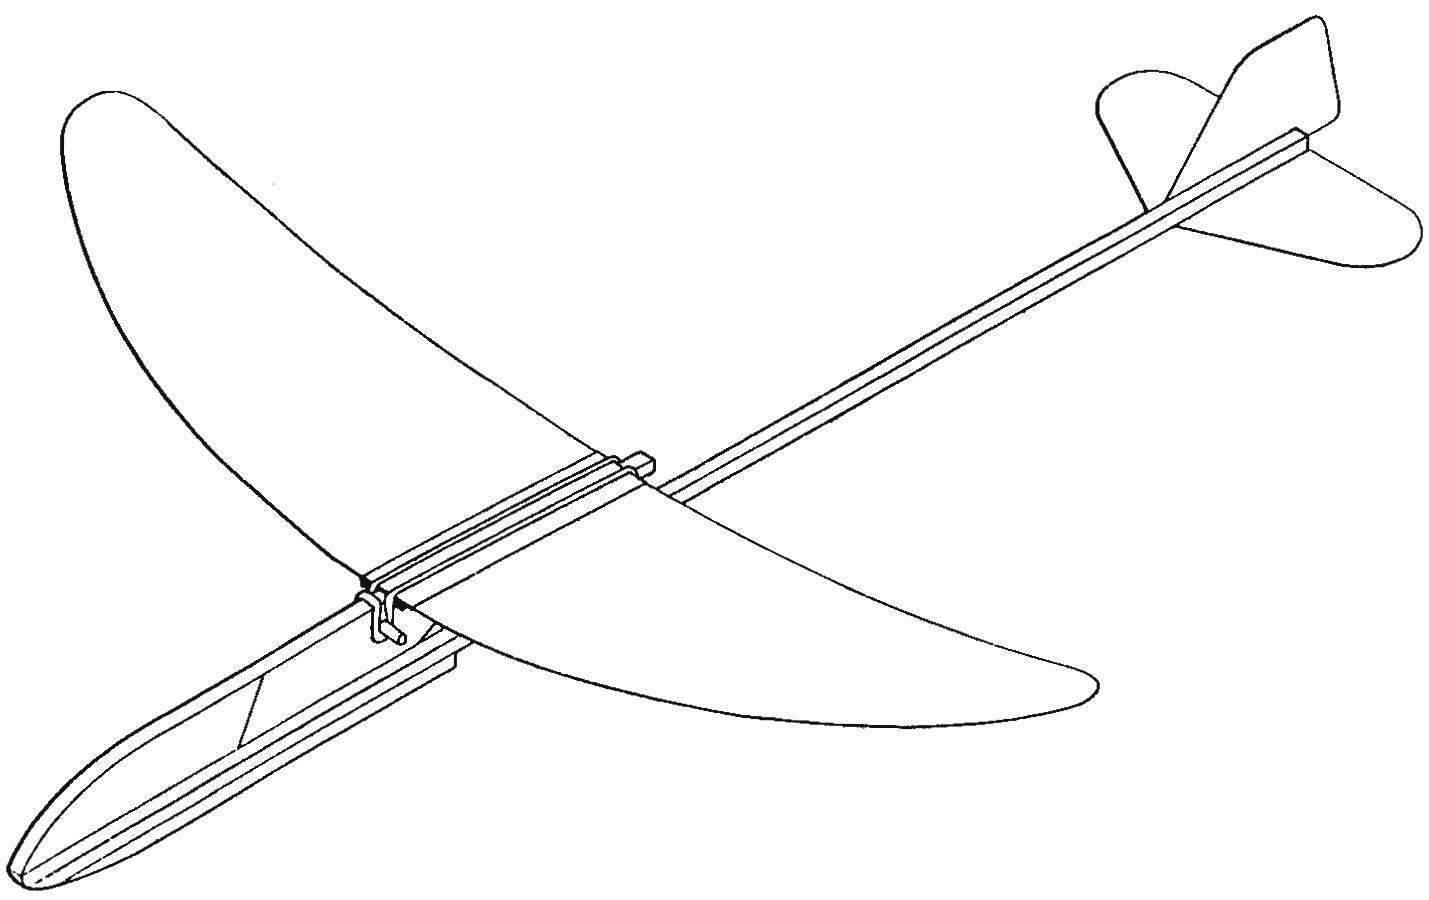
Assembly diagram of the model throwing the glider “Junior”
Wing, lining, stabilizer and the keels cut from cardboard with a thickness of 0.3 to 0.5 mm. it is Important that the fiber direction of the material coincides with the long side of these items.
The Assembly is throwing the glider “Junior” made with a universal glue “Moment”. When assembling it must be remembered that the wing to the nose of the model is not glued, and secured it with a rubber ring. Before installing the wing tips should be slightly bend upwards — in the same way as is done on the model of “pioneer”. Try to keep the bends were the same relative to the plane of symmetry of the model.
Flight characteristics of the “Junior” is almost the same as the “Pioneer.” Accordingly, the launch of this model do not differ from those given for the previous model.
Vladimir KOZIN, head of the aeromodelling circle
Center of children technical creativity, Magadan
Recommend to read
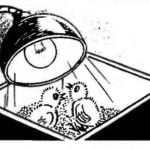 SMALL INCUBATOR
An incubator for breeding chickens at home can quickly to make, having a thermostat with indicator light on and the cord with plug (eg, burnt-out iron), a couple of 300 Ohm tubular...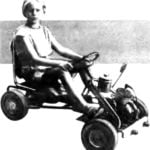 CARS FOR KIDS COURSE
Pedal cars of the type "Card" and "the idea of crossbreeding", produced by our industry, are very popular with children. But these machines could be even more widespread, when...
