“ROTOR” WINNERS

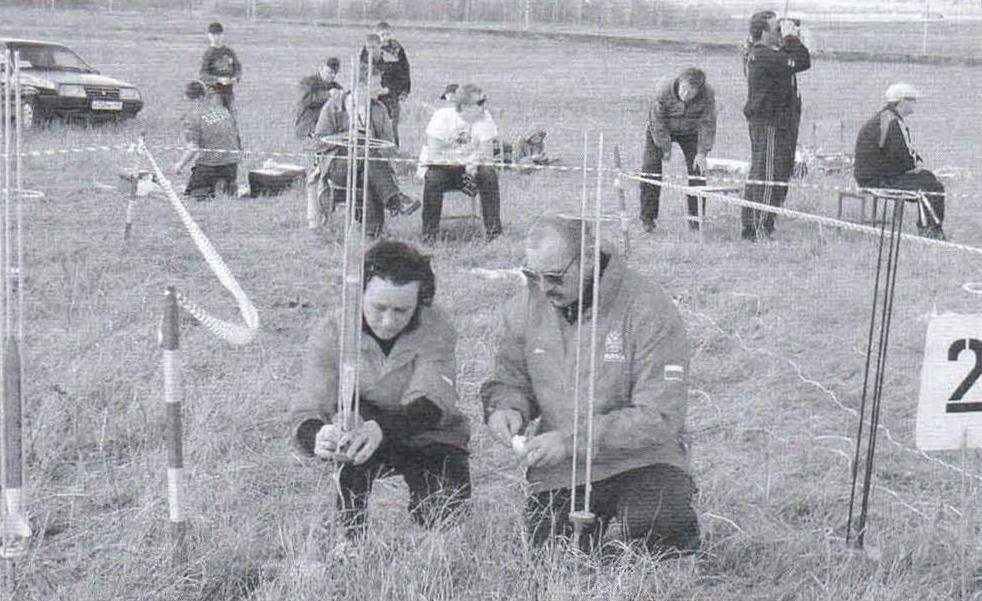
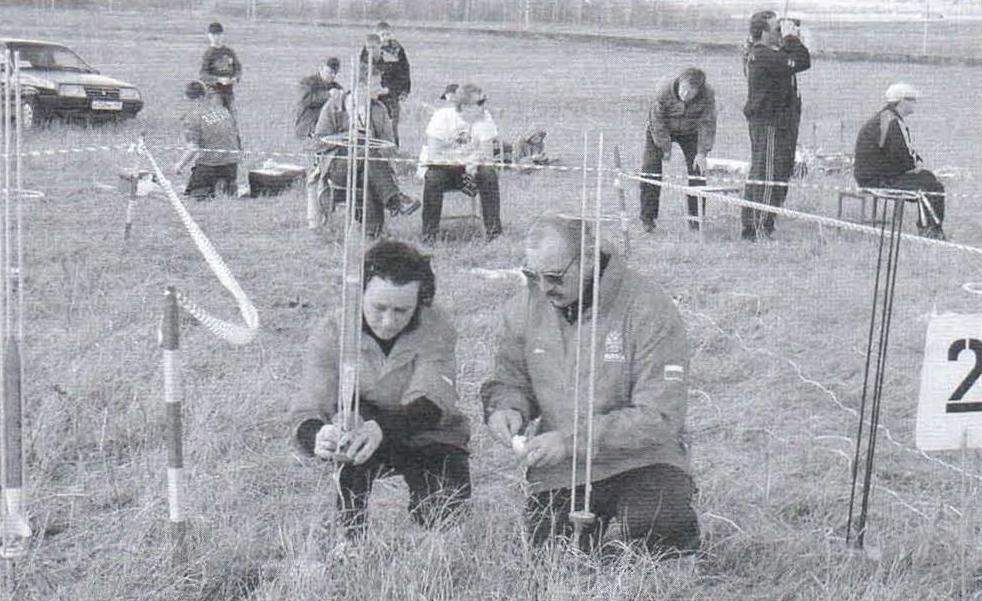
Model rotocut. In the championship of Russia for sport flying the first prize winners in the class of models of steel rotochutes Larisa Ivanova and Alexey dirt. Today, our material about this sport “the shell”. The proposed design of rotachute class Ѕ9А – further development of the previously described model (see “M-K” № 10, 2010) it Should be noted that rotachute – favorite sports specialization Alexei Griazev.

Model rotocut class Ѕ9А A. gryazeva – container type. The rotor (recovery system model) before starting the stack and placed in the housing. He was fired after firing the lifting charge mrad. The rotor is made in the usual way: the blade – folding arrow-shaped (angle 27°), the direction of rotation when autorotation is counterclockwise, the angle “V” blades – single (in the suspension) -4°.
 
Originally performed by the node of the suspension blades. It has plastic Lехаn 0.5 mm thick, and resembles the top of a triangle with truncated vertices, which are at a distance of 3.5 mm from the edge of the drilled hole with a diameter of 0.6 mm. In the segments they fasten a steel wire for hanging bracket mounting the blades.
 
The suspension unit bottom is glued to the balsa bulkhead. It consists of a disc with a thickness of 4 mm and an outer diameter of 39.5 mm. attach to the Top cylinder – locking glass of foam with a height of 25 mm with six holes of diameter 10 mm drilled on the side surface. They facilitate access during installation of the elastic return of the blades. In the center of the frame drill a hole and glued the tube – a support length of 20 mm and an outer diameter of 6 mm and an inner hole of 3.5 mm, which during Assembly is inserted a plastic tube with a diameter of 1.5 mm and a length of 160 mm, which pass the thread of the suspension of a model. On top of fixing the glass wear fairing, manufactured by stamping plastic Lехаn, which is fixed only after assembling the whole model.
In one of our articles it was told about the technology of stamping fairings plastic. Will not be superfluous to remind about it again.
 
First, you need to make a mandrel (punch) and the matrix. Mandrel is better to carve plexiglass (ebonite), it is “the crown” it is necessary to round out (if possible rupture of the plastic at work). The matrix can be cut from plywood with a thickness of 8-10 mm, inner diameter — 40 – 40,2 mm, the inside surface should be smooth. The procedure of stamping is this: the blank plastic is slightly heated and placed on the matrix, pressed against the top plate and tighten them with bolts. Light pressure pressed against a punch (mandrel) into the plastic and hold it in this position until the plastic cools. Then on a lathe (on a wooden mandrel) to cut the fairing along the outer length – 92 mm. Attach the fairing to the locking glass after Assembly and debugging of the model.
 
Model rotor class S9A
 
Model rotary class S9A:
 
1 – fairing; 2 – tube-support elastic return; 3 – fixing the glass; 4 – frame; 5 – mount Assembly blades; 6 — hinge axis of the blades; 7 – emphasis of the suspension blades; 8—blade; 9 – the case of the model (container); 10-wad; 11 – tail cone; 12-stabilizer; 13 – the elastic return of the blade; 14 – plate; 15-elastic band disclosure console; 16-tip; 17—washer (limiter); 18-tube for thread suspension; 19 the thread of the suspension of the container of the rotor

 
Rotor model – lobed, the diameter of the sweeping surface is 750 mm. the Blades are cut from the balsa plate 370x30x3 mm profile. Make the top surface convex, lower slightly concave. From one end plate to a length of 60 mm, narrowing to 14 mm and the other with round off. Then cover with a layer of nitrocellulose lacquer. After polishing the blade is coated with nitrocellulose lacquer, dried, and then cut into two parts: the root part of the blade (tapered at the end) – length 190 mm, and the console (with rounded edge) -length 180 mm End surfaces of both parts of the cover angle of 13.5 degrees from the leading edge to when the combination of sweep angle was 27°. For spherical connection of both elements on the bottom paste, striped silk fabric with a width of 20 mm and at a distance of 24 mm from the line of their connection in the middle of the drilled holes with a diameter of 1 mm for threading the elastic. Its length is selected in a practical way. Is kept elastic due to the knots at the ends. Below them (nodules) reinforce the goals of celluloid, and on top of the root of the glued strip of celluloid with a length of 13 mm and a width of 4 mm. thus it (the pad) must extend beyond the edge of the element to 4 mm to create the necessary lever for the elastic that is stretched when you expand the elements of the blade. Otherwise, it may be “dead zone” and the console of the blade is revealed.
 
In the narrower part of the root element of the blade glued the plastic bracket (with the u-shaped cross-section) with a width of 7 mm and a length of 32 mm. “Ears” for attachment to the suspension Assembly should advocate for the end of the blade of 6 mm and have a hole diameter of 0.5 mm. From the opposite edge of the brace drill hole with a diameter of 1.2 mm for gum to disclose all of the blade.
 
Assembly and mounting of the blades
 
After making a whole set of blades (3 piece) they are weighed separately, the weight must be the same. If not more easy to cover with a layer of nitrocellulose lacquer. Next, check the corners of the sweep and tension of the rubber bands disclosure of the consoles of the blades. Then podstegivaet of the blade to the node of the suspension, inserting into corresponding holes axis (cuts wire with a diameter of 0.5 mm and a length 7.5 mm) and fix them with a drop of superglue. Then put the double gum in the holes on the consoles (brackets) and in the holes of fixing the “glass” put on the tube-support. Next, check the angle of the “V” of each blade. Deviations from the vertical, all three should be the same. If not, reduce or increase the gap between the bracket and the frame. The angle of the “V” should be about 4° – 5°.
 
In tube-support insert a plastic tube with a diameter of 1.5 mm and a length of 160 mm, then threaded into the thread of the suspension container with a length of about 1 m and fix it from the top washer with a diameter of 4 mm. At the free end of the filament of the suspension is fixed, a thin cable with a length of 480 mm with hook for fixing it in the housing. After that, put on the locking glass fairing.
The container Rotorua winners of the championship of Russia is made according to conventional technology – is laminated of two layers of glass, of a thickness of 0.03 mm. Mandrel – a metal piercing; maximum diameter 40 mm the smallest (in the rear) – 10.3 mm. At the beginning the frame is slightly heated and lubricated with a separating compound. While it cools, a preform of fiberglass spread out on a flat surface and grease with epoxy, adding a coloring pigment. For better absorption resin the preform is heated irons. Put a mandrel on the blank and carefully, with a little effort wound on the mandrel. Giving a bit to harden the resin, is wound on a mandrel a tape (for a better fit layers) and placed the product in the oven or near a radiator.
 
Giving harden the resin, remove from the mandrel the tape and grind the burrs with a file. Then, holding the mandrel in the Chuck of the lathe, at low speed (60 – 70 rpm) grind the resulting billet with fine emery paper, and butt length – 415 mm taking out of the Chuck of the machine, it is heated and remove the finished hull (the container).
 
Stabilizers (three of them) cut stone veneer 0.7 mm thick, treated by the loop and hang a thin metallic film. To the rear of the body their butt glue on the resin VC-9.
 
Preparing for launch
 
First fold rotor: console bends to the blades and placed along the vertical axis. Thread suspension inserted into the casing, the free end (with the cable) fix, fix MRO in the rear. Then put the wad, and then the container is placed in a folded rotor. Now – start. Flight weight of the model without MRO – about 17 g.
 
Viktor ROZHKOV

Recommend to read

  • THE ICE IS NOT TERRIBLETHE ICE IS NOT TERRIBLE
      If the sole of the Shoe to spread waterproof glue, and then not very thickly sprinkled with sand, you will feel on the ice, as on earth. R. ASTRAKHAN
  • THE ASSISTANT HAMMERTHE ASSISTANT HAMMER
    When disassembling the boxes and shields cements their nails without the work gently unfold to use again. This will require a simple device — a metal finger Ø 10-15 mm with an internal...